
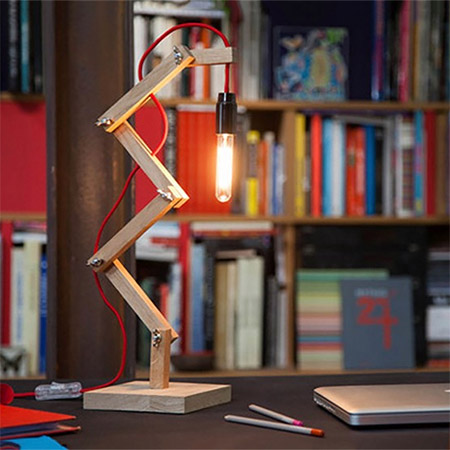
Quick Project: Easy Zig-Zag Lamp
This quick and easy zig-zag lamp is just the thing for lighting up your home office desk or work area.
29/04/2018
YOU WILL NEED:
Meranti or Saligna strips 22 x 22mm x 1800mm
Meranti or Saligna for base 22 x 150 x 150mm
6mm dowels
5 of 6mm bolts and wing nuts*
Light bulb socket with (colourful) cable and LED globe
Ponal wood glue
120-grit sandpaper
TOOLS:
Jigsaw and clean-cut blade (T308BF)
Drill / Driver plus 6mm wood bit
Drill stop
Clamps
Corner square
Tape measure and pencil
Note: The length of the *threaded bolts is determined by the thickness of the wood you use. If using 22mm as specified, use 50mm long bolts.
You can buy all the wood and materials for this project at Builders Warehouse

Compact and lightweight, the new Bosch EasyDrill 1200 offers great value for money and is ideal for anyone starting out with DIY projects in and around the home. Priced at around R1 250.00, the Bosch EasyDrill 1200 offers Bosch quality at an affordable price.
HERE'S HOW:
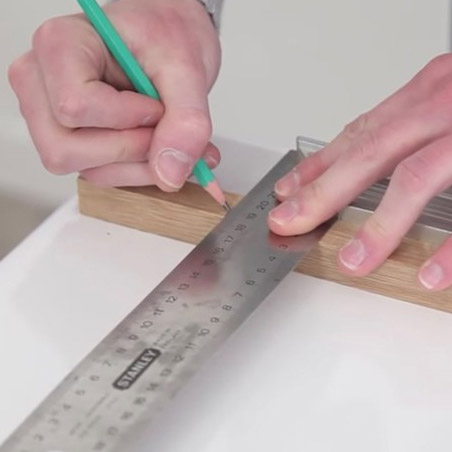
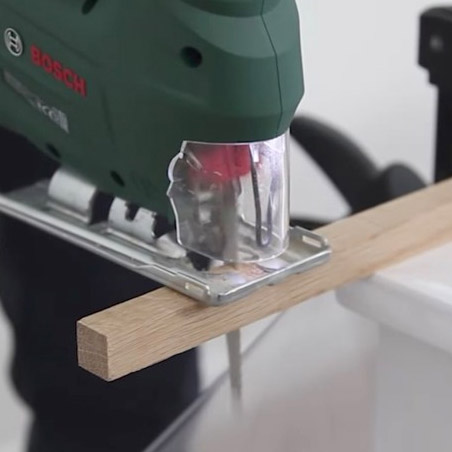
1. Measure and cut all the wood strips to length. You will need 2 of 50mm and 4 of 100mm. Cut with a jigsaw and then sand the cut edges with 120-grit sandpaper.
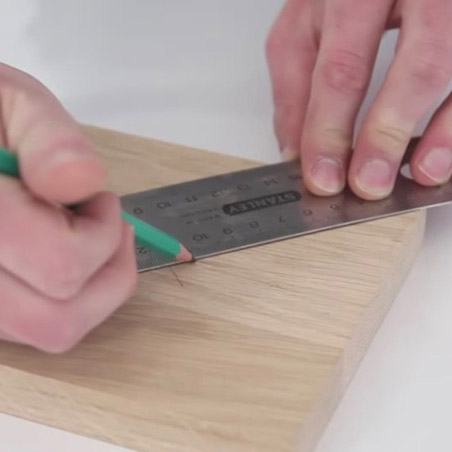
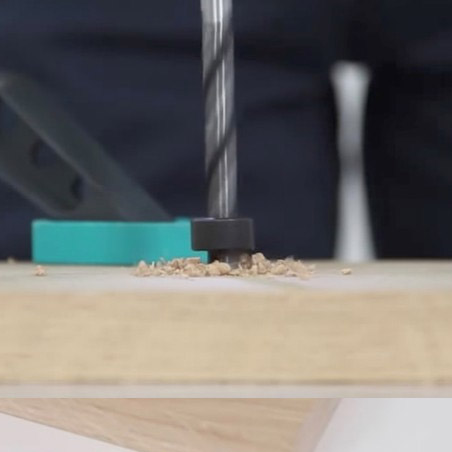
2. Draw diagonal lines to find the centre of the wood base.
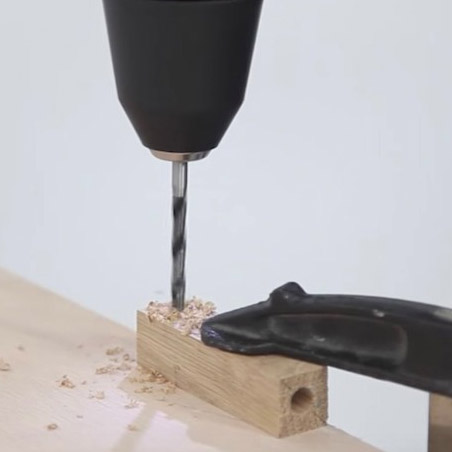
3. Clamp the wood base securely to your work bench in order to drill a 6mm hole for the 6mm dowel. Use a depth stop so that you only drill to a depth of 18mm.
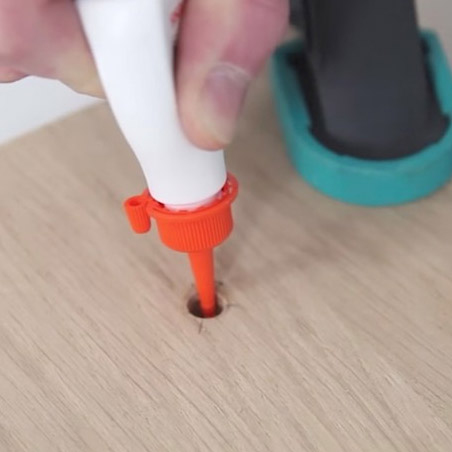
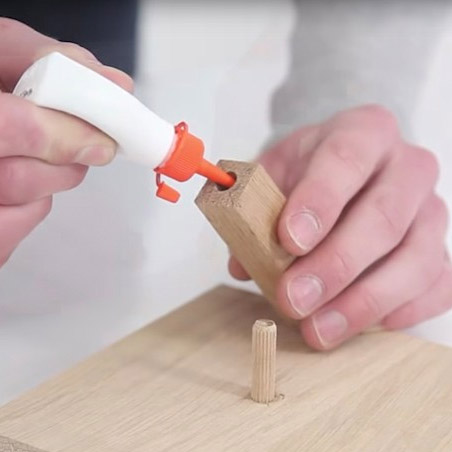
4. Squeeze a bead of Ponal wood glue into the drilled hole.
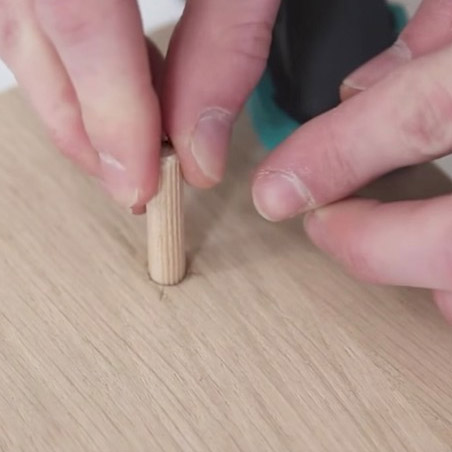
5. Insert the 6mm dowel and press down firmly. Also make sure that the dowel sits vertical before the glue dries. Leave overnight for the glue to set.
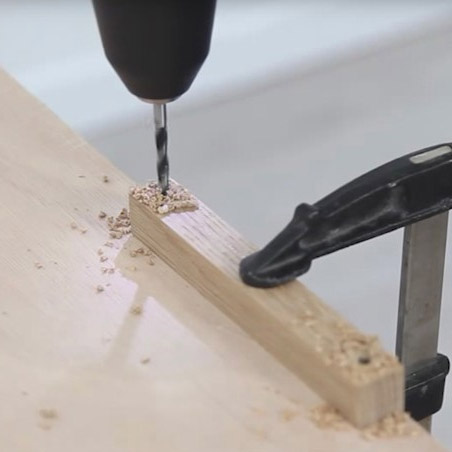
6. Take one of the shorter pieces of wood and drill a 6mm hole in the base - to a depth of 24mm. This will be glued onto the base dowel.
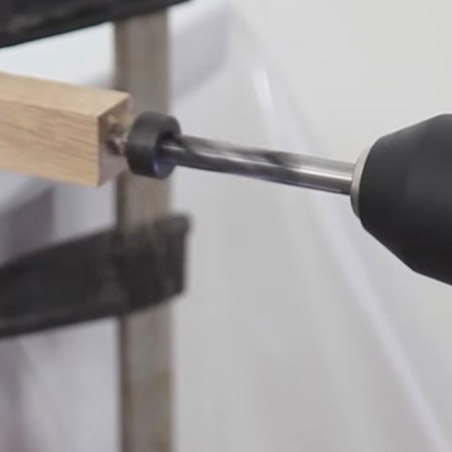
7. Drill 6mm holes in the ends of all the long pieces of wood. In two of the longer sections, drill a hole in the sides for threading through the electrical cable.
8. Also drill 6mm holes at one end of the two shorter pieces
9. Secure the shorter piece with the hole drilled in the centre to the dowel in the base. Apply a bead of Ponal wood glue and press firmly onto the dowel.
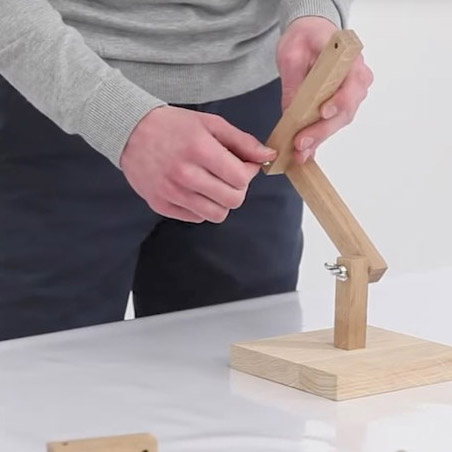
10. Use a bolt and wingnut to secure a long section of wood to the shorter section in the base.
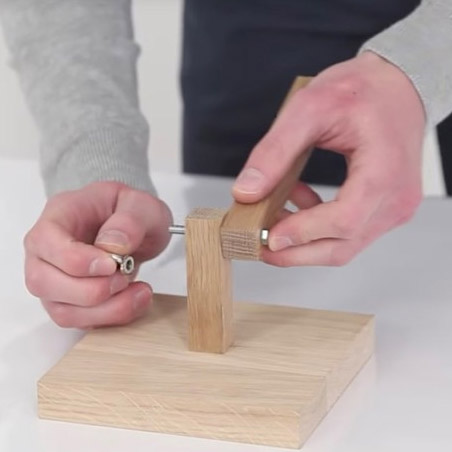
11. Assemble the rest of the sections in this way.
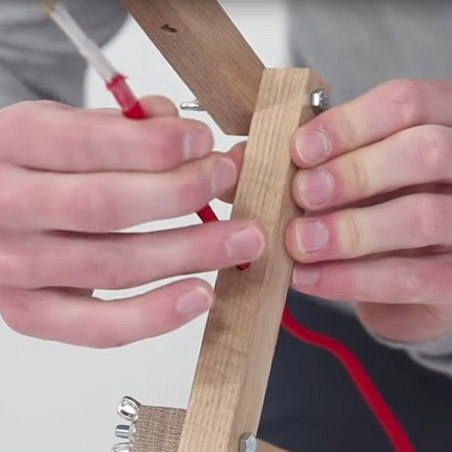
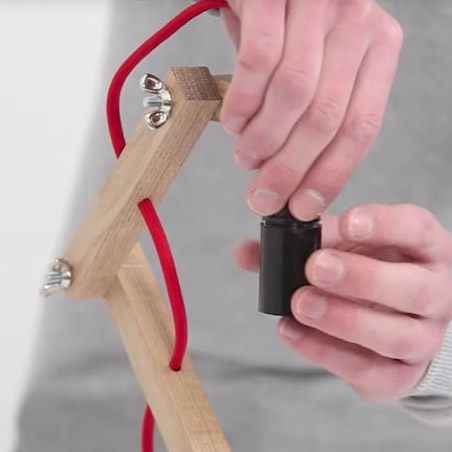
12. Thread the coloured electrical cable through the last two longer sections, pulling extra cable through for wiring the lamp holder.
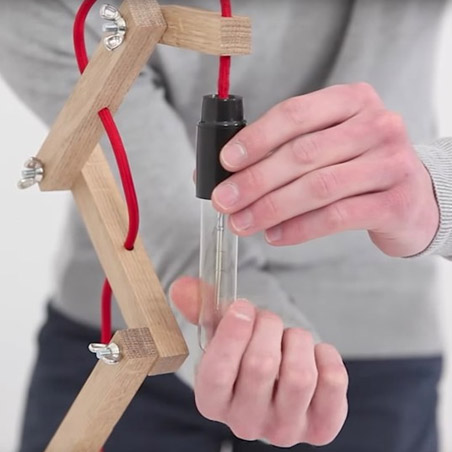
13. Secure the lampholder.
14. Insert the LED lamp and pull the cable back through until you are happy with the look.
GOOD TO KNOW
To make it easier to switch your new lamp on and off, fit a on/off clicker switch on the cord.
allaboutdiy.com