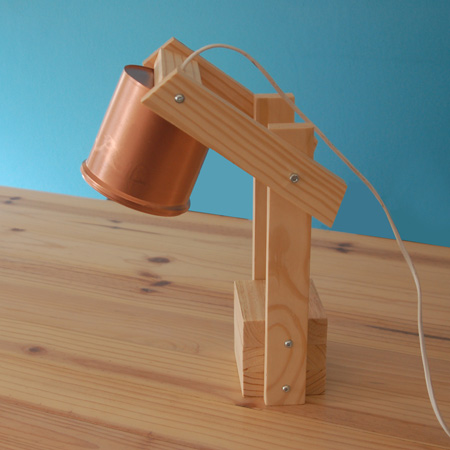
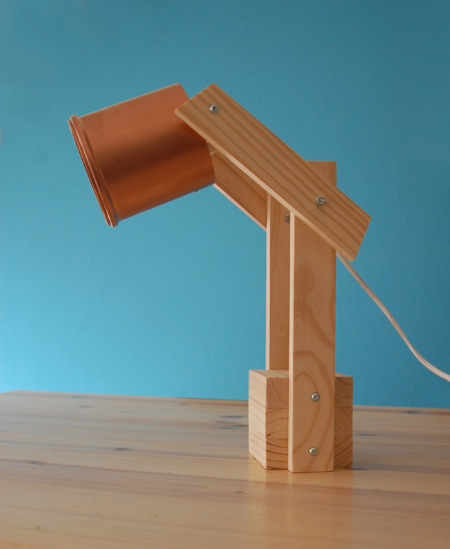
DIY Adjustable Pine Desk Lamp
I've been thinking of a way to recycle some empty plastic paint cans, apart from the obvious uses, and decided to see how one would turn out as a lampshade!
Using scrap pieces of pine, this handy adjustable desk lamp has a plastic (previously a paint container) lampshade finished with Rust-Oleum metallic copper spray paint. It's fitted with an LED globe and looks perfect on my desk. You can angle the light in almost any direction - and it won't fall over.
YOU WILL NEED:
3 of 32 x 94 x 108mm pine - base*
2 of 22 x 44 x 300mm pine - uprights
2 of 22 x 44 x 240mm pine - arms
1 of 22 x 44 x 152mm pine - cross piece
Note: If your pine is not 22mm thick - adjust the cross piece accordingly
Wood glue
50mm coarse thread screws [6] - I used pockethole screws
2 of 50mm lengths 6mm threaded rod and [6] nuts
2-core electrical cord
1 lampholder and [2] 16mm screws
120-grit sandpaper
TOOLS:
Drill / Driver plus assorted bits
Jigsaw, mitre saw or table saw
Tape measure and pencil
*Don't go smaller than this or your lamp may tip over.
Buy everything you need for this project at Builders Warehouse.
HERE'S HOW:
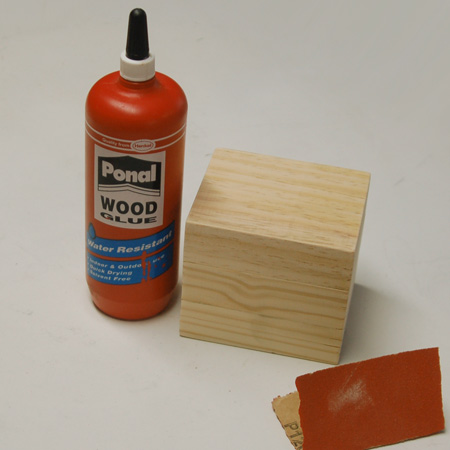
1. Glue the blocks together. Put aside for a couple of hours and then sand smooth.
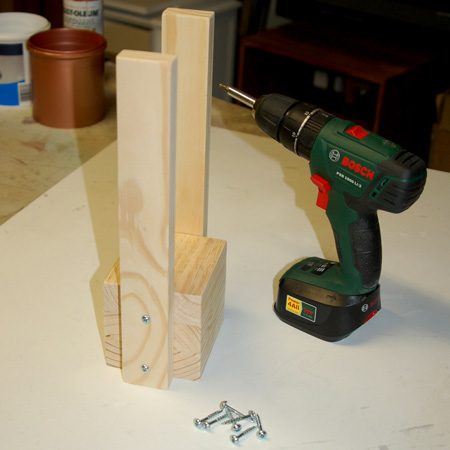
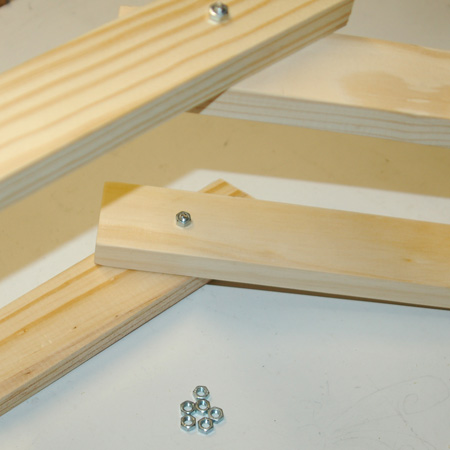
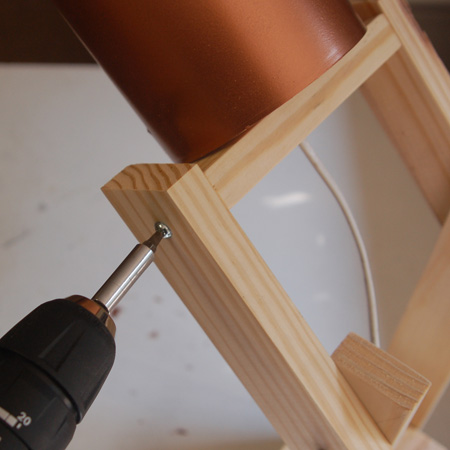
2. Mount the uprights 30mm from the front of the blocks. I used 50mm pockethole screws because they give a nice finish.
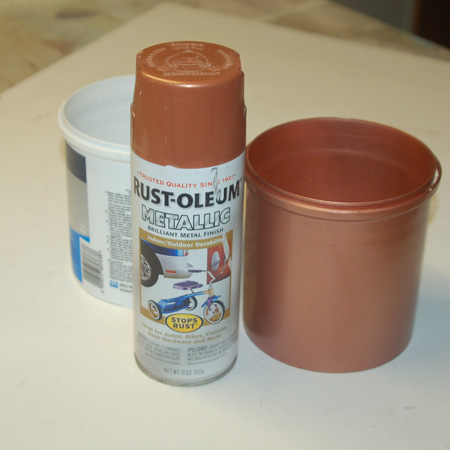
3. Clean the plastic paint pot and make sure it's dry before spraying on a couple of coats of your choice of Rust-Oleum Metallic spray paint. Apply light, even coats to prevent drips and runs. Rust-Oleum have a range of metallic paints to choose from, and you will find the full range at your nearest Builders Warehouse.

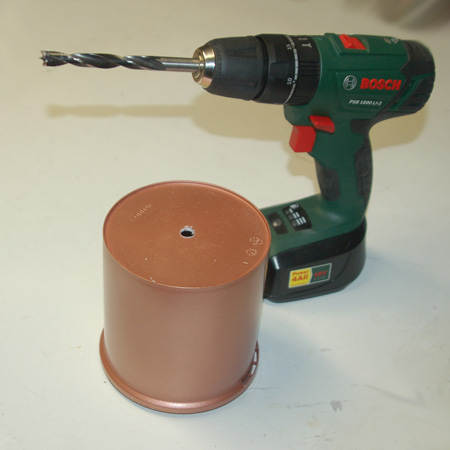
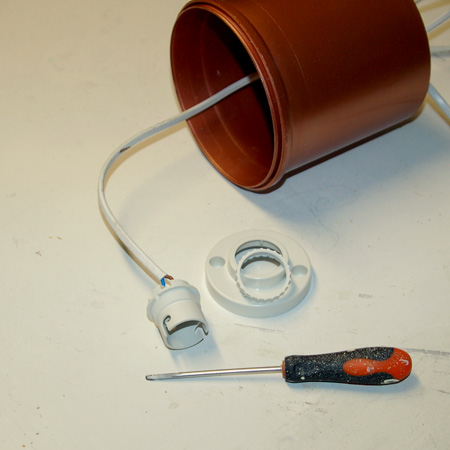
4. Drill an 8mm hole in the base of the pot for threading the electrical cord through.
5. Drill 6mm holes through the arms and uprights for the threaded rod. On the uprights the holes should be in the centre, 50mm from the top. Drill holes in the arms in the centre 60mm from the end (along the longest edge - see comment below).
GOOD TO KNOW: I used a mitre saw to cut a slight angle (about 30-degrees) at both ends of the arms.
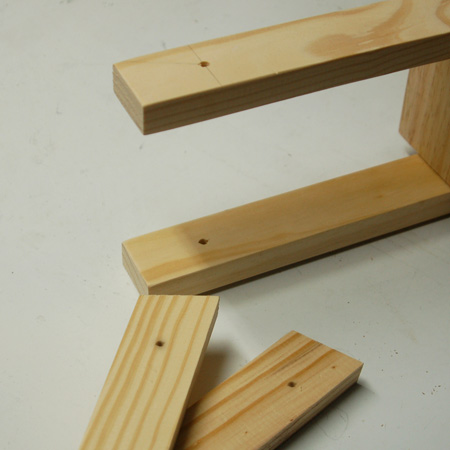
6. Insert the threaded rod and secure on both sides with a nut. Secure as tightly as possible.
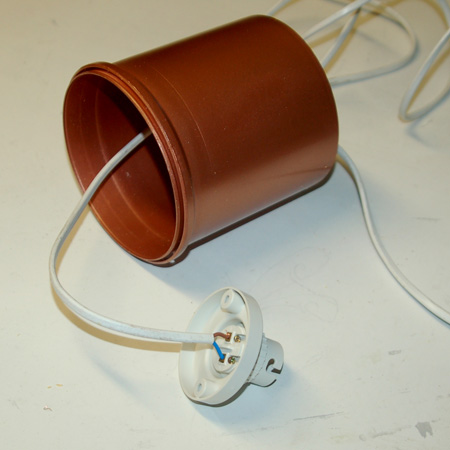
7. Start assembling the lamp: Thread the electrical cord through the hole in the base of the pot and attach this to the lampholder.
8. Thread the cable through the crosspiece.
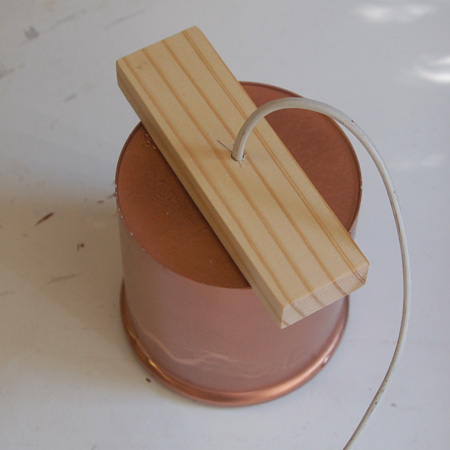
9. Attach the crosspiece to the arms with 50mm screws.
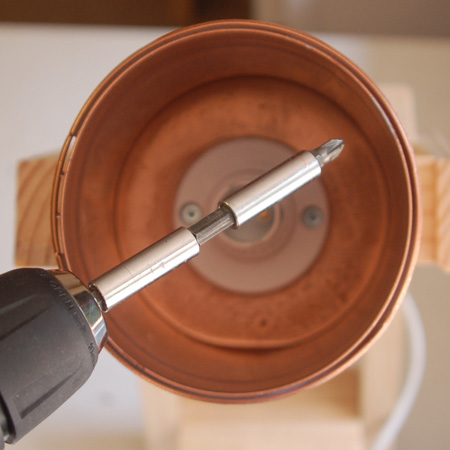
10. Use 16mm screws to secure the lampholder through the base onto the crosspiece.
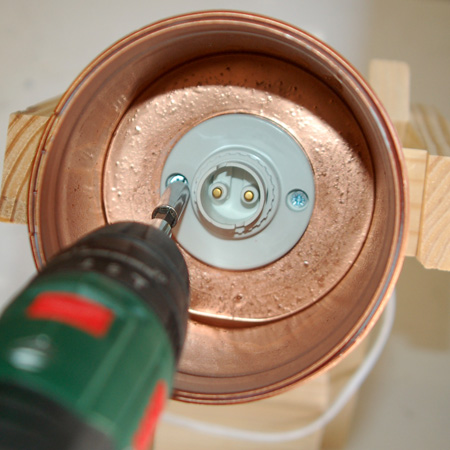
GOOD TO KNOW: In order to reach the base you can stack two bit holders together.
Finish off by attaching a plug, an on/off clicker if you want, and fit a CFL globe. Adjust the position of the desk lamp by moving the arms or the crosspiece. Make sure the electrical cord runs freely at the back of the lamp - and you're new pine desk lamp is good to go.