Hang pictures like a professional
If your walls are starting to look like Dutch cheese, with failed attempts at hanging pictures straight leaving pit holes all over the wall, relax! Hanging pictures is much easier than you think, so sit down and grab a cup of coffee whilst I explain how to...
If you are hanging a single piece the general rule is that the centre of the picture should be set at eye level for an average person, which means that all my pictures are waaaay to low being the midget that I am. Generally the height should be between 150 to 160cm from the floor.
YOU WILL NEED:
Newspaper or roll of brown paper
Hammer or Hilti hammer
Pencil
Spirit level
Tape measure
Picture hooks or Hilti hooks* - don't just hammer nails into the wall
*Buy the right hanging hardware to support the artwork. A heavy frame will require additional support - at least two hangers. Always check the manufacturer’s guidelines on the package to make sure it will support more weight.
- Always check the hardware to make sure it is firmly secured with screws to the back of the frame/artwork
- If the artwork is heavy, use two D-ring hangers – one on each side of painting to hang the art
- When hanging a frame from a wire, use to hooks in the wall for added stability.
HERE'S HOW:
There are many different types of picture hangers to choose from, but the most common are saw-tooth hangers or picture wire. If your frame is fitted with a metal hanger or picture wire, then the step-by-step instructions below will explain how to hang your pictures like a pro.
- Measure from left to right the determine the centre of the space where you will be hanging pictures. If you are mounting above a sofa or cabinet, use the length of that piece to ascertain the centre.
- You also need to measure from the floor up from both sides and mark at between 150cm as the bottom line for your arrangement. If the piece is higher than 150cm then your artwork should be at least 30cm to 50cm higher than the top of the piece. Use a spirit level to draw a line across the two marks to assist in staying level.
- For an arrangement of 3 or more pictures I prefer to cut brown paper to the size of each frame and position these on the wall with Prestik to move around until I am happy with the placement. Note each piece of paper and frame so that you don't get mixed up later on!
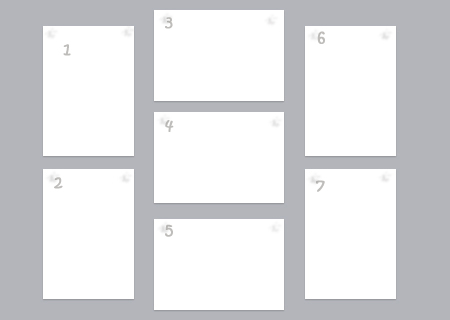
- Use the wall-mounted templates, a tape measure and spirit level to adjust the templates for level and distance between each other.
- For this step you need to measure and mark for the right hanging height. Measure the distance from the top of the hanger - or wire when pulled tight - to the top of the frame. Transfer this measurement onto the corresponding piece of numbered paper. Now you see why you need to number them !

- Use these marks as guides for hammering in picture hangers or hooks.
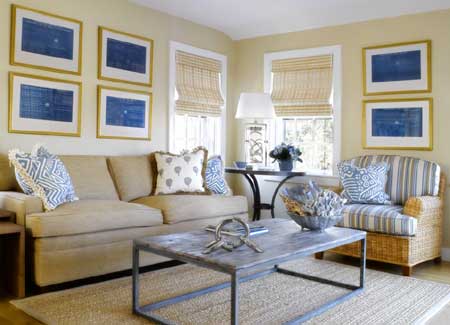
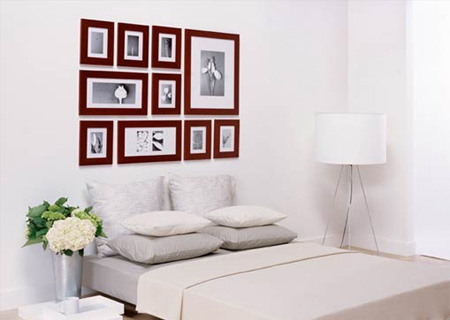
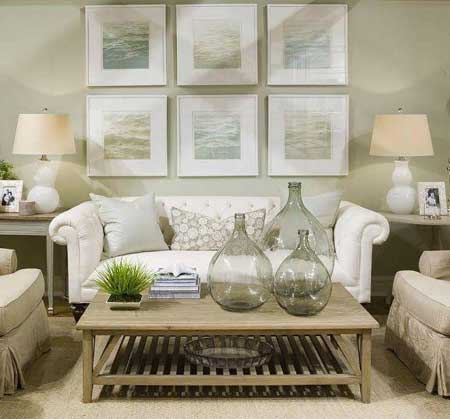
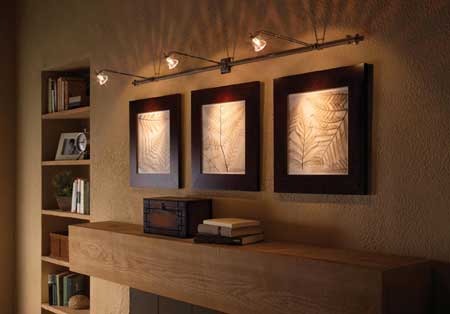
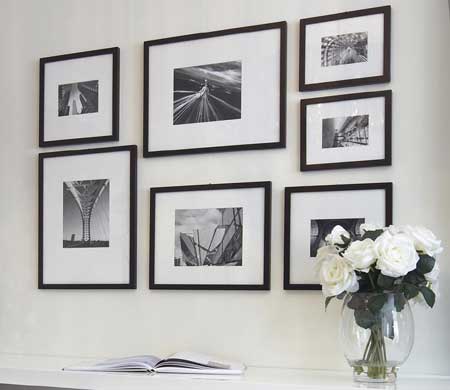
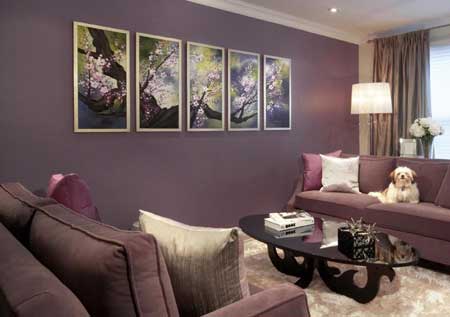
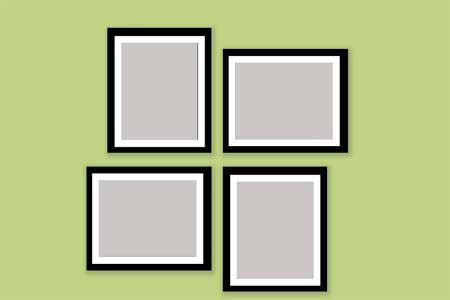
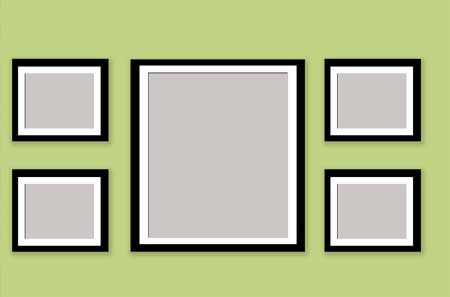
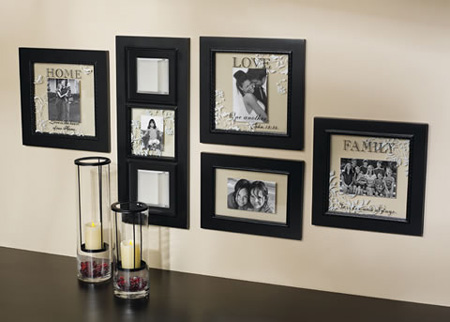
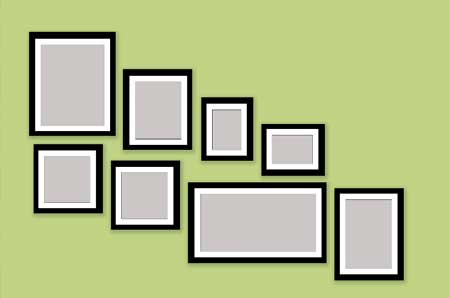
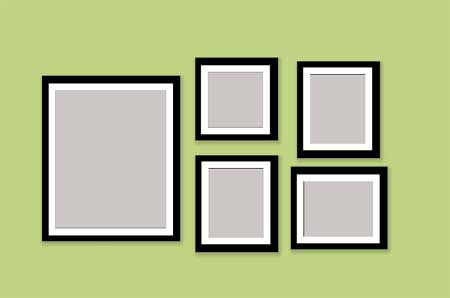
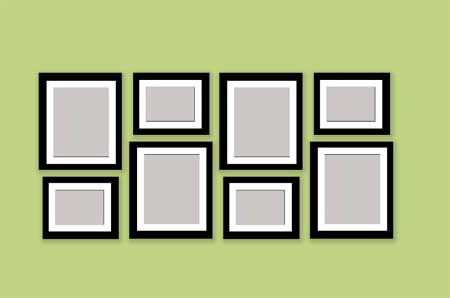
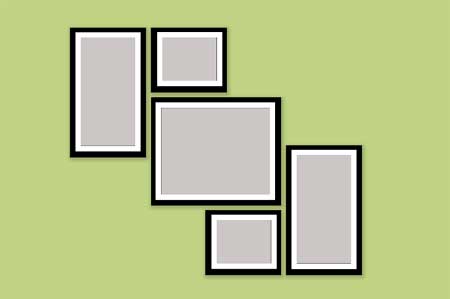
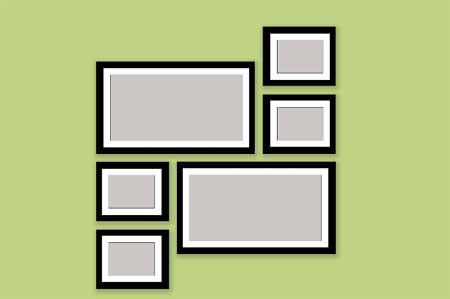
Here are some examples of stylish wall layouts when hanging photographs or pictures.

cierrapera photography