
Apply Hessian or Burlap Fabric to Walls
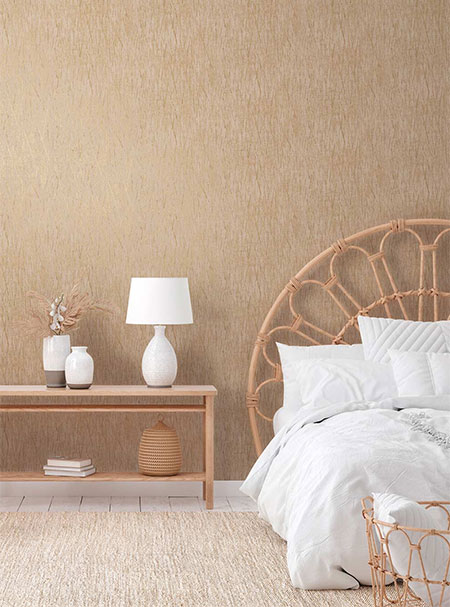
Fabric has been applied to walls for hundreds of years and applying hessian or burlap is one way to bring warmth and texture to a room at a very affordable cost.
18/01/2024
A CENTURIES-OLD TRADITION
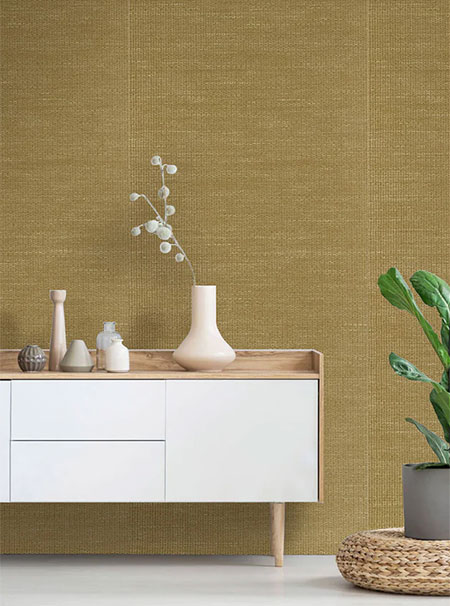
The practice of applying fabric to walls has been around since the Middle Ages when families of nobility used fabric on walls as a way of keeping their stone keeps and castles warm during the colder months of the year. Further on in history, we know that silk and damask were applied to walls during the 17th and 18th centuries as a way of signifying wealth and importance in society. Today, we might have made a turn towards wallpaper but there is still a movement towards applying fabric to walls as a covering and hessian - burlap - or grass cloth, the former two materials being a preferred choice due to its low cost and availability.
WHAT IS HESSIAN OR BURLAP?
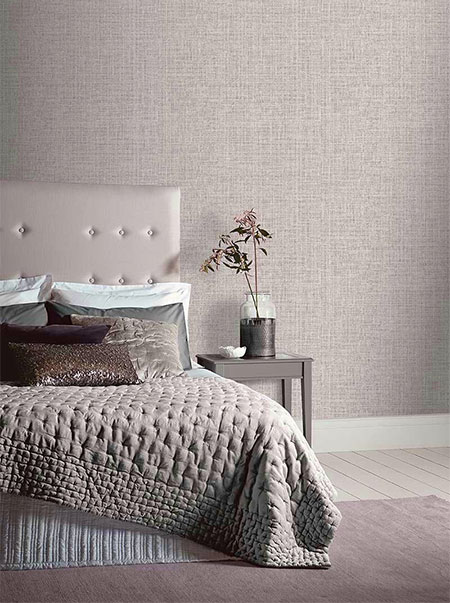
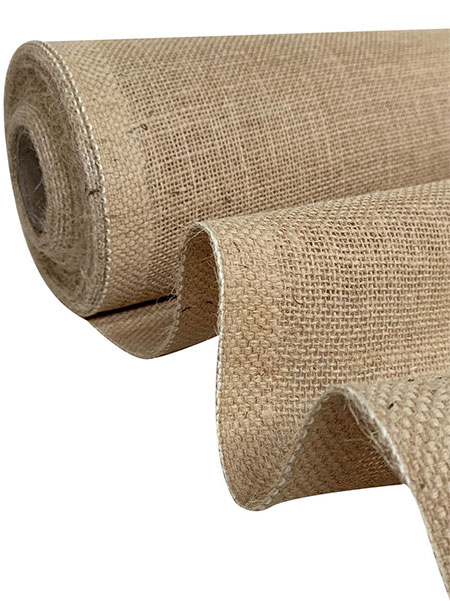
Hessian - or burlap - is made using natural plant fibres woven loosely to create a durable fabric that is most commonly used for sacks and bags. This material is inexpensive to manufacture and biodegradable, making it excellent for packaging. In recent years, hessian has become popular for arts and crafts projects and as a wall covering for interiors for its organic texture that is soft to the touch.
You can purchase a 5-metre length of hessian cloth that is 1.8 metres wide at Builders or their website at a cost of R399. Compare that cost to what you would pay for wallpaper and see how affordable it is to use as an option for wall covering, whether for an entire wall or only a section. Alternatively, one metre of super-fine hessian 1.3 metres wide will cost around R45 from fabric stores.
GOOD TO KNOW
This method of fastening hessian to walls is a semi-permanent solution. If you need to remove the wall covering, simply peel away and wash down the walls to remove residue with soap and water.
TRENDS OR FADS FOR WALLS
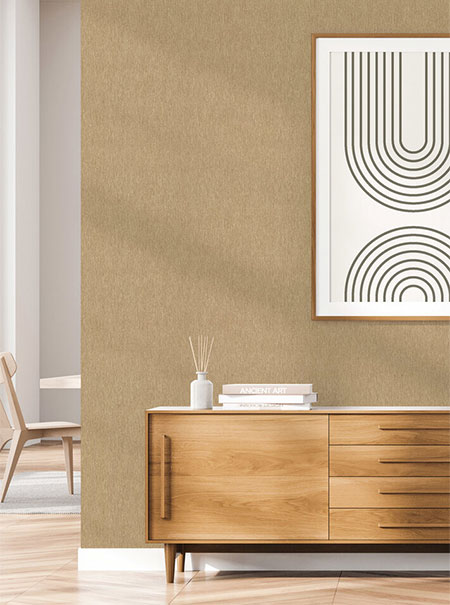
Wall coverings have gone through many transitions over the years from tapestries in the Middle Ages, to fabrics in the 17th century to the introduction of the first wallpapers in the 19th century. In the 21st century, we have seen murals and trompe l'oeil, rock and wood cladding and the use of stencils and paint - all in an attempt to add more aesthetic appeal to walls in a home. So, why not consider cladding walls with hessian (burlap) as well?
APPLY HESSIAN OR BURLAP FABRIC TO WALLS
Applying hessian or burlap fabric to walls is a simple process but if you decide to take this on as a project, know that it has to be done carefully for stunning results. In this article, we show you how to use a traditional method of affixing the hessian fabric to walls using a starch-based fixative that you may already have in your home. See below for details.
YOU WILL NEED:
Hessian fabric
Maizena
Wide paintbrush
Bucket for mixed adhesive
Drawing pins (push pins)
Craft or utility knife with new blade fitted
Tape measure
HERE'S HOW:
Step 1 - Prepare the hessian
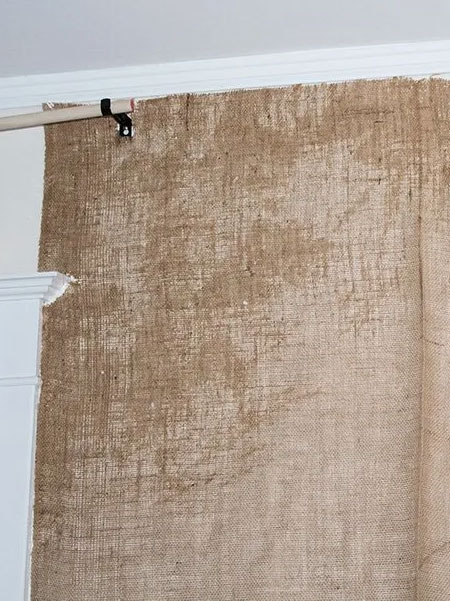
Measure the height of the wall or the area where the hessian will be affixed. Cut the hessian panels slightly longer as these will be trimmed once fastened onto the wall.
GOOD TO KNOW
If you have a fitted cornice at the top of the walls, use a couple of drawing pins (push pins) to hang the fabric to the cornice at the top of the wall.
Step 2 - Prepare the starch-based adhesive
In a pan on the stove bring 4 cups of water to the bowl. Mix 1/4 cup of Maizena with a small amount of water in a small container. Mix well to remove any lumps and make a runny mixture. Remove the pot from the stove and slowly pour the watered-down Maizena into the boiled water, using a whisk as you add to ensure a lump-free adhesive. Leave to cool down.
abutterflyhouse.com
GOOD TO KNOW
The starch adhesive is made in small quantities to avoid it drying too quickly when affixing the hessian to the wall.
abutterflyhouse.com
Step 3 - Apply the fabric onto the wall
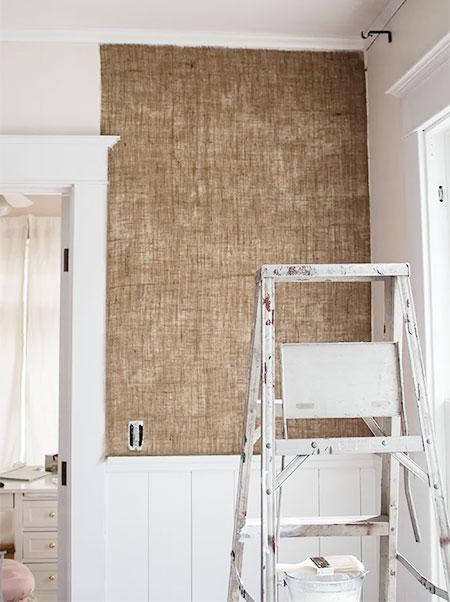
Start in a far corner and work from the top down to the bottom of the wall, use the paintbrush to apply the starch adhesive to the wall. Only apply a couple of rows before lifting the fabric and placing this carefully over the top of the adhesive. Smooth from the centre outwards with your hands to ensure there are no trapped air bubbles but do not stretch the fabric by pressing too hard. Repeat this until you get to the bottom.
abutterflyhouse.com
Step 4 - Trimming and cutting
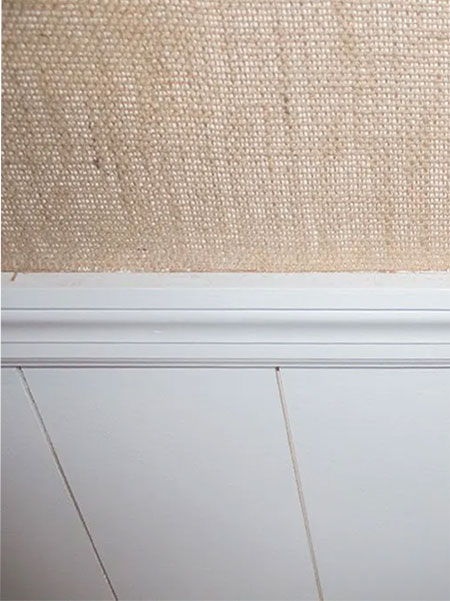
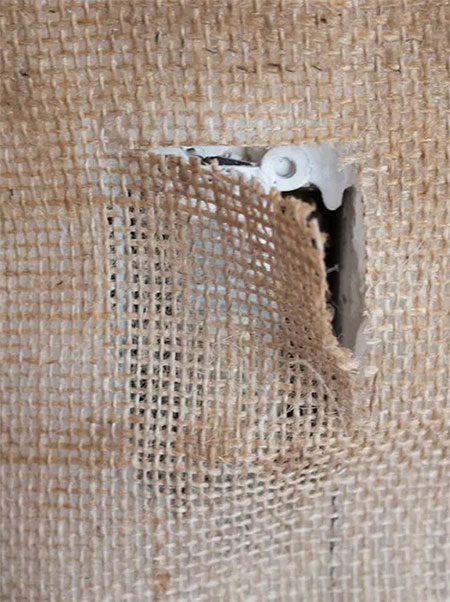
Any excess or uneven edges at the top and bottom can be trimmed with a sharp craft or utility knife. You can also use the knife to trim any fabric around fittings and fixtures. If necessary, use the paintbrush to apply more starch adhesive if it is dried in the meantime.
GOOD TO KNOW
If you need to disguise rough edges at the top and bottom, think about fitting cornice at the top and trimming along the bottom of the wall.
abutterflyhouse.com
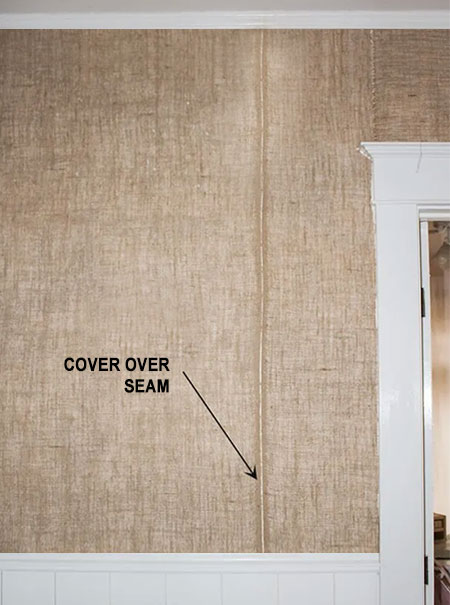
Step 5 - Disguising seams
Unless you can source fairly wide hessian, there are going to be seams where the fabric pieces butt together. There are options for disguising these by painting in a matching colour or glueing bias tape over the seam. I think that the seams add authenticity. However, when affixing the hessian onto the wall, ensure that the seam edges are straight and as close to each other as possible.
abutterflyhouse.com
FINISHING:
If you wish, a protective sealer can be applied over the surface of the hessian wall covering. Use a water-based sealer in a matt or satin finish to highlight the textured detailing and provide a protective finish that is easier to keep clean.