How to make plastic roses
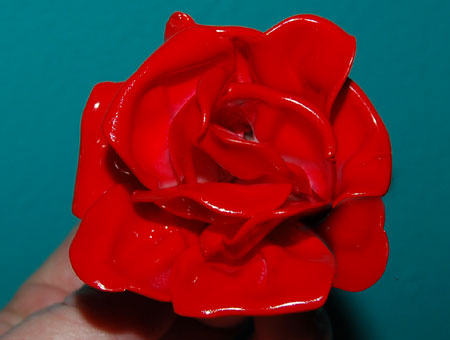
I have seen roses made from plastic spoons on the Internet and often wondered how easy they would be to make, and how good they would actually looked. Well, I can tell you now that they are super easy and look absolutely gorgeous. The picture doesn't do the finished flower justice!
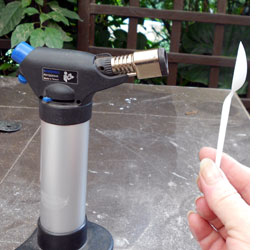
In place of a candle I used my Dremel VersaFlame. It made it very quick and easy and it's just a matter of knowing which way to hold the plastic spoon to get it too melt the way you want to. I had a drawer full of plastic spoons that were collected here and there - mostly from takeaways - that I quickly used up until I got the technique right. The trick is to hold the spoon quite far from the flame and at different angles - front and back - to create the different petal shapes.
CONTINUES BELOW
HERE'S HOW:
1. Holding the stem of a spoon, place it about 10cm away from the flame. You don't want the spoon to burn - just slowly melt. It is a trick to get it to melt the right way, and you will quickly pick up how to move the spoon around to get the effect.
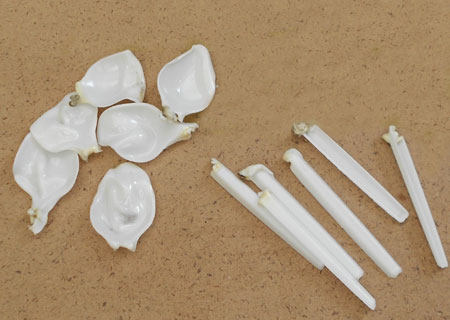
2. After melting the petal shapes, let them cool and them hold the petal in one hand and the stem in the other, placing close to the flame to melt and pull the sections apart easily.
3. Don't throw the stems away just yet, we can still use these.
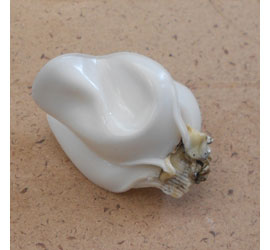
4. Select two nice petals to start of the rose. These will be petals that sit together nicely. Hold the tip of one petal in front of the flame to soften the bottom. While still hot, carefully place the melted end onto the bottom of the other petal and use a pair of pliers to squish together.
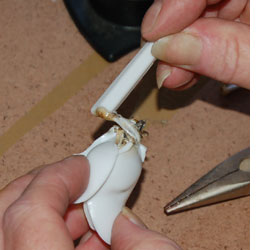
5. Continue to add petals in the same way, until you have your completed flower. If you find that the petals are not sticking as well as they should, or are a bit loose, melt the end of one of the stems and place over the loose areas to bind together.

You can even hold the petals together and place them quickly in front of the flame to heat up the plastic and then use the pliers to squish together.
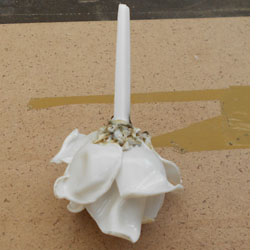
6. To finish of my flowers I softened the end of a stem and then placed it on the bottom of the flower. However, if you want to make your own brooches, or add the flowers to hairclips, etc, use heat and pliers to smooth the bottom of the flowers flat. I sprayed the finished flower with Rust-Oleum 2X spray paint in true red. It really does look absolutely gorgeous in real life!