Make a custom Roman shade
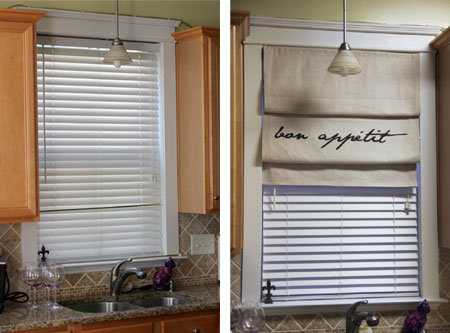
Wanting a unique piece in the kitchen, Dillan of Jordan and Dillan, decided to make her own personalised Roman shade with scripted text. The kitchen window already has blinds on it so a decorative, non-functioning, shade was needed. She kept the fabric simple and inscribed “bon appetit”, the perfect french bistro/cafe touch.
Wanting a unique piece in the kitchen, Dillan of Jordan and Dillan, decided to make her own personalised Roman shade. The kitchen window already has blinds on it, so a decorative, non-functioning, shade was needed. She kept the fabric simple and inscribed “bon appetit”, the perfect french bistro/cafe touch. Here’s how to make a cheap, personalised Roman blind.
YOU WILL NEED:
Fabric - measuring 50cm more than the width of the window and exact length
Iron-on fusible bonding or sewing machine & matching thread
1 tension rod and 2 dowels (12mm dia)
Iron
Damp cloth
Tape measure
Scissors
Printed text
Paint pen or black paint and brush
CONTINUES BELOW
HERE'S HOW:
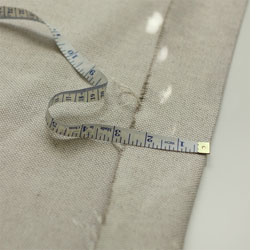
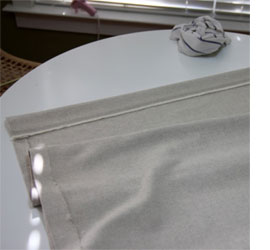
1. Fold sides over as much as needed to create seams on each edge. My fabric was 96cm wide and the window is 84cm wide, thus I measured 6cm on either side and folded over.
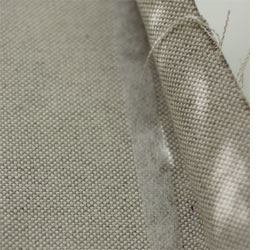
2. Place a piece of iron-on bonding tape under the fold, close to the edge. Or skip these next few steps and stitch the edging. This linen wasn’t tightly woven and I was too lazy to take out the sewing machine… thus the fusible bonding.
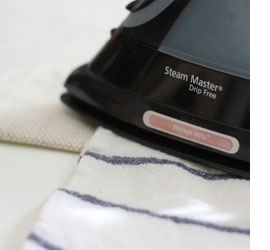
3. Close the fold, place a damp cloth on top of the fabric and with an iron on wool, steam setting, iron the cloth/fabric for 10 seconds. This creates the fabric bond and joins the fabric together without any sewing required.
4. Duplicate steps 1-3 on the other side .
5. Create a fold on the top of the shade that will hold the top tension rod. Place the rod at the top to measure an opening just large enough to wiggle the rod. Bond the fabric in the same manner that you did the length edges.
6. Bond the bottom edge as well.
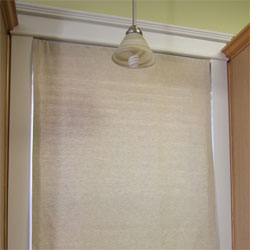
7. Hang the fabric in the window, placing the top tension rod at the very top of the window.
DIY TIP:
As an alternative to a tension rod, you can attach a velcro strip to the back of the fabric and onto the top of the existing blind.
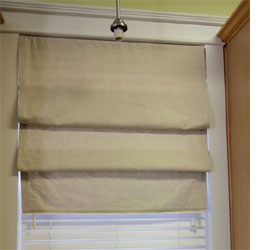
8. Place the remaining 2 rods approximately 25 to 30cm from each other. You can always adjust the sizing per your preference later. Drape the fabric behind the rods and then gently pull the fabric over the 2nd rod creating a drape. Do the same for the 3rd rod. Now you can adjust the folds to your liking. Patience... because the fabric may slide and you will have to start over…a few times!
9. If you like the shade as it is and don’t want any text, then you're all done! If not, mark the edges of the shade where you want text. I marked the middle area.
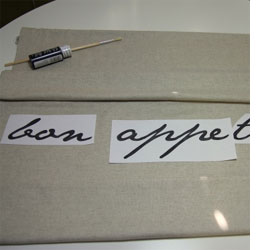
10. Print the large text; I used Jane Austen size 175 font. Dafont.com is a cool site with tons of free downloadable fonts.
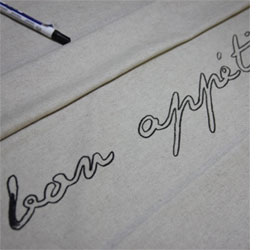
11. If you choose to skip freehanding, cut out the text so that you can trace it using a pen. Next, outline the text with a paint marker. Lastly, fill in the text outline with paint.
Hang the shade and re-adjust the folds. C’est tout!

