
How to make square or rectangle piped cushions
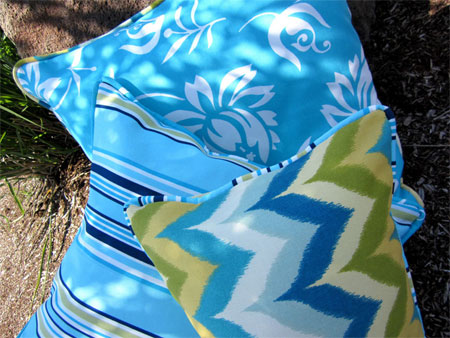
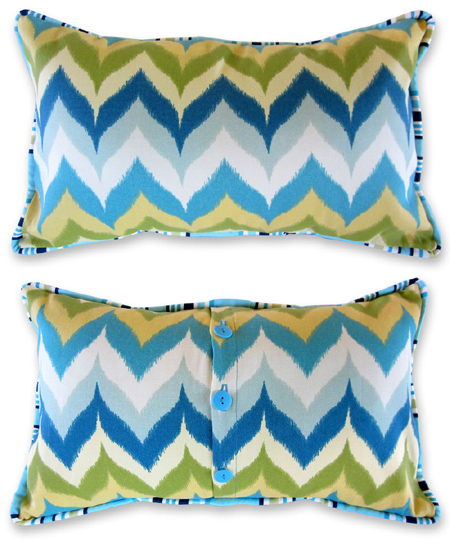
Cushions are always the perfect fast and easy project. We designed a great trio of cushions: there's a 60cm x 60cm jumbo cushion, an all-around 50cm x 50cm cushion and a comfy 30cm x 50cm lumbar cushion. You can also use outdoor fabric for these cushions. By choosing an indoor/outdoor cushion form, polyester cording for the piping, outdoor thread, and plastic buttons for the back closure; you'll have a set of great-looking, long-wearing cushion that can live outside for the entire season.
sew4home.com
You can use outdoor fabric for these cushions. By choosing an indoor/outdoor cushion form, polyester cording for the piping, outdoor thread, and plastic buttons for the back closure; you'll have a set of great-looking, long-wearing cushion that can live outside for the entire season.
YOU WILL NEED:
Any sewing machine
Zipper foot (optional)
Matching thread
See-through ruler
Fabric pen or pencil
Iron and ironing board
Scissors or rotary cutter and mat
Seam gauge
Seam ripper
Straight pins
We created our cushions as a set of three and so were able to mix and match the fabrics, using scraps from the main cuts for our piping cuts. Below, we've given you supplies to make each cushion independently. You'll end up with a little extra fabric, but we all love a little extra fabric!
Cushion One: 60cm x 60cm
- 1 metre of 150mm wide fabric
- 1/4 metre of 150mm wide fabric for the piping
- 3 metres of 12mm piping cord
- Five 3cm buttons
- One 60cm cushion form
Cushion Two: 50cm x 50cm
- 1 metre of 150mm wide fabric
- 1/4 metre of 150mm wide fabric for the piping
- 2,5 metres of 12mm piping cord
- Four 3cm buttons
- One 50cm cushion form
Cushion Three: 30cm x 50cm
- 1 metre of 150mm wide fabric
- 1/4 metre of 150mm" wide fabric for the piping
- 2,3 metres of 12mm piping cord
- Three 2cm buttons
- One 30cm x 50cm cushion form
HERE'S HOW:
Cushion One: 60cm x 60cm
- Cut ONE 640 x 640mm square
- Cut ONE 640mm high x 400mm wide rectangle
- Cut ONE 400mm x 640mm rectangle
- Cut TWO 50mm x width of fabric (WOF) strips
- Cut a 3 metre length of cording
Cushion One: 50cm x 50cm
- Cut ONE 530mm x 530mm square
- Cut ONE 530mm high x 340mm wide rectangle
- Cut ONE 530mm high x 330mm wide rectangle
- Cut TWO 50mm x width of fabric (WOF) strips
- Cut a 2,5 metre length of cording
Cushion One: 30cm x 50cm
- Cut ONE 330mm high x 530mm wide rectangle
- Cut ONE 330mm high x 300mm wide rectangle
- Cut ONE 330mm x 330mm square
- Cut TWO 50mm x width of fabric (WOF) strips
- Cut a 2,3 metre length of cording
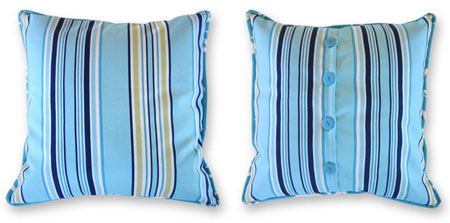
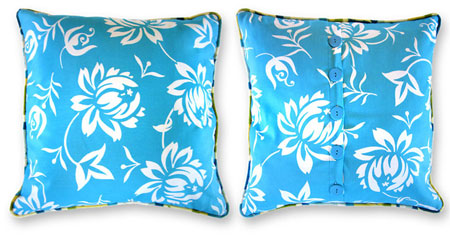
Square cushions
The pictures show construction of the 50cm x 50cm cushion. The steps are the same for any square pillow.
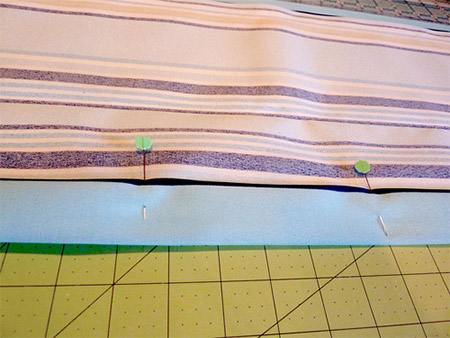
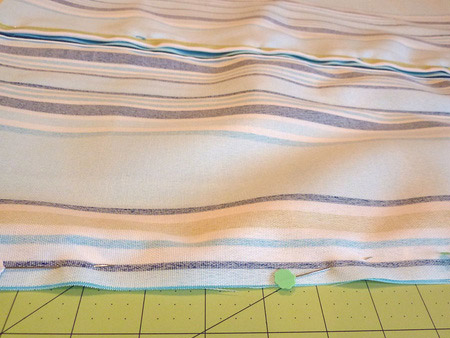
Find the wider back rectangle. Along one inside edge, make a 40mm double-turn hem. To do this, fold back the raw edge 40mm and press. Fold back an additional 40mm and press again. Pin in place. Top stitch the hem in place close to the inside fold.
Find the other back rectangle. Along one inside edge, make a 12mm double-turn hem. To do this, fold back the raw edge 12mm and press. Fold back an additional 12mm and press again. Pin in place. Top stitch the hem in place close to the inside fold. Set this narrower hemmed panel aside.
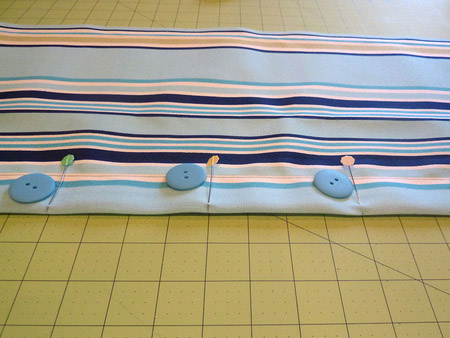
Place the wider hemmed panel right side up on your work surface. Mark the placement for your button holes centred side to side and top to bottom within the hem. Make sure you are using an easily erasable/removable fabric pen or pencil or pins.
For our 60cm x 60cm cushion we marked our five buttonholes from the top edge as follows: the first one at 100mm, the second one at 200mm, the third one at 310mm, the fourth one at 420mm and the fifth one at 530mm.
For our 50cm x 50cm cushion we marked our four button holes from the top edge as follows: the first one at 100mm, the second one at 210mm, the third one at 320mm, and the fourth one at 430mm.
Following your sewing machine's instructions to make the button holes. When cutting button holes open, cut in a little from each edge towards the centre. This is better than trying to cut them open with one action, which may lead to cutting into the stitching. Find both finished panels. Overlap and adjust them to yield the correct finished width and height. The button holes should be on top; the narrow hem on the bottom.
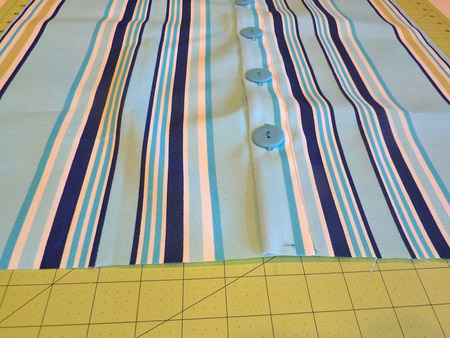
Pin the two panels together. Working as close to the raw edges as possible, tack the overlap together to secure and create one piece. It will be easier to work with one piece instead of two later when you stitch front to back. Place a pin at the exact centre point of each button hole. Make a mark on the opposite panel at this pin point. These points are where you should sew on the buttons.
Rectangle cushion
The rectangle cushion is constructed in the same manner as the square cushion, but the first hem (made on the square piece) is a 25mm double-turn hem rather than 40mm. The hem on the opposite piece is still a 12mm double-turn hem. And, we marked our three button holes from the top edge as follows: the first one at 80mm, the second one at 166mm, and the third one at 260mm.
Make and add the piping
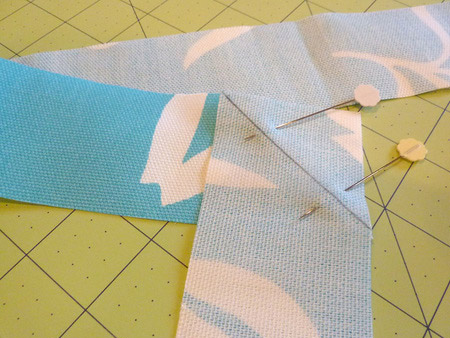
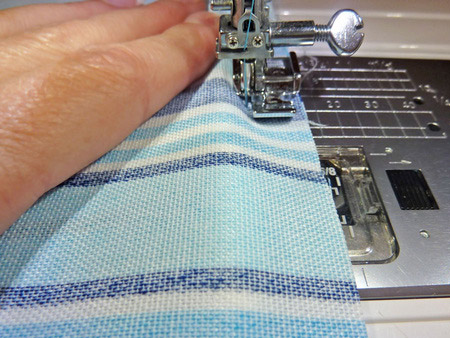
Stitch together your 50mm strips to create the length indicated above (3 metres for the 60cm x 60cm cushion, 2,5 metres for the 50cm x 50cm cushion, 2,3 metres for the 30cm x 50cm cushion). Wrap the fabric around the cord. Pin close to the cording to hold it in place.
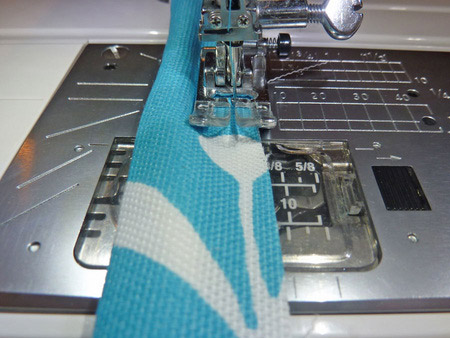
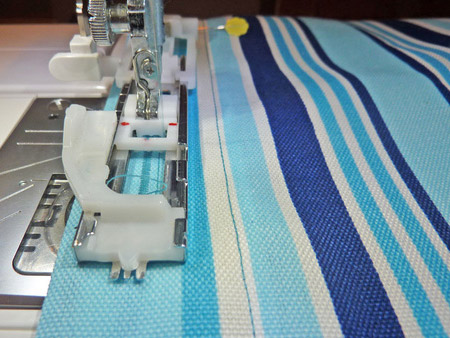
Using a zipper foot or regular foot, sew close to the cording to create your fabric covered piping.
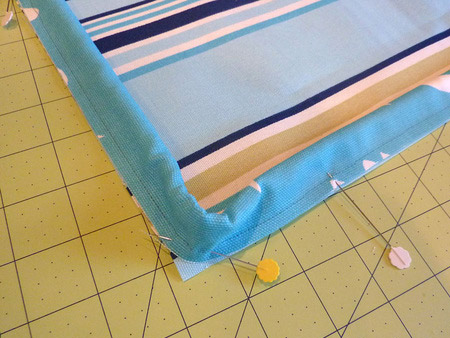
Find your cushion front piece. Starting in the middle of one side, pin piping to the right side of the front piece, aligning the raw edges of the piping with the raw edge of the front.

Clip the cording at the corners to allow it to curve around the corners nicely. Start stitching at 12mm from the raw end of the piping (for a clean finish). Stitch all the way around. When you are about 25mm from the starting point, stop and lock your stitch. Remove the project from the machine and lay the piping against the fabric so it is flat and smooth. Cut away the excess fabric and piping leaving about a 20mm tail.
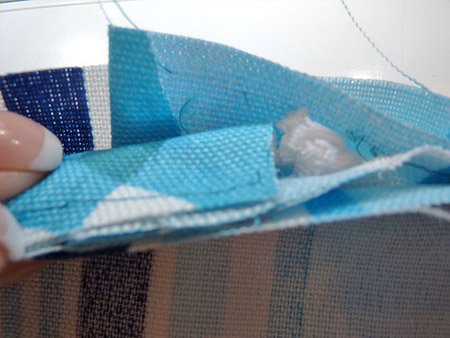
With a seam ripper, peel back the fabric to expose the cording underneath. Trim end of cording tail to meet the end of the sewn-down cording. Fold under the end of the loose fabric to create a clean edge. Lift up that little bit of the start of the piping you left loose at the beginning, and wrap this folded end under and around, overlapping about 12mm.
Stitch in place, matching your seam line.
Assembling the layers to finish
Find front panel with the piping stitched in place and your back panel with the two pieces tacked together to act as one. Make sure the back panel is unbuttoned. Place the finished front panel on your work surface right side facing up. Place your finish back/button panel on top, right side facing down. Your piping is sandwiched in between the layers. Carefully align all the raw edges and pin in place.
Using your Zipper foot, stitch together all layers around all four sides with a 12mm seam allowance, which should be as close to the piping as possible. Go slowly and make sure your layers stay flat. When seam is complete, turn the cushion cover right side out through the back button opening. Push out the piping all around. Use a long, blunt-end tool, such as a knitting needle or chopstick, to smooth out the corners. Insert your cushion form through the envelope opening and fluff it out into the corners. Button the cushion closed.
Note: I found this tutorial on Sew 4 Home, which is a great website for ideas. Unfortunately most of the tutorials for projects are in Imperial measurements, but there are still some lovely ideas.