Make a painted welcome mat
A welcome mat not only keeps dirt and dust out of a home, it's also a nice way to welcome guests. Here's how to buy an expensive welcome mat and turn it into a feature for your entrance.
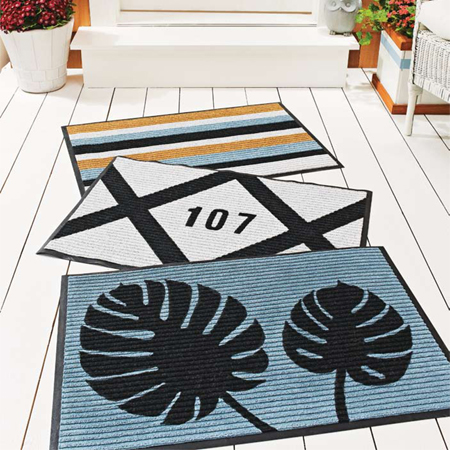
Door mat with stripes
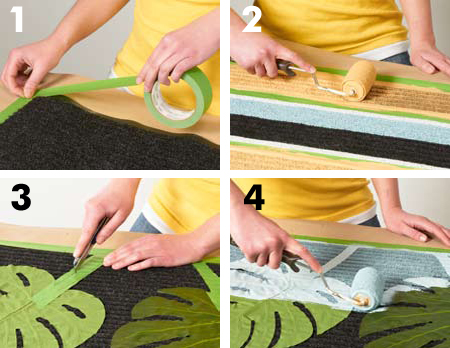
Probably the most simplest design to create on a ribbed mat, you can easily apply tape to create a decorative striped welcome mat.
1. Create your design with strips of masking tape or duct tape. Duct tape sticks better to a woven or sisal mat. Press the tape into the ridges to help prevent paint seepage.
2. Roll two coats of acrylic paint on each stripe, leaving out the black stripes. These are created by simply leaving the area unpainted.
Patterned door mat
If you prefer to add a design to your door mat, use tape cut into shapes for a fun look.
3. A light coat of spray adhesive will ensure that the leaves stick to the mat and stop the paint from seeping underneath.
4. Apply a thin coat of paint all over the mat using a small roller. Be careful not to squeeze paint under the design as you work. When dry, apply a second coat.
Use the design below to create a leaf patterned door mat.

Welcome mat with house number
You can
easily customize a door mat with you house number - ideal if you live in an apartment block or
townhouse. Cut out vinyl numbers and stick down with spray adhesive.
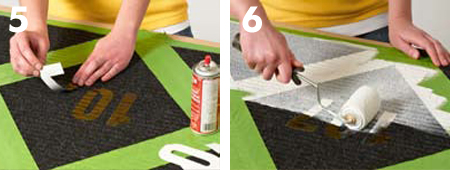
5. Stick down the tape and your numbers, pressing them firmly onto the mat to prevent paint bleeding underneath.
6. Use a roller to apply acrylic paint lightly and evenly over the entire mat. After the first coat has dried, roll on a second light coat.
Now that you see how easy it is to create a welcoming door mat, you can be as creative as you like.

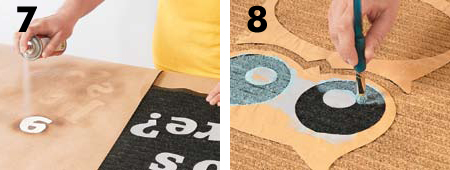
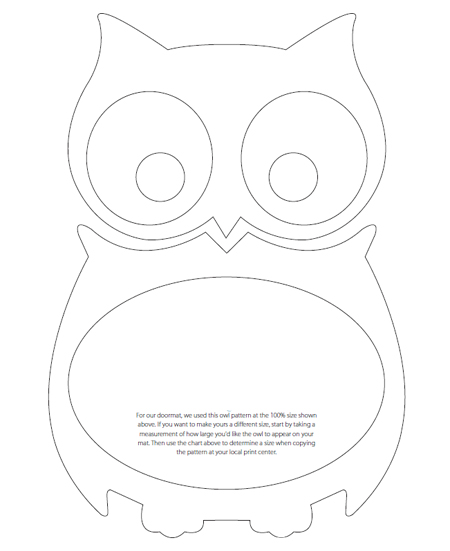
Welcome mat with custom design
7. Cut out a stencil using the design below. Soft card works best and you can use spray adhesive to stick onto the mat as you work.
8. Apply paint with an artist's paintbrush, dabbing paint into the surface of the mat. You may need to apply a second coat after the first coat has dried.