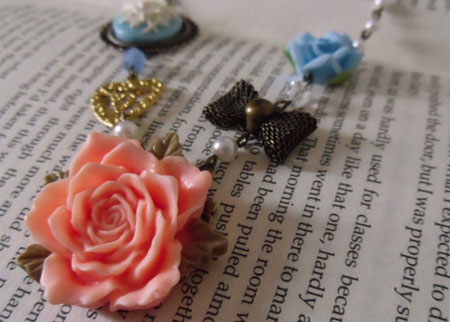
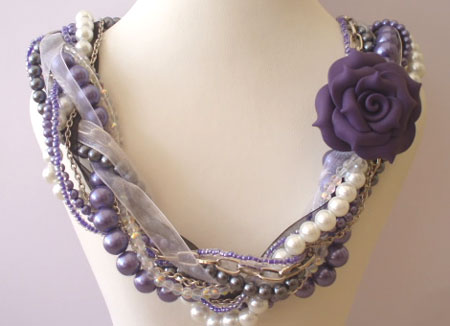
Clay rose necklace
This weekend I made my very first ever clay necklace. Although a bit simple in design, I like the rose design and you can bet I can only get better as I make more clay jewellery. I have big plans for making my own jewellery and there are some absolutely gorgeous design at the bottom of this page.
Ah well, we all have to start somewhere!

For this project I was lucky enough to receive samples of Viva Decor's Jewellery Clay, which is available in the most amazing materials. It was really easy to work with, requiring no kneading and only needing to be baked for 30 minutes at 120 degrees C.
If anyone out there is interested in stocking this product, please let me know. They have an absolutely fantastic range that they would like to introduce to South Africa.
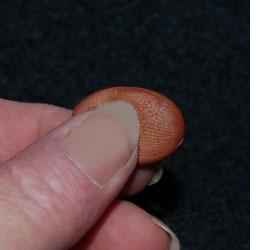
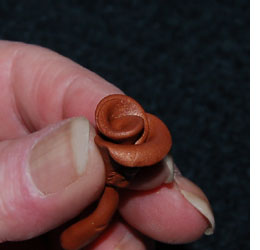
To make the rose petals I started off by breaking off a small piece of clay for the central rosebud. This gets flattened by using both hands and pressing with your index fingers and thumbs until thin and flat. As the petals get larger, so do the pieces that you need to flatten.

I rolled the flattened clay and then used the tip of my finger to ever so gently bend over the top edge. If you take a close look at a real rose you will see that no two petals are exactly the same and they have petals that curl over at the top - this is the effect that you want.
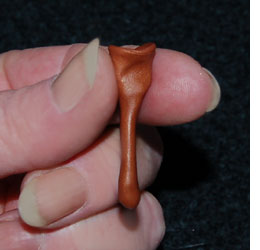
Now you can see how small the rosebud actually is. I rolled the long stem between my fingers and you will continue to do this as you add new petals
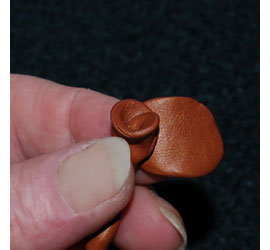
The next petal is added in the same way. Remember that the petals are slightly larger as you build up the rose.
Remember to roll the stem section underneath the petal. At this stage the stem holds everything together nicely and makes it easier to hold.

Here is what the stem looks like after adding 3 petals. If it gets too long, you can always split it off halfway, but don't remove the entire stem.
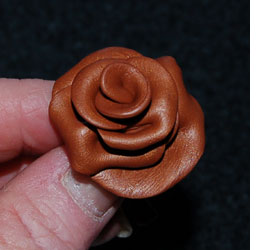
Continue adding petals until you are satisfied with your design.
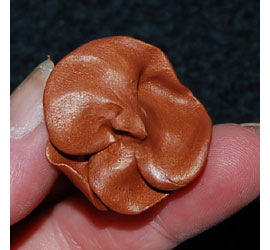
When finished adding petals you can roll the step between your fingers to gently break it off. Pat down the back for a flat finish. How your rose is ready to bake in the oven - 30 minutes at 120 degrees C. Once cured you have the choice of making whatever you want with your rose.
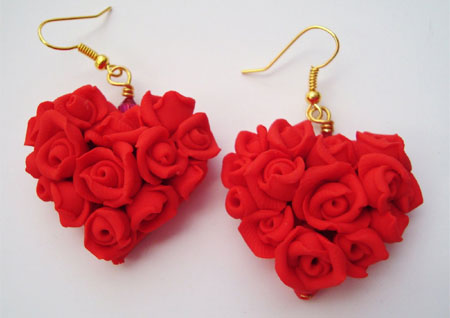
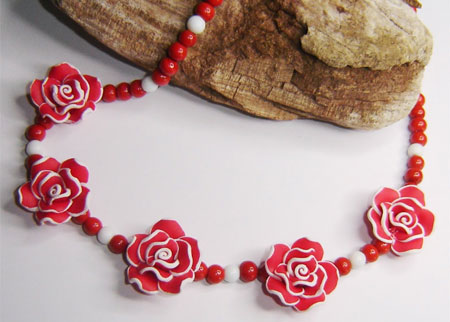
Take a look at some of the wonderful unique designs that I have found... perhaps one day...
lylaaccessories.blogspot.com

lindecise.tumblr.com
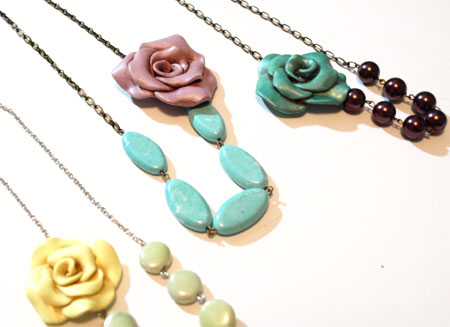
seecatecreate.wordpress.com