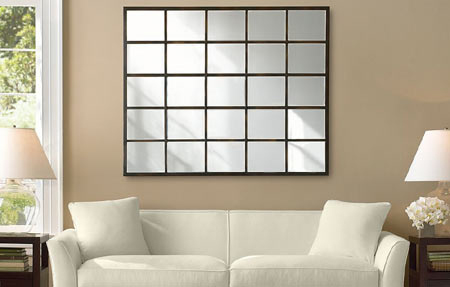
Make a multi-panel mirror
You don't need to be a do-it-yourself expert to tackle this project. All you need are a few mirror tiles, some timber and board, and a few basic tools and accessories to make this stunning framed mirror for your home.
starterhometodreamhome.blogspot.com
YOU WILL NEED:
Pine (22 x 50mm is good) for the frame surround
BisonBord for the frame box
Thin pine trim - for between the mirror tiles
Mirror tiles
Mitre box and saw
Alcolin wood glue
Corner clamps
Drill-driver and 4 x 16mm chipboard screws
Panel pins
HERE'S HOW:
1. Lay out your mirrors and the thin pine trim as to how you want and measure very accurately. We chose to do 9 mirrors because it fit where we wanted it.
2. Once you have determined the size have all your board cut to size at your local Builders Warehouse. You will also need to have small sections cut for the 2-layered support framing to the back.
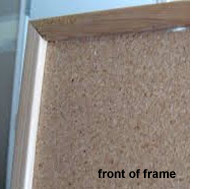
3. Screw the small sections onto the back board - see image right. Remember to allow at least a 5mm drop between the frame surround and the internal boards - leave a little lip so that the mirrors have a nice seamless fit.
4. The pine for the frame surround needs to be cut longer so that you can use a mitre box and saw to cut mitred corners. The frame surround is then glued and nailed to the back board and internal small sections.
5. Cut the thin pine trim to the correct lengths.
6. Use Rust-Oleum Metallic spray - antique bronze on the frame surround, and also spray the thin pine trim section.
7. Glue the mirror tiles and the thin pine trim to the board with No More Nails and let sit for 24 hours. Use heavy duty picture hanging wire screwed onto to the back to hang the mirror onto the wall.