Make angel wings with feathers and trim
If you're stuck for gift ideas for a little girl, grab some feathers or boa trim and make these angel wings.

YOU WILL NEED:
White cardboard box - or use Rust-Oleum 2X to spray brown cardboard
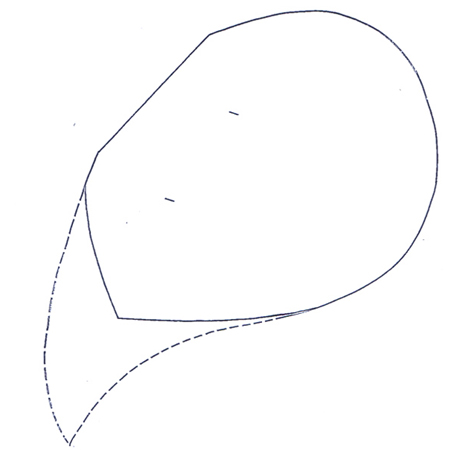
Wing template [below]
Craft knife and cutting mat
Fineliner black marker
1 metre elastic
Sewing needle and white thread
White boa trim
Dremel glue gun and glue sticks
Quill feathers - or substitute with white boa trim
HERE'S HOW:
Step 1
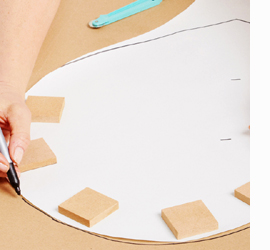
Enlarge the pattern template below and print it out at 172% so that the wing measures approximately 38cm across at its widest point. Create a double layer of cardboard by flattening a box along one of its existing creases and place the straight edge of the pattern against the fold. Draw round the pattern.
Lay the cardboard onto a cutting mat and cut the shape out along the line marked, cutting through both layers simultaneously. Cut 1cm long slots at the positions marked for the elastic. It’s best to work with white cardboard cut out from a white cardboard box.
Step 2
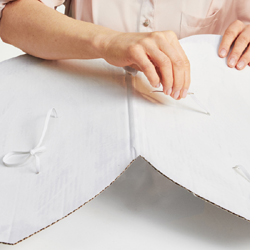
Open out the wings and lay them down so that the crease forms a mountain rather than a valley. Use the needle to thread one of the lengths of elastic down through one hole and up through the other on one of the wings. Knot the ends to secure them temporarily. Repeat on the second wing. The temporary knots can be undone when the wings are complete and the fit adjusted to suit size of the child.
Step 3
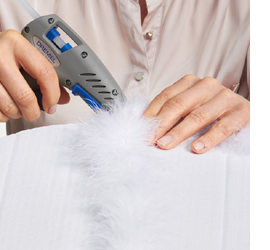
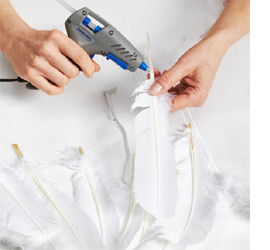
To hide the hard edge of the cardboard on the finished wings fit your Dremel high temperature Glue Gun 930 with a 7mm clear glue stick and glue the boa trim around the edge of each wing, working on short sections at a time.
Step 4
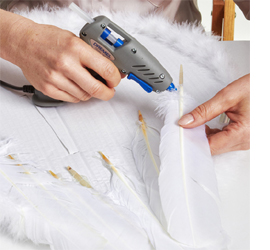
Place the wings down with the knotted elastic uppermost. Imagining the arrangement of a birds wing feathers, use the Dremel Glue Gun and clear glue sticks to glue feathers that extend from the lower edge of the wing to complete the wing tip. Cover approximately three-quarters of the wing with quills. This side of the wing faces away from the child’s back.
Step 5
Work up towards the top of the wing until the downy parts of the craft feathers blend in with the boa trim glued along the top edge.
Step 6
Turn the wing over. This side of the wing will be against the child’s back and represents the underside of a birds wing. Glue a few feathers in place - positioning them so that they again extend below the lower edge of the cardboard and blend in with those on the rear. Cover approximately half the wing with quill feathers.

Step 7
Cover the remaining section of the wing with feathers for a soft downy effect similar to the underside of a bird’s wing. Use the Dremel Glue Gun and 7mm clear glue sticks to glue the feathers rear face up but pointing downwards and overlapping the quill feathers. Work your way up towards the top of the wing concealing the fine shafts of the feathers that are closest to the upper edge. Repeat the whole process on the other wing, trying to mirror the placement of the feathers as far as possible to achieve a convincing pair of wings. Then, try the wings on the child and adjust the elastic to achieve the best fit.
NOTE: At A4 size, the template must be increased by 172% to be the right size for a child.