Engraved Glass Jug with Dremel Multitool
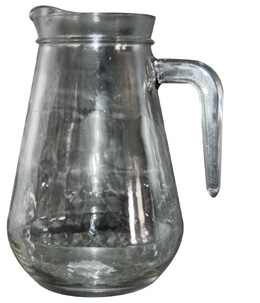
I love shopping on the cheap... looking for affordable items that I can revamp or transform in one way or another and for this project I came across a glass jug that is nice and thick - and perfect for an engraving project.
09/2023
It's the satisfaction of transforming a really cheap item into something unique and special. With a love of wild animals, and particularly the Zebra, I decided to engrave the jug using my Dremel Engraver.
YOU WILL NEED:
Glass jug or similar
Dremel Engraver
Masking tape
Design
Craft knife
Lightly damp cloth
Safety glasses
Pencil
Soft towel
HERE'S HOW:
1. Wrap the jug
To make it easier to draw the design onto the glass I wrapped the jug up in masking tape.
2. Draw your design
I think Zebras are beautiful and have drawn and painted so many over the years that it has become easy to draw. I use a soft pencil to create the design on the masking tape. If your drawing skills are not that great [!] you can easily find a suitable design on the Internet and then transfer this onto your jug.
3. Cut out the design
When finished with the design, use a sharp craft knife to cut out the sections to be engraved. You can't engrave over the tape as it becomes difficult to see what you are doing and the engraver doesn't work well through the tape.
4. Engrave the design
Before you start, pop on your safety glasses and place the jug (or similar) on a soft towel. Switch the engraver onto 'highest' setting and hold at a slight angle to gently stroke the surface of the glass. If you hold at too much of an angle you won't get a nice clear shading - practice a few times on the bottom of the jug before you start on the actual design.
GOOD TO KNOW
Start by engraving a solid line around the shape and then use the Dremel Engraver as you would shade with a pencil.
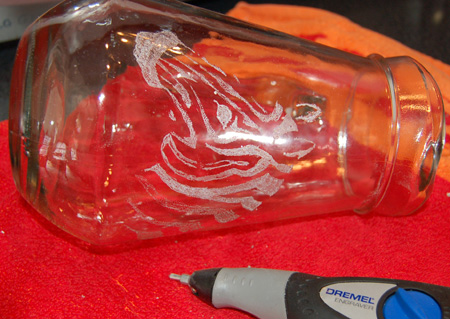
After engraving all the areas I removed the masking tape. This is not the finished engraving, as now I can see where to add more detail and fill in.
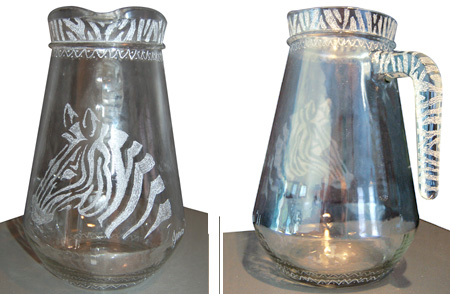
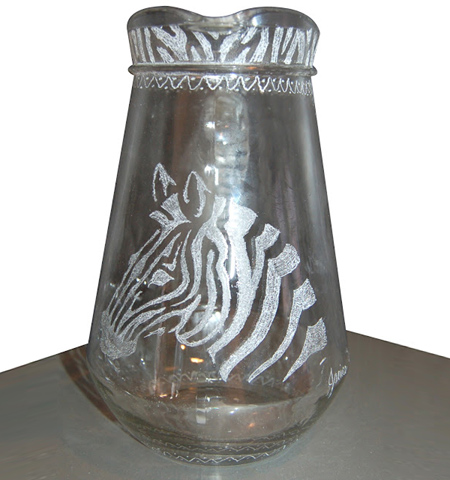
After adding more detail to the main design, as well as on the handle and around the top, now it's finished!