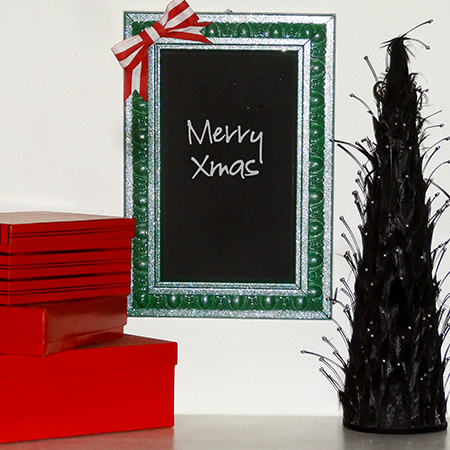
Festive chalkboard menu board
For the festive season we thought it might be nice to grab some Rust-Oleum glitter spray and turn an ordinary chalkboard menu board into a decorative display for the home. Rather than a conventional wreath, mount the festive chalkboard on your front door, or place close to your holiday table to list the menu of the day!
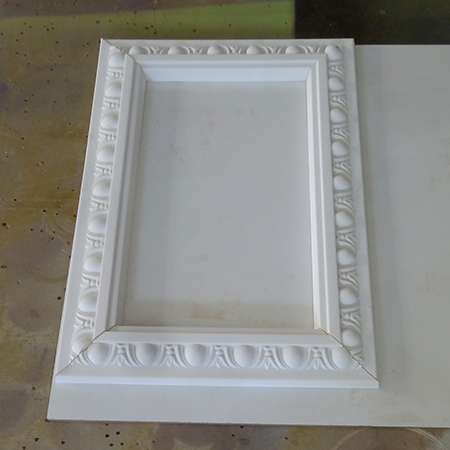
The frame for the menu board is made using extruded polystyrene that you will find at your local Builders Warehouse, or at a store that supplies crown moulding. It is expensive and very easy to cut.
You can make the frame to any size you like - our is 300mm wide x 450mm long.
1. Cut the polystyrene with 45-degree corners using a mitre saw or mitre box and backsaw.
2. Place the cut pieces on top of the board to mark the size for cutting the masonite. Make the masonite backing board 10mm smaller all round.
For the backing for our chalkboard we used half a sheet of white masonite, also from your local Builders store. If they don't have white, the plain masonite will work just as well.
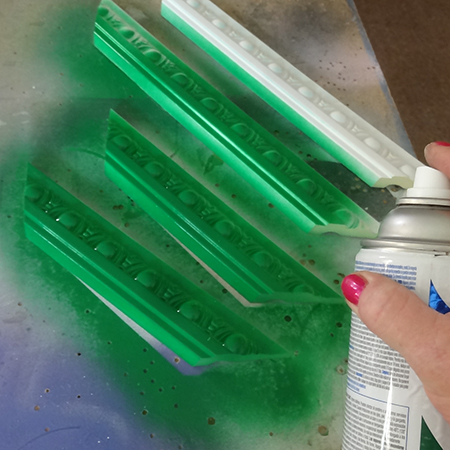
3. Spray the cut polystyrene frame sections with Rust-Oleum 2X gloss meadow green. Spray for different angles to be sure all the edges are covered with spray paint. Leave this to dry for about 15 to 20 minutes.
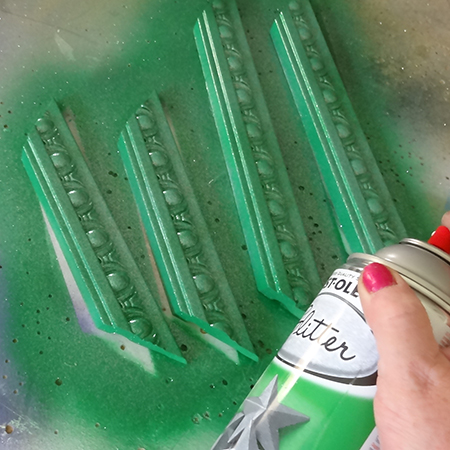
4. Spray on Rust-Oleum silver glitter spray and cover the polystyrene frame sections. Let this dry.
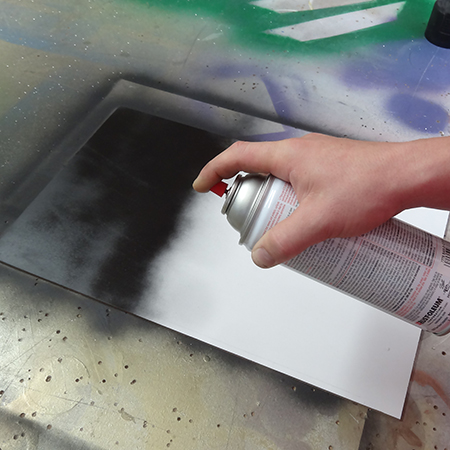
5. Spray the smooth side of the masonite with Rust-Oleum chalkboard spray. Apply two light coats and allow each coat to dry before applying the next coat.
GOOD TO KNOW
Before using the chalkboard for the first time you need to prepare the
finish. Rub over with the edge of a piece of chalk and then wipe clean
with a damp cloth. It's easier to do this before mounting the frame onto
the board.
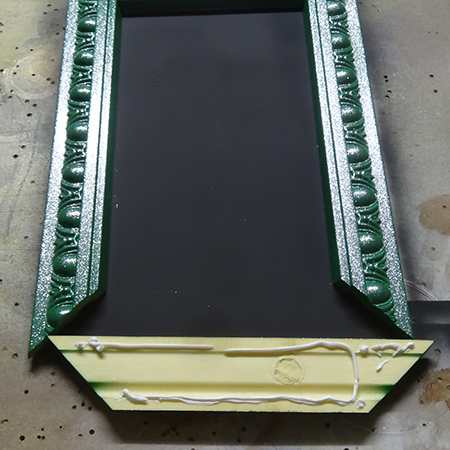
6. Dry fit the frame sections around the chalkboard. Working with one frame section at a time se Pattex No More Nails adhesive to glue the frame sections onto the chalkboard.

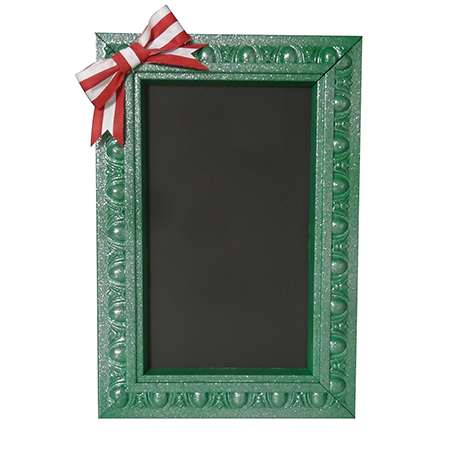
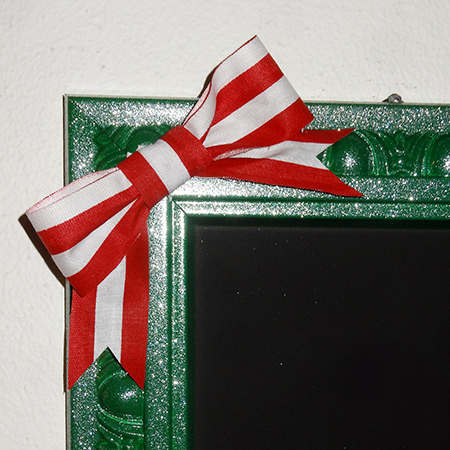
7. We cheated with our bow and made it in separate sections before gluing this onto a corner of the completed frame.
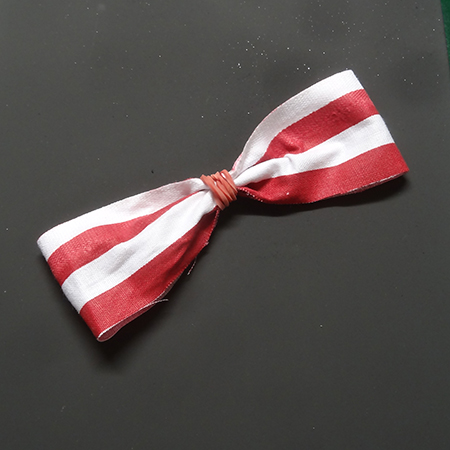
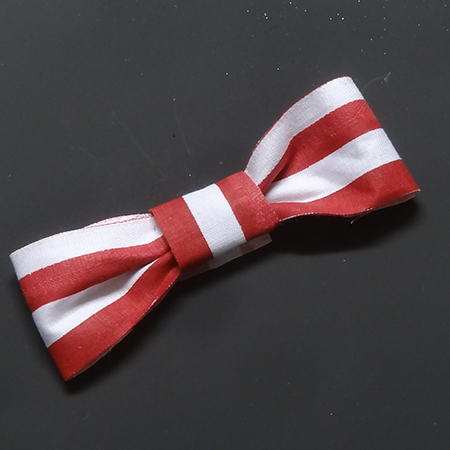
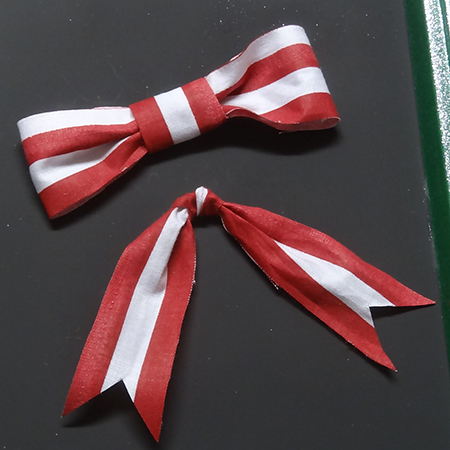
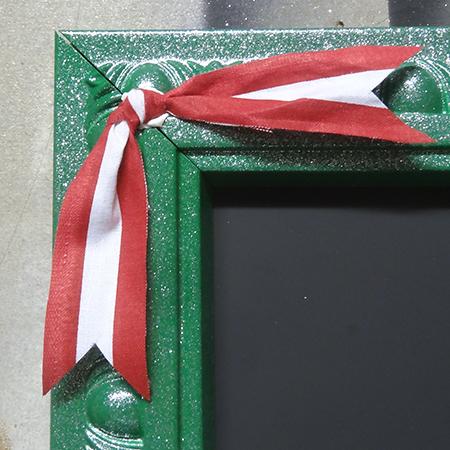
If, like me, you are terrible at making perfect bows - this is the cheat's way to do it for perfect bows every time!
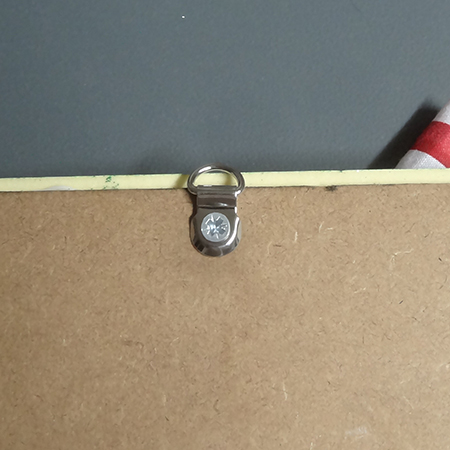
8. At the centre of the back mount a picture hanger using a 12 or 13mm screw, or leave this off if you won't be hanging the menu board.