Make a cardboard chandelier
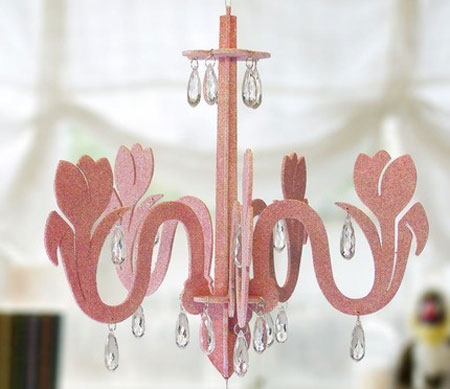
Hot, hot, hot. Cardboard chandeliers are a fun way to introduce quirky, decorative lighting elements without the expensive price tag. They look lovely in a little girl's bedroom, and can be embellished with crystal beads for a more glamorous look for any room in a home.
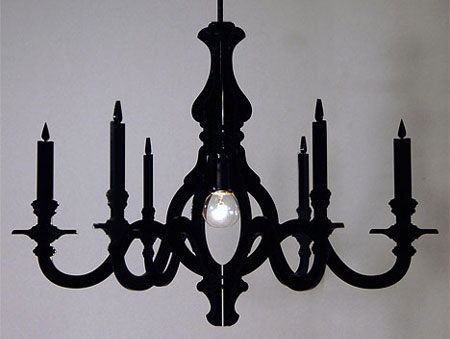
Start off with a basic design as a practice and as you work out how easy it is to make a chandelier cut-out, you can try more intricate designs, or even install a light fitting to illuminate your chandelier. Note: You will need to use an energy efficient globe, as these produce far less heat.
YOU WILL NEED:
Printed or freehand design
Craft or utility knife
Felt tip marking pen
Large piece of poster board or cardboard
Tape measure
Scissors
Hot Glue Gun and glue sticks
Cord or lightweight chain
Rust-Oleum Spray paint in your choice of colour and finish
Optional: Crystal beads, tassels, or other items to embellish optional
Eye bolt to mount
HERE'S HOW:
Before you start you need to decide on a design. Look for a simple design that will not use too much complicated cutting out.
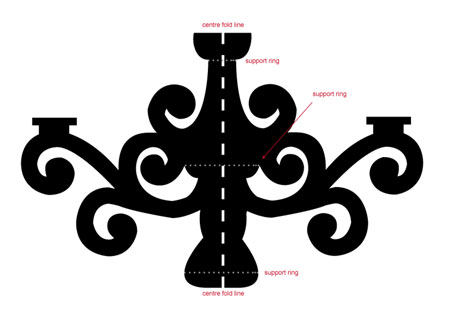
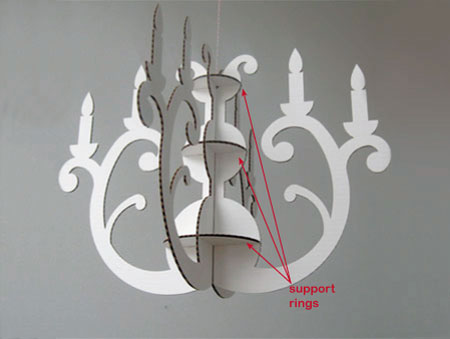
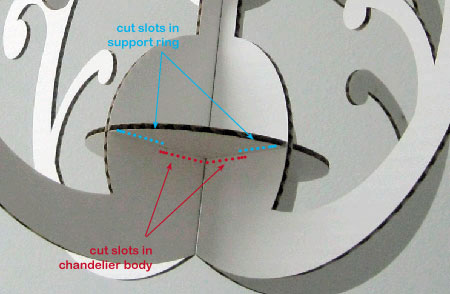
The chandelier body comprises 2 main sections, and each section is folded in half to create the body shape [see drawing below]. The support rings are what hold the body together to create the chandelier.
1. Print out your design or draw a freehand design.
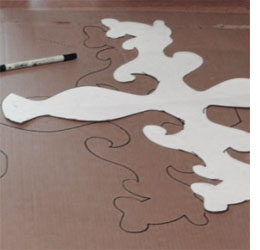
2. Transfer this onto the poster board or cardboard with a marking pen.
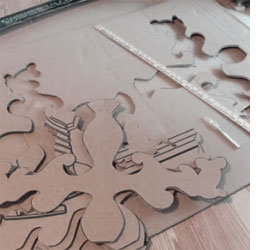
3. Place the design on a cutting mat and use a sharp knife to carefully and neatly cut out the design.
DIY TIP
It's important to use a new, sharp blade for a new edge.
etsy

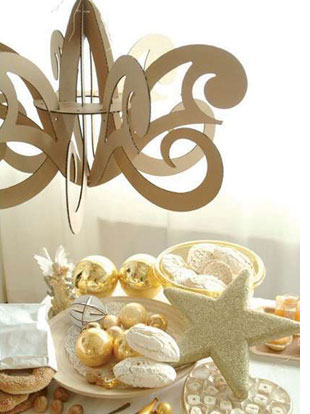
There are endless ways to finish off your cardboard chandelier. Use Rust-Oleum 2X spray paint in any colour, or use Rust-Oleum Universal Metallic spray to add a metallic effect. Buy at your local Builders Warehouse. Or simply leave bare for a contemporary look.
Chandelier designs:
Below are some examples of chandelier designs that I have come across.