
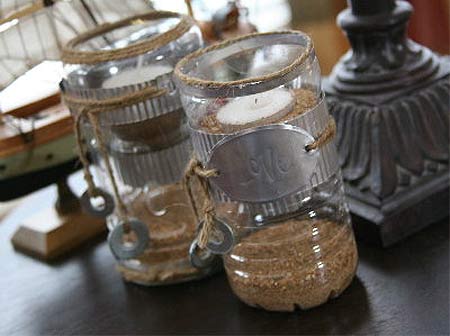
Decorative votives with metal tags
I have a real affinity for trash-to-treasure projects, especially recycling projects. This project shows how to make decorative votive containers from plastic bottles and aluminium cans
childmadetutorials.blogspot.com
YOU WILL NEED:
Plastic bottle
[2] aluminium cans
Tin snips
Twine
Scissors
Drill/driver and 3mm HSS bit
Tealight candle
Coarse sand
[4] washers
5-minute epoxy glue
Rubber mallet
Scrap piece of wood
Safety gloves
Optional: Crimping tool
HERE'S HOW:
Before you start, clean out the plastic bottle and can before you start. Give them a good rinse and let them dry.
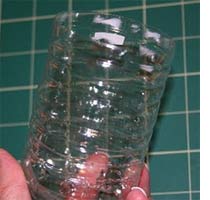
1. Remove the label and cut the plastic bottle below the curve of the neck. Most bottles are fairly thin and can easily be cut with scissors.

2. Wearing safety gloves, use tin-snips to cut off the top and bottom of the can and cut down the cylinder to leave a sheet of flat metal. Once the aluminum has been cut by scissors, it doesn't have as sharp an edge but it's still better to have gloves on just in case!
3. Lay the metal flat on a piece of scrap wood and gently beat flat with a rubber mallet.
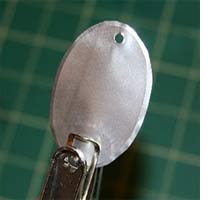
4. Use the tin snips to cut out an oval shape. You will probably be able to cut four medium-sized tags out of each aluminium can.
5. With a drill/driver and 3mm HSS bit, drill two holes at each side of the tag.
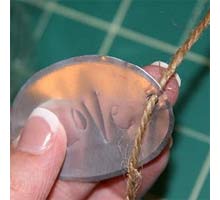
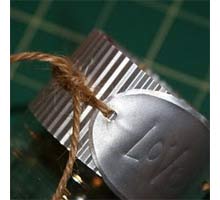
6. Use a sharp-pointed pen to write on the tag. The ink may or may not write on the tag (it looks good either way.) The real intention is to impress the name into the metal. That way, the name won't wear off in the weather.
7. Thread a piece of twine through both holes, leaving excess in back and on both sides.
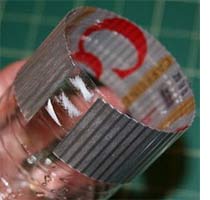
8. Cut open another can - as explained in point 2. above. You will cut this can into a strip approximately 5cm wide. I used a crimping tool to give the metal a corrugated effect, but you can leave plain or engrave or carve a design into strip if you like.
9. Glue the piece of the corrugated aluminum around the top edge of the cut bottle, positioning it to hide the raw edge of the plastic bottle. The aluminum doesn't reach all the way around the bottle, so I covered the gap with the prepared tag. I glued the tag in place over the gap and tied the twine around the bottle for decoration.
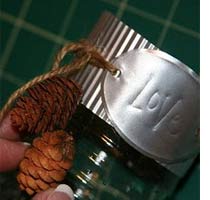
I wanted to hang something from the ends of the twine. I thought beads would look good, but I didn't have anything that had a hole large enough to fit the twine. I think this would look good with mini pine cones for a fall project. I decided to go trendy washers, and just tied them to the end of the twine. I poured some sand into the bottom of the bottle.
Not quite finished.
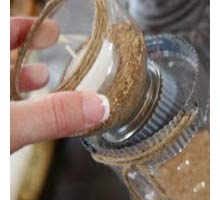
10. Use the top of the bottle and wrap a strip of metal around the cap. Then place the bottle top upside-down into the bottle bottom. Add sand to the top and insert the tealight candle.