
What is Gilder's Paste or Gilder's Wax and What is it Used For?
Gilder's paste or wax is a wax-based medium artists and crafters use to add effects to a project by highlighting details or providing metallic highlights.
26/10/2023
I stumbled across this project on single girl's diy website when searching for projects finished using gilder's paste. Since this project also uses chalk paint, it is a great way to talk about gilder's paste and how quickly you can give wood furniture an update or makeover using both chalk paint and gilder's paste or wax. Below is information on gilder's paste - how to use the wax paste and also where you can use it.
Note that I had to modify the instructions a little bit from the original, mostly because the products she used for the project are not available locally but we do have some great products that can be used in their place.
What is Gilder's Wax or Paste?
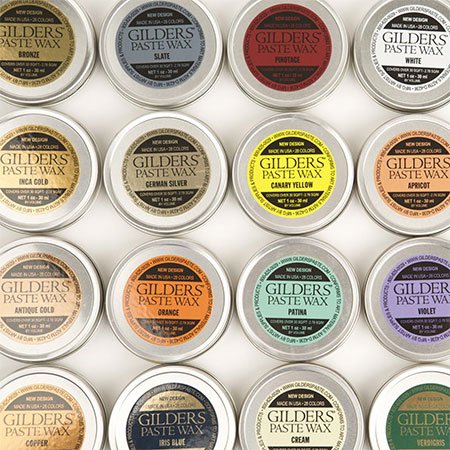
Guilder's wax or gilder's paste is a wax-based medium that contains metallic particles that give the wax its colour and the metallic particles are why it is better to purchase gilder's paste rather than make your own. Most homemade gilder's paste recipes require that you use metallic powder used for make-up as a substitute but this is not a good substitute for the real thing.
How do you use Gilder's Wax or Paste?
Using gilder's wax is really simple. The wax should be soft and you simply use a cloth to gather a small amount of the wax, as a small amount goes a long way, and gently apply this to the surface where you want the gilding to be and spread this using light strokes or dabs until the area is covered. Using a clean cloth, the surface where the wax was applied is then buffed to a satin finish.
How to use Gilder's Wax or Paste
There are plenty of projects where you can use gilder's wax and my favourite is to use a small amount to highlight detailed areas on furniture, mirrors or almost anything where you want to add a metallic finish or other finish available in the range of gilder's wax. It is versatile enough to use on wood, metal, ceramics, concrete, resin, plaster or Paris and others and, once applied, remains permanently.
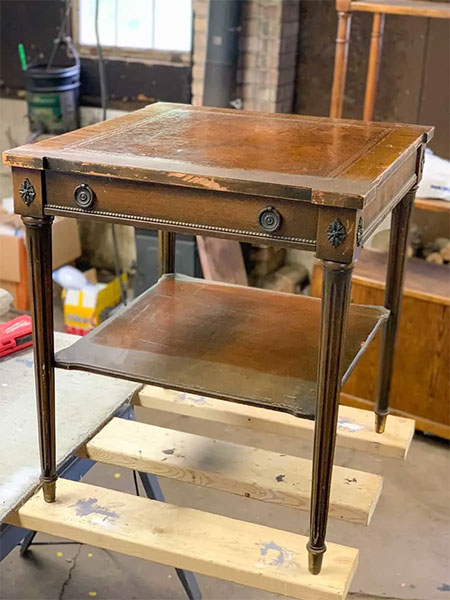
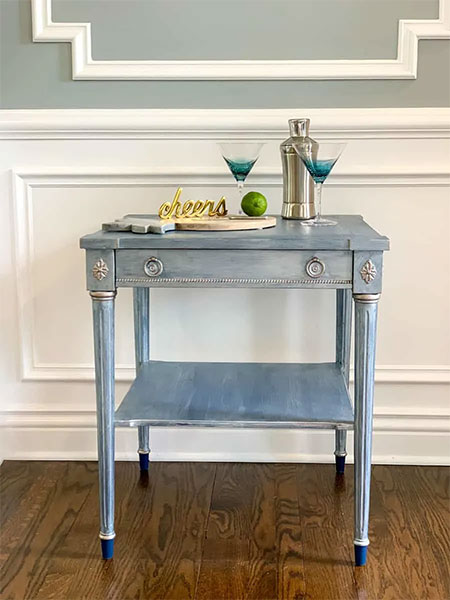
For this project, single girl's diy used chalk paint and gilder's wax to transform a vintage table, shown above. The condition of the table is what one would expect on an old piece of furniture with stains, scratches and the odd dent here and there, nothing a bit of sanding and painting wouldn't be able to fix.
Step 1 - Prepping the piece for painting
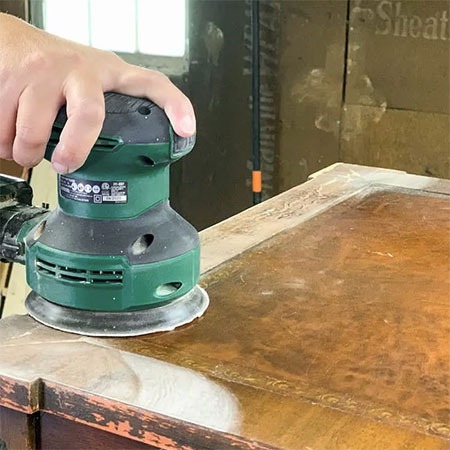
Before you can do any painting, you need to perform any repairs that need to be done and then prep the finish. If oils or waxes have been used on the furniture, it is best to remove these using mineral turpentine. Anything that remains can be sanded and this will also take care of any scratches on the finish. While you do not have to sand beforehand when using chalk paint, it is very much like using primer - you get a much better finish if you do. Use a cloth lightly dampened with mineral turpentine to remove any dust left behind.
2. Apply the chalk paint
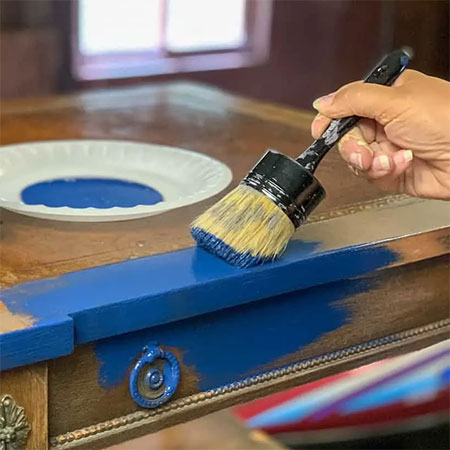
In the original post, two different chalk paints were used to achieve the finished paint effect. This is not required if you use chalk paint already tinted to the colour you want for the piece of furniture. We are lucky to have several brands of chalk paint at our fingertips, including Annie Sloan and others, and these come in a wide selection of different colours and you can select the perfect colour for your project.
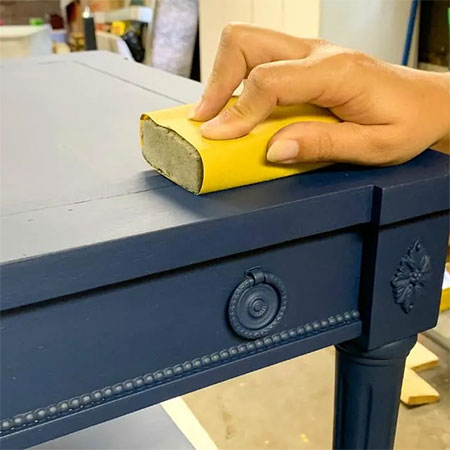
Sanding between the first and second coats is only necessary if you are wanting a perfectly smooth finish and you do not need to do this between coats but rather once you have finished painting. Chalk paint gives a unique finish and some people prefer to see the brush strokes, which also gives the paint dimension as opposed to a flat finish.

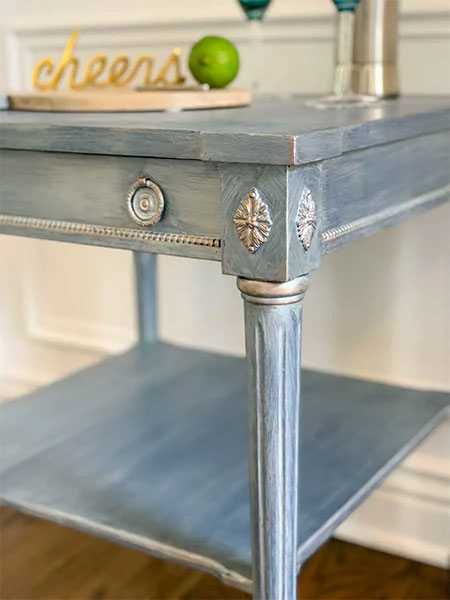
3. Rub on gilding wax
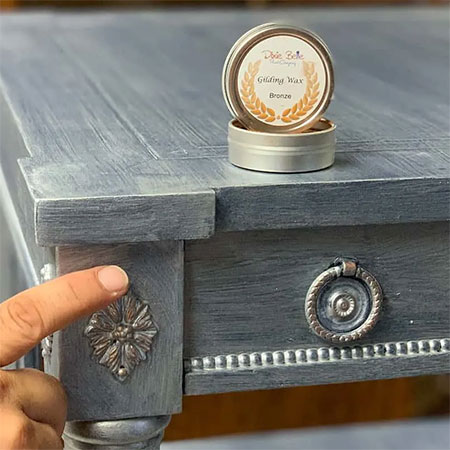
A small amount of gilding wax goes a long way. You can apply with a soft cloth or fingertip and only a small amount will cover a large area. The more gilding wax you apply - the more dramatic the effect. After application, buff to a satin sheen with a clean soft cloth.
4. Protecting the finish
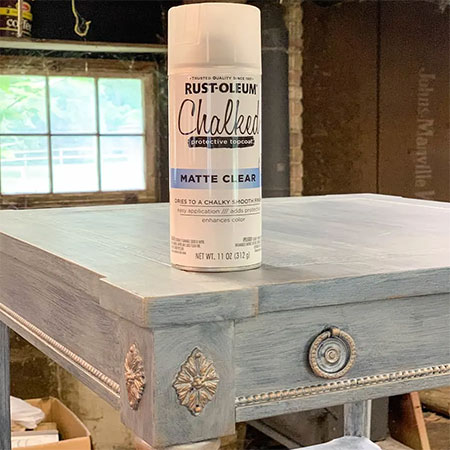
Protecting the chalk-painted finish is necessary because chalk paint is absorbent and will suck up any spills. It is also difficult to clean a chalk-painted finish so a protective sealer, wax or top coat is important. Sealer, wax or top coat brush-on or spray all offer a level of protection and the choice is up to you. I prefer to apply two coats of clear matt polyurethane sealer over chalk-painted projects.
More information on using gilding wax or paste