
Update or Modernise Plain Pine Furniture
There are so many ways that you can give dated or old-fashioned and affordable pine furniture and new look and we show you a few tricks.
03/06/2023
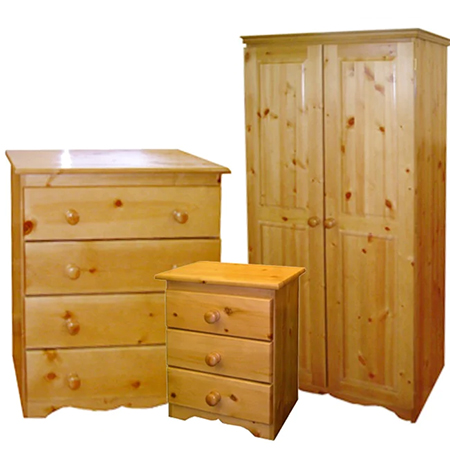
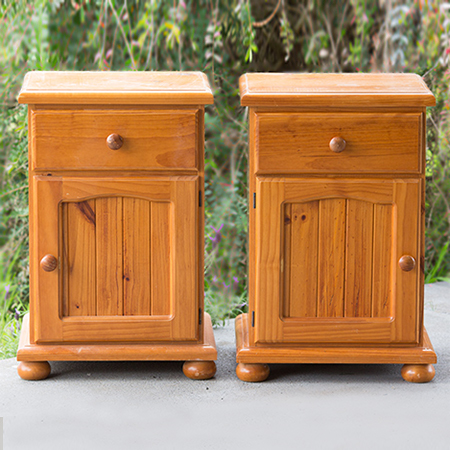
As a country that sustainably grows and harvests pine, we have come to know this wood and its many uses. Because it is grown locally, pine furniture offers a way to invest in solid wood pieces at an affordable price. The only downside of pine furniture is that it has a certain 'look' that is hard to ignore. Pine naturally has a yellowish hue and this is more visible after sealing or varnishing furniture and this yellow discolouration becomes even darker with age.
Don't be afraid to experiment with different methods and techniques of upcycling to revamp pine furniture into something more modern and fitting for your home.
dulux
Pine furniture has a natural charm of its own but can quickly look dated as the colour ages over time. However, there are various ways of updating and modernising pine furniture, that are simple and practical and you get to choose the best method to match your style and decor.
future plc
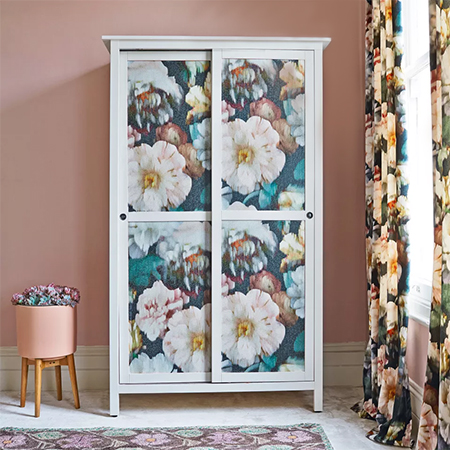
Use pretty or contemporary patterned fabric
Apply gorgeous patterned fabrics onto pine furniture as you would if you were doing decoupage. ModPodge or clear acrylic sealer not only works great as an adhesive but also helps to protect the finish and make it easier to keep clean.
HERE'S HOW:
- Choose your fabric for this project and calculate how many metres you will need to complete the task. You can use any type of fabric but thinner, lightweight fabrics are easier to work with.
- Paint the furniture with your choice of paint and colour so that there is at least a couple of days before you move on to the next step.
- Use a brush or roller to spread ModPodge or clear acrylic sealer over the area to be covered, only working in small sections at a time since the sealer dries fairly fast.
- Lay the fabric over the wet sealer and use your fingers to smooth out any wrinkles from the centre outwards. This can be tricky the first time you try it but it does get easier with practice. A good way to gain experience before you start on this project would be to try your hand at making a tray and covering this with a pretty fabric.
- Once all the wrinkles have been removed and the base coat dry, apply an additional 4 to 5 coats of sealer, allowing drying time between each coat. Apply the coats carefully so as not to disturb or move the fabric.
pillarboxblue.com
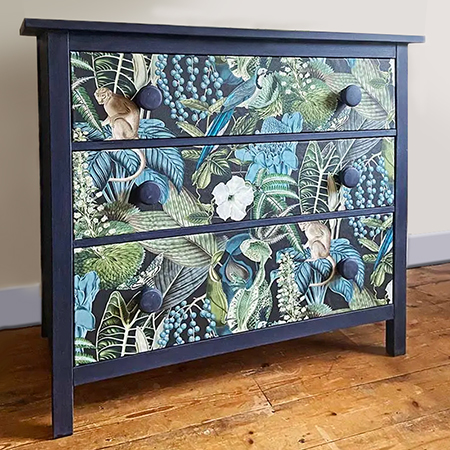
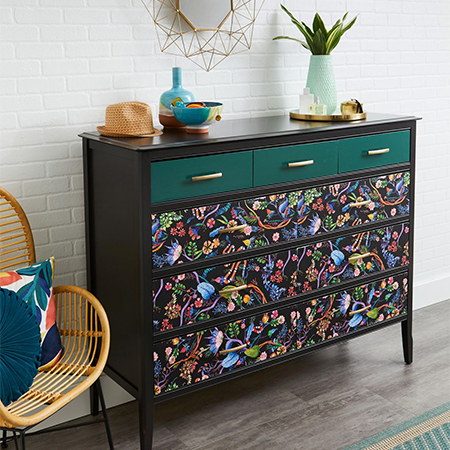
Use wallpaper with bold graphic design
Any type of paper is an excellent medium for using for decoupage and you can use any printed paper to decoupage on pine furniture. Choose a design and colour palette that complements your existing decor or go for a bold colour splash to transform pine into a feature piece.
HERE'S HOW:
- Choose your patterned paper and make sure that you will have enough to complete the project. You can use any type of paper from serviettes to wallpaper but thicker papers are easier to work with.
- Paint the furniture with your choice of paint and colour so that there is at least a couple of days before you move on to the next step. Chalk paint is ideal for this type of project - or any matt paint.
- Use a brush or roller to spread ModPodge or clear acrylic sealer over the area to be covered, only working in small sections at a time since the sealer dries fairly fast.
- Lay the paper over the wet sealer and use your fingers to smooth out any wrinkles from the centre outwards. This can be tricky the first time you try it but it does get easier with practice.
- Once all the wrinkles have been removed and the base coat dry, apply an additional 4 to 5 coats of sealer, allowing drying time between each coat. Apply the coats carefully so as not to disturb or move the fabric.
There is absolutely nothing wrong with using two or more mediums to upcycle pine furniture. Combine fabric or paper decoupage with some colour blocking on drawers.
better homes and gardens
designedsimple.com
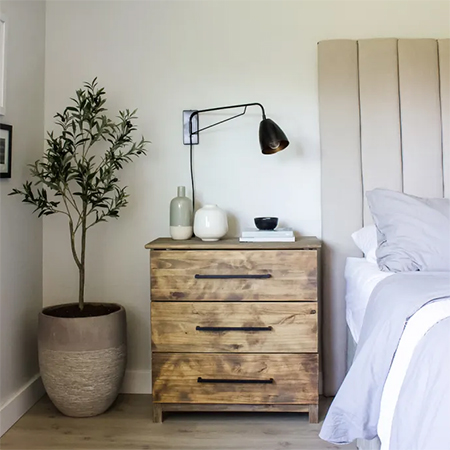
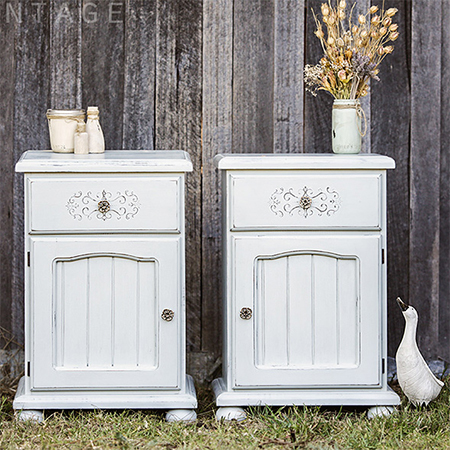
Go contemporary with wood stain
If you have every varnished pine furniture you know how easily it can go yellow. Even if you try to avoid this by painting on a light brown wood stain, you still end up with hues of yellow or orange. The best way to overcome this yellowing is to use watered-down white paint to give the piece a whitewash or to apply a light grey wood stain to cancel out the yellow. It is also wise to note that, because pine is a softwood, many wood stains do not look the same as advertised and it is better to use wood stains that are specifically for pine.
HERE'S HOW:
- If the furniture has been sealed, vanished, or waxed, you will need to remove this before you can apply a whitewash or wood stain. Sand down with 120-grit sandpaper to start and finish with 240-grit sandpaper to smooth. Note that if you know there are several layers of varnish to remove it will be much faster to use an orbital sander.
- Test the paint or wood stain to an inconspicuous area such as the base or back before using on the main areas. This will allow you to judge that you have selected the best colour option.
- If there are visible knots in the pine, use a wood primer over these areas to prevent any bleed-through when you paint.
- Use a paintbrush on edges and detailed areas and a small foam roller on smooth areas.
dulux
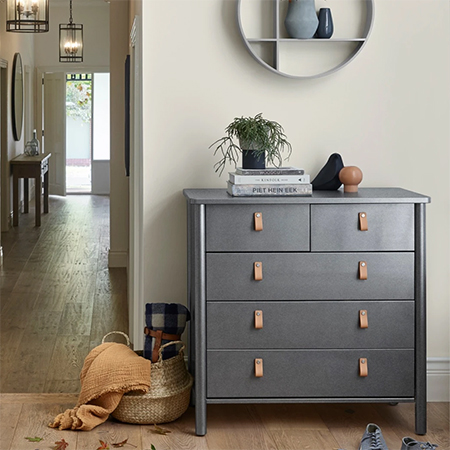
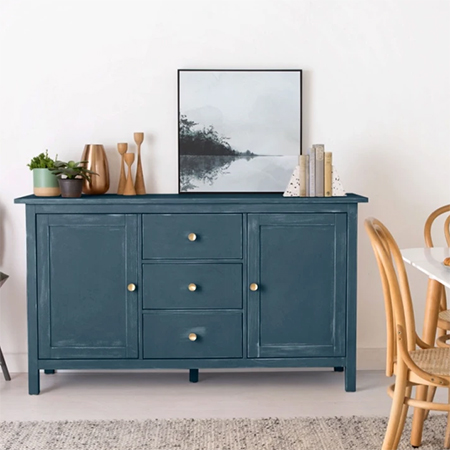
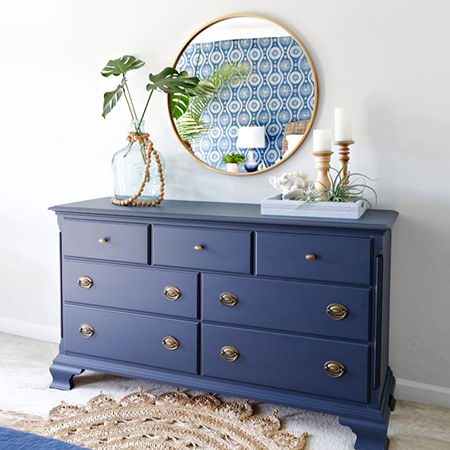
Paint pine furniture to revamp or upcycle
There are so many different techniques for using paint to upcycle any piece of furniture, including pine These techniques can be utilised to achieve effects such as age, usage, rustic or modern, and even trendy methods such as ombre or colour blocking. If the furniture is prepared beforehand (sanded or cleaned) almost any paint can be applied.
When making the choice to paint pine furniture take the time to remove the existing surface, whether it is varnish, sealer, or wax. If you are not sure dampen a rag with mineral turpentine and rub this over the surface. Wax can be removed with turps but sealer or varnish must be sanded back.
Chalk Paint:
One of the most popular paint finishes today because it is so easy to use. Pieces require very little preparation beforehand, chalk paint is easily applied and it has a fast drying time. If a top coat or sealer is applied over the finish, chalk paint is just as durable as any other painted finish, plus it offers an opportunity to add a variety of paint techniques to achieve your desired look.
For a complete upcycle of any piece of pine furniture, choose the right paint and update hardware to complement the style.
salvagedinspirations.com
Visit our Decorating Section for more information on paint products and types and paint techniques.
Spray Paint:
Sheer convenience in a can if you do-it-yourself or hire a company to do it for you. Spray paint does require a fair bit of advance preparation but the result is oh so worth it. With so many colour options to choose from, including dynamic metallic hues, you can paint wall and floor cabinets - as well as the handles and knobs - for a brand new look.
coastandcountryvintage.com.au
coastandcountryvintage.com.au
Acrylic Paint:
Formulated to be tough and suitable for almost all finishes, acrylic paint does require some preparation beforehand but is still a quick and easy way to transform pine furniture. DO apply a primer before the top coats to prevent any bleed-through from knots in the wood.
Water-Based Enamel Paint:
Replacing oil-based paints that are not eco-friendly, water-based enamel paints offer good durability but a limited colour range. Water-based enamel provides a tough finish that can take a few knocks and it is easy to keep clean. If you need to paint pine doors of wardrobes or built-in cupboards, water-based enamel paint offers the best solution.
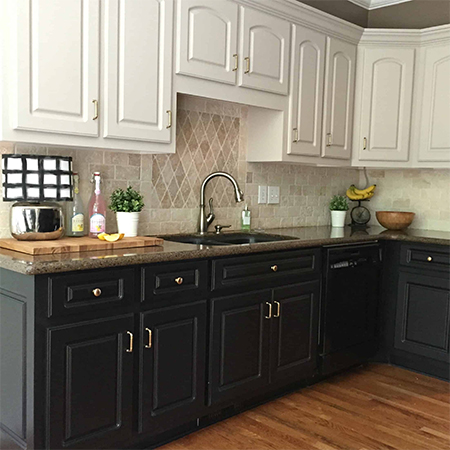
athomewiththebarkers.com
Don't rip out pine kitchen cabinets and cupboards, or built-in cupboard doors - with a few coats of paint, they can look stunning again.
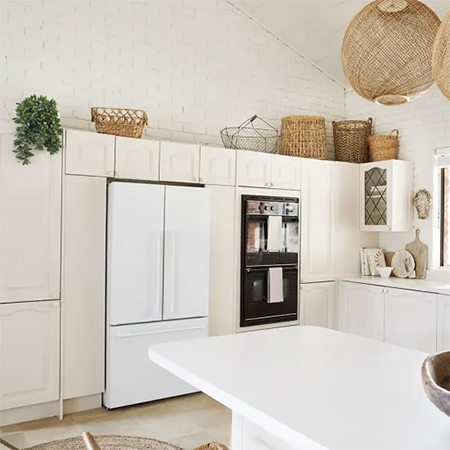
dulux