Plaster of Paris Votive or Candle Holder
Plaster of Paris is an inexpensive material to use for making a wide range of home decor accessories for a home, like this votive or candle holder.
11/10/2022
Plaster of Paris has been used for modelling purposes since ancient times. It consists of a fine powder that sets very quickly when mixed with water and then sets hard. Many people already know Plaster of Paris by its more common name, that of Gypsum and it is used in ceiling boards and drywall, as well as the many finishing options used for these applications. In fact, if you prefer, you can purchase gypsum plaster in larger quantities at any Builders store if you plan to get crafty and make home decor accessories.
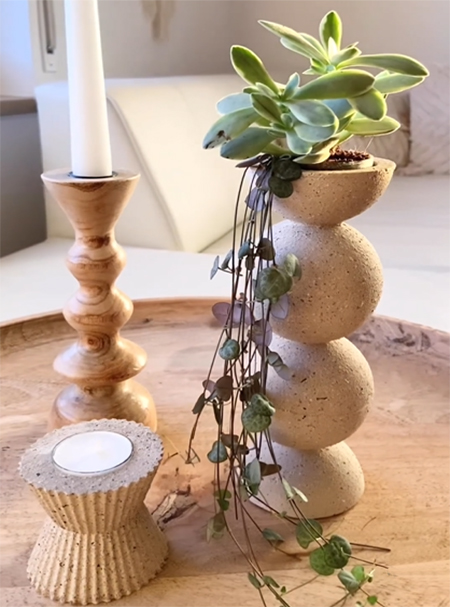
Make this stone-effect votive candle holder for the home or make it for tapered candles. It is also a fun Christmas project when painted with Rust-Oleum Glitter spray!
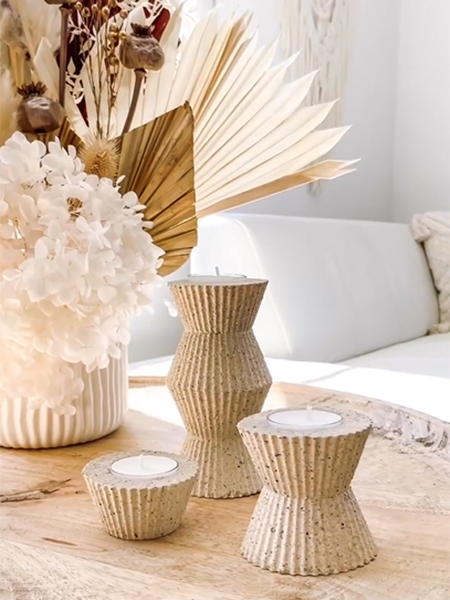
Follow the instructions below and use cupcake cases to make this stunning variation of a votive or candle holder.
Easy to work with, there are just a few basic things to keep in mind when working with Plaster of Paris and we have included these in the step-by-step tutorial below on how to make a votive or candle holder and you will only need a few supplies for the project. Thanks to lovelyhomecouture for this great project!
1kg of Dala Plaster of Paris costs around R60 at Builders and you will be able to make a lot of home decor accessories with this.
YOU WILL NEED:
Plaster of Paris
Circular moulds - 2 halves
Plastic mixing bowl
Votive candles or a pillar candle
Needle-nose pliers
180-grit sandpaper
Pattex No More Nails adhesive
Craft knife
Rust-Oleum Stone spray
HERE'S HOW:
Step 1
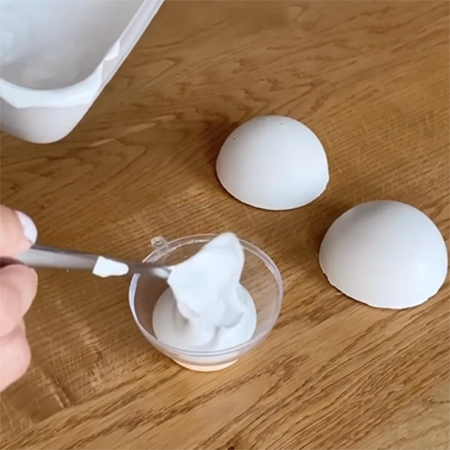
Combine the Plaster of Paris with enough water to make a smooth paste. It should not be too runny but also not too thick. The consistency of slightly whipped cream is perfect.
Step 2
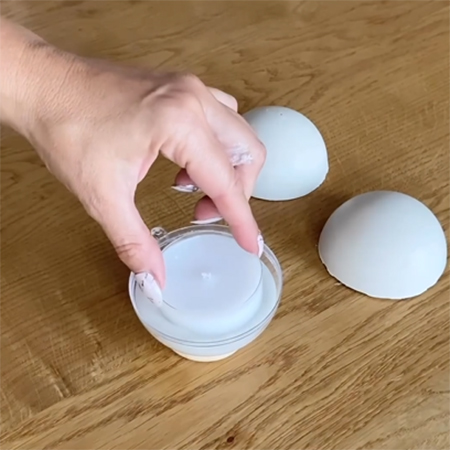
Pour the mixture into one of the half-circular moulds and gently push in a votive candle. It is preferable to use votive candles in aluminium cases as these are easier to remove with a pair of pliers. Leave overnight in a cool, dry place to set. The other half of the half-circle will be for the base, so put this aside for the time being.
GOOD TO KNOW:
After pouring the mixture into the moulds, gently tap these on your worktop to release any trapped air bubbles.
Step 3
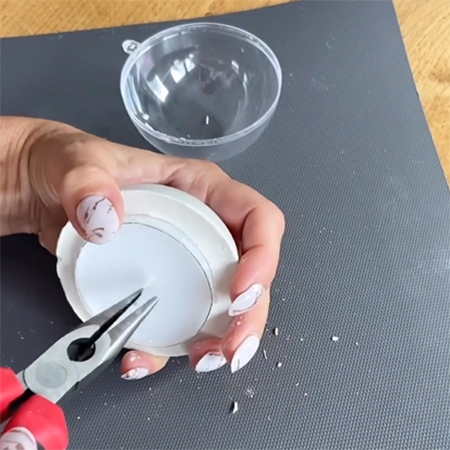
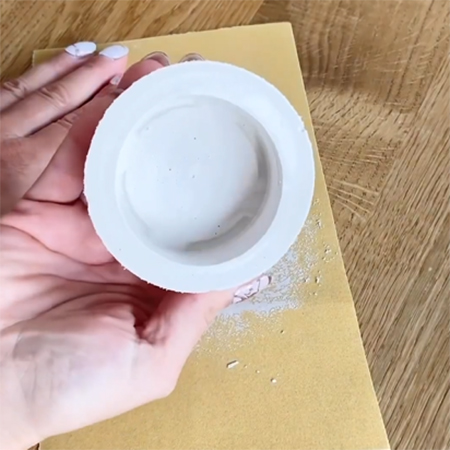
Remove the set half circle from the mould and then use a pair of pliers to pull out the votive candle. This will leave a space where you can mount your votive candles on the top section of the holder.
Step 4
Sand the flat side of the circles with 180-grit sandpaper until lovely and smooth. Place the sandpaper flat on your worktop and slowly rub the half circle over this.
Step 5
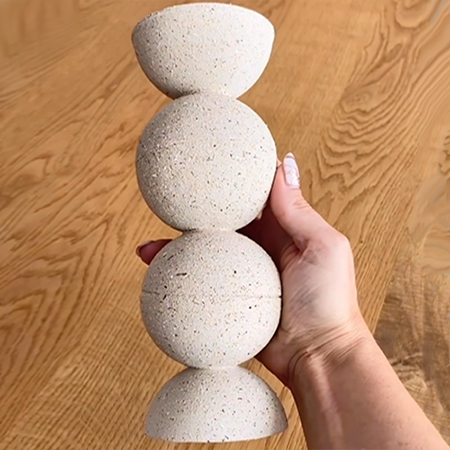
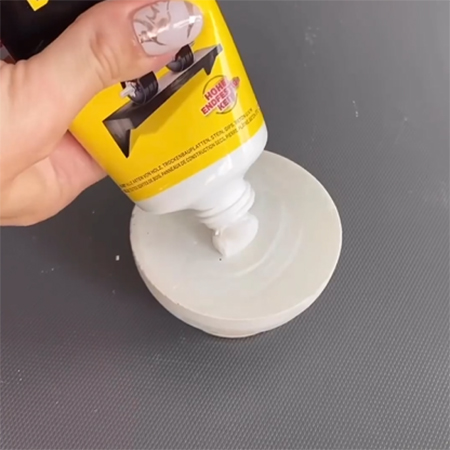
Now you can glue the [2] half circles together to create the round shapes. Do this with No More Nails adhesive.
Step 6
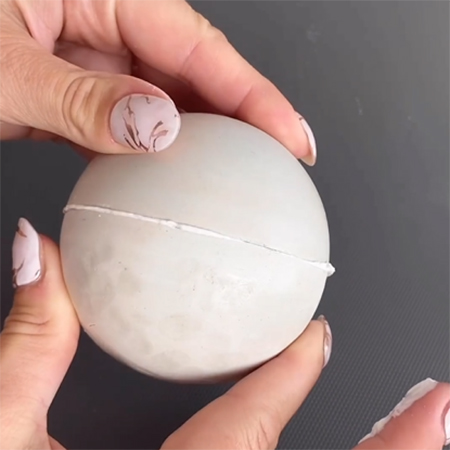
Press the two half circles together and then use your finger to wipe away any excess adhesive that oozes out. You can use this excess adhesive to fill in any openings around the circle. Put aside to dry for a couple of hours.
GOOD TO KNOW:
If you need to remove any defects on the ball, hold it gently in your hand and turn it around as you lightly sand with the sandpaper.
Step 7
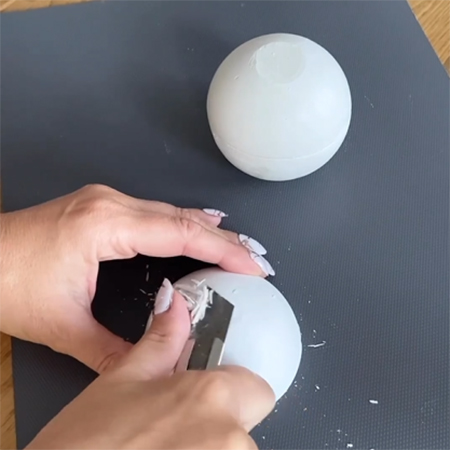
To ensure that the balls and half circles stack nicely on top of each other, use a craft knife to gently scrape away a flat area where they can be joined together.
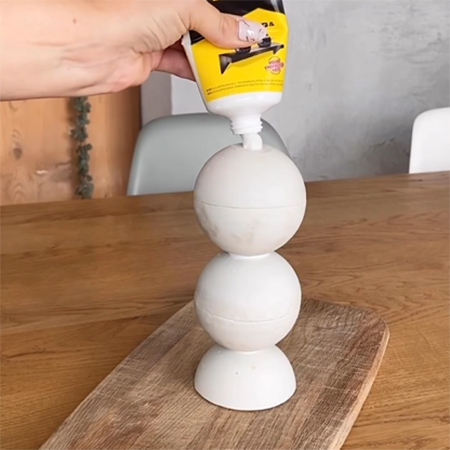
Step 8
Once again, use No More Nails adhesive to stack and join the half circles and balls together then wipe away any excess adhesive and put aside for a couple of hours.
Step 9
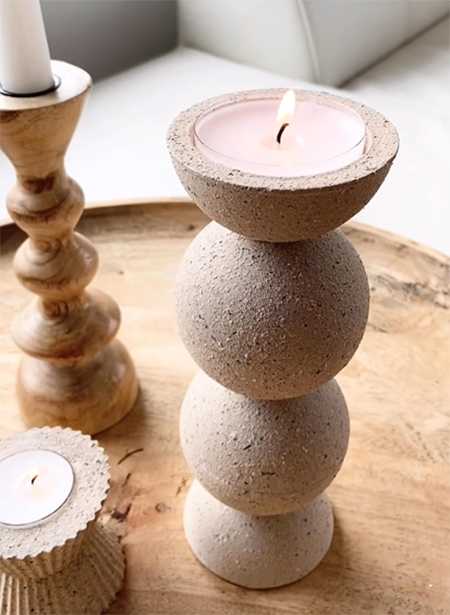
Spray with Rust-Oleum Stone effect spray paint. This leaves a textured finish that will also help to cover up any small defects and give the candle holder a more realistic look and no one will know how you made it.