
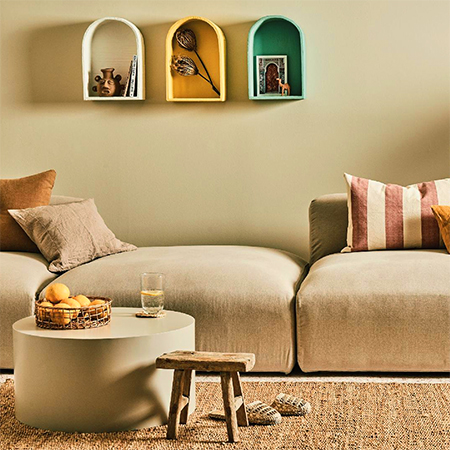
Make Decorative Shelves Using Cardboard
Decorative cardboard shelves are easy to make and a great way of using any cardboard boxes you have at home.
02/08/2023
In today's environment of online shopping, everything gets delivered to your door and it is easy to accumulate a stack of cardboard boxes that were used to transport online goodies.
Upcycling cardboard boxes into shelves and storage containers isn't something new and it has been done for years. There was even a trend for recycling cardboard boxes into furniture. The reason why is mainly due to how much cardboard is used today for online shopping deliveries and if, like me, you love shopping online, you are bound to have a few cardboard boxes lying around. Well, here's how to make them into something for the home.
YOU WILL NEED:
Cardboard boxes - preferably corrugated cardboard
Circular templates - plates or tins are great - and ruler or straightedge
Masking tape
Craft glue
Chalk paint - your choice of colour - and paintbrush
Picture hanger and 13mm screws
Pencil
TOOLS:
Tape measure or Bosch Zamo laser measure
Screwdriver
Craft or utility knife
Sharp scissors
HERE'S HOW:
Step 1 - Back Panel
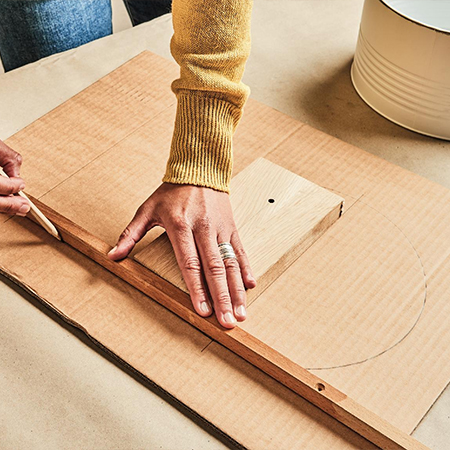
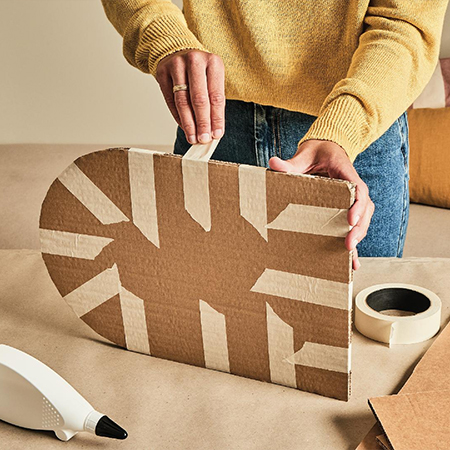
For the first step, you need a piece of cardboard to cut [2] 30 cm x 30 cm back panels. You will also need a circular template of around 25cm in diameter. Place the circular template on the piece of cardboard and use the pencil to outline the shape.
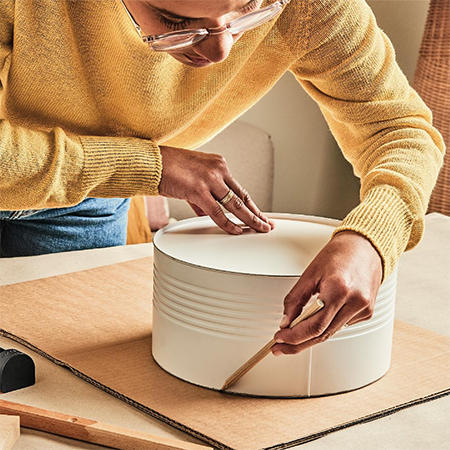
Use a ruler or straightedge to draw straight lines down both sides of the drawn circle for the height of the shelf. Ours is 25 cm and you can adjust this if you want a shorter or taller shelf. Draw a line at the bottom to complete the shape of the shelf.
GOOD TO KNOW
If you plan on making more than one shelf, make an extra set of the pieces to use as a template.
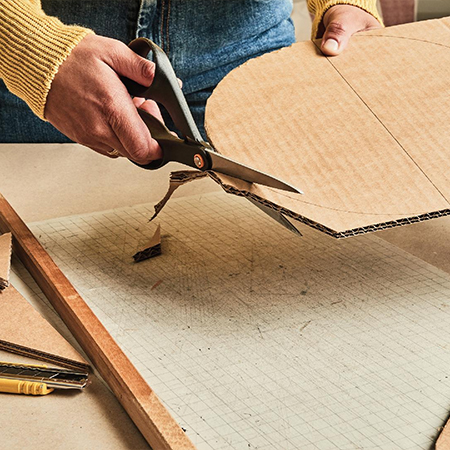
Step 2 - Cut Back Panel
Cut out [2] back panels using sharp scissors or craft/utility knife and cutting board. Go slowly to ensure the cut edge is neat and accurate.
Step 3 - Assemble Back Panel
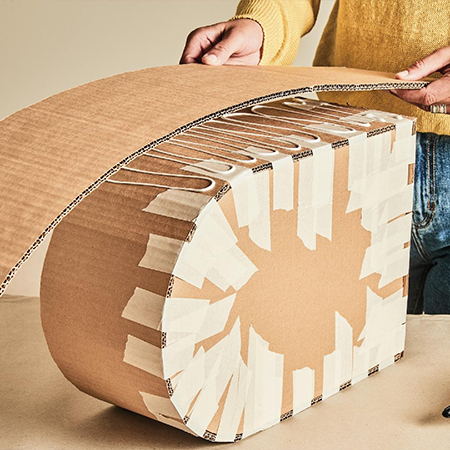
Place the [2] back panel sections against each other making sure they are perfectly aligned and tape them together with masking tape.
4. Side Panel
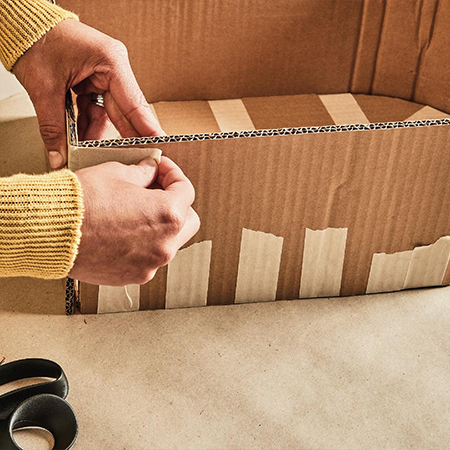
Using a piece of cardboard that is longer than 100 cm and wider than 15 cm. This is the measurement for the side panel and you will need [2] side panels. Cut [2] pieces for the base, both 15 cm wide and 30 cm in length. Take one of the side panels and curve this around the edge of the back panel. Make sure that there is extra at the bottom of both sides.
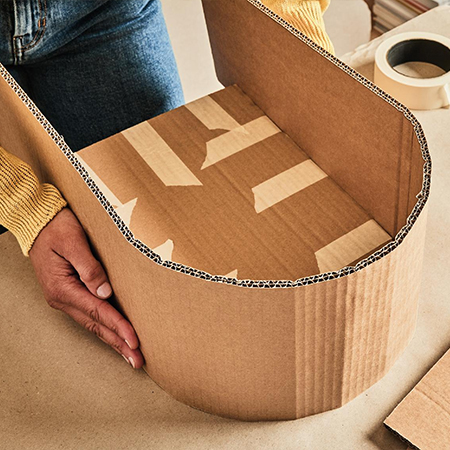
Apply a generous bead of glue along the back edge of the side panel to secure it to the back panel and then use masking tape to fasten the side panel onto the back panel, as shown in the image below. This will hold everything in place until the glue is dry. Leave overnight.
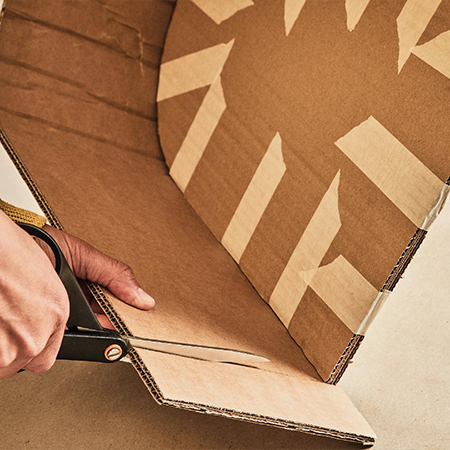
Cut off the extended ends of the side panel so that it is flush with the bottom of the back panel.
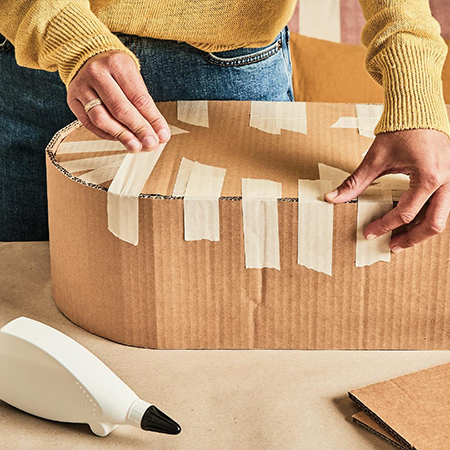
Step 5 - Base
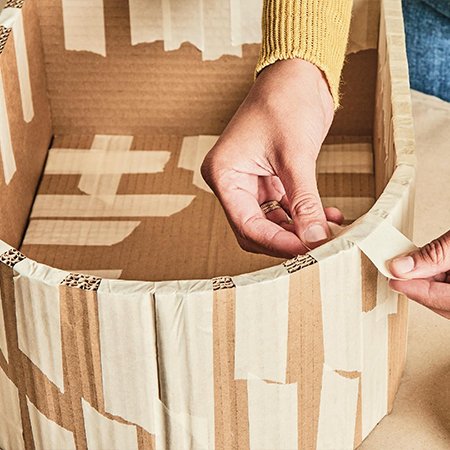
Taking [1] base, secure this to the bottom of the side and back panel using masking tape. Ensure that the edges are neat and tidy.
With the remaining side panel, apply glue liberally over the fitted side panel and place this over the top of the assembled shelf. This second layer will add strength and thickness. Trim off any excess and then do the same for the remaining bottom panel.
Tape the edges front and back all around until the glue is dry. Leave overnight and then remove the masking tape.
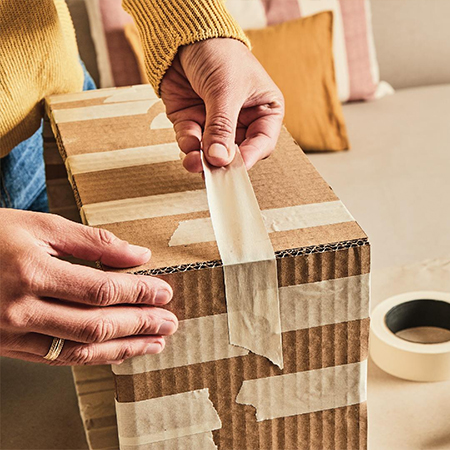
Make sure that glue is applied overall and tape the edges at the front of the shelf to prevent any gaps or holes. The tape will also close off the front of the shelf to prevent it from looking like cardboard.
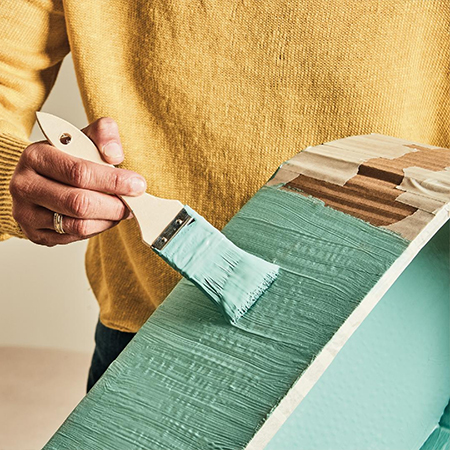
Step 6 - Finishing
Chalk paint is an excellent option for finishing this type of project. The paint is not thin and dries quickly and will easily cover up the masking tape left on the cardboard. Apply three coats with sufficient drying time between each coat.
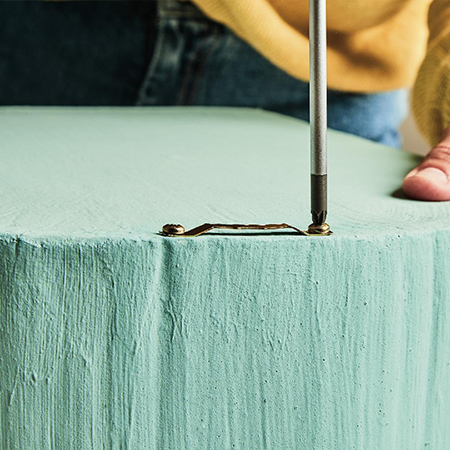
Use a screwdriver to secure the picture hanger at the back of the shelf. Use 13mm screws but don't over-tighten or they will protrude through the back panel.
Now all that is left to do is to hand the decorative shelf on the wall. Use a tape measure and spirit level for accuracy or get yourself a Bosch Zamo with attachments that do everything for you.
