
How to Use Sand as a Mould for Concrete Projects
There are some projects where you simply cannot make a mould for concrete projects, particularly when they have an irregular shape or consist of a circle or curves and this is where using sand makes a huge difference.
03/11/2023
totalconcrete.co.uk
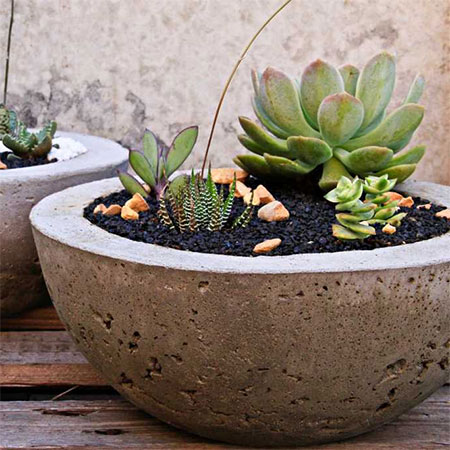
Concrete has become a popular choice for anyone wanting to make projects in and around the home, including items that will be useful or decorative in the garden. Concrete is a durable material that has a long lifespan, will withstand the elements and is extremely affordable for homeowners or DIY enthusiasts to use for a variety of projects.
A 40kg bag of cement will cost around R50 and a 40kg bag of plaster sand retails at around R40. That gives you a total of R90 that will allow you to make several garden pots of assorted sizes both small and large. Added to that is the fact that you can use the sand over and over again to make different shapes or sizes. When you look at the cost of purchasing concrete garden pots, even small ones, you will see that you are saving a lot and have the freedom to make whatever you want.
Using sand as a mould for concrete is nothing new, it is something that has been done for hundreds of years.
Best of all, it is easy for anyone to build concrete pots using sand as the mould. Think about children building sandcastles on the beach with nothing but a bucket and spade and miles and miles of damp sand. Or what above some of the amazing sculptures that are made of the beach using sand. So long as you use plaster sand, which is a very fine sand that is easily mouldable, and keep it damp while you form the shape, that is basically all you need.
How to use sand as a mould for casting concrete projects:
The method for using sand as a mould for casting concrete projects is easy and you will be wondering why you never thought of doing this before, especially if you want to produce concrete garden pots in assorted shapes and sizes. There are plenty of ideas out there for using buckets and plastic bowls but this way, you get to use the sand over and over again so it is easy even than recycling plastic!
Step 1 - Lightly dampen the sand
Once again, I refer to the analogy of building a sandcastle on the beach. For this, you need sand that is still slightly damp so that it holds its shape well. If the sand is not damp enough it will easily fall apart. Use a sprinkler to only add a small amount of fine water spray and this should be more than enough.
GOOD TO KNOW
Have a flat board handy to place the sand you will work with. This will help keep the sand contained and make it easier to put the sand back once you have finished the project.
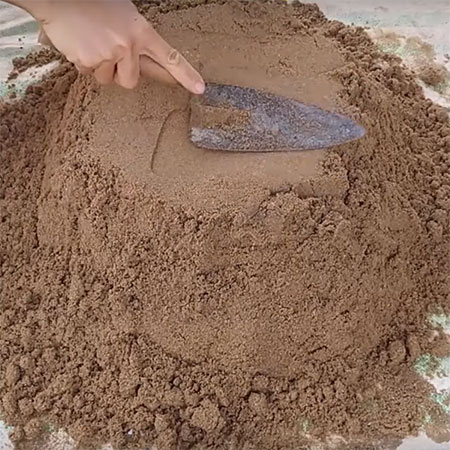
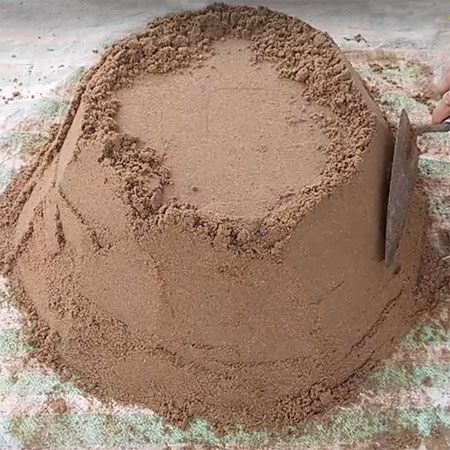
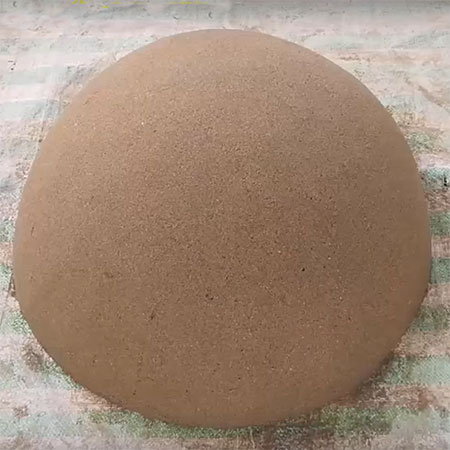
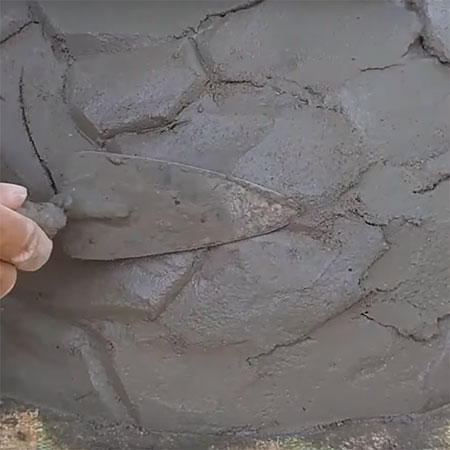
Step 2 - Shape the dampened sand
You don't need anything more than a standard builder's trowel to shape the sand. Start by compacting and pressing the sand into a basic shape with your hands and then use the trowel to make any adjustments until you are satisfied with the shape.
GOOD TO KNOW
Spend as much time as you can preparing the shape before casting the concrete. Anything that is wrong cannot be changed once you place the cement over the form so it needs to be perfect - or as close as possible.
Step 3 - Cast the concrete over the sand
You must wear gloves when mixing the concrete
as cement is highly alkaline and can burn your
skin.
Combine the cement with water in a
suitably sized container mixing just enough for
what you need. The pack should have mixing
instructions but, if not, you will
find the relevant information here.
Be careful not to add too much water or the
mix will be sloppy and not sit well on the
sand form.
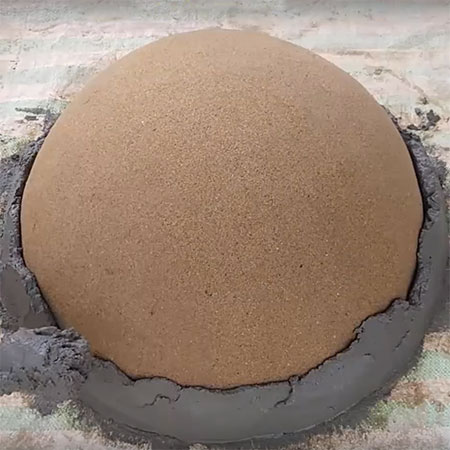
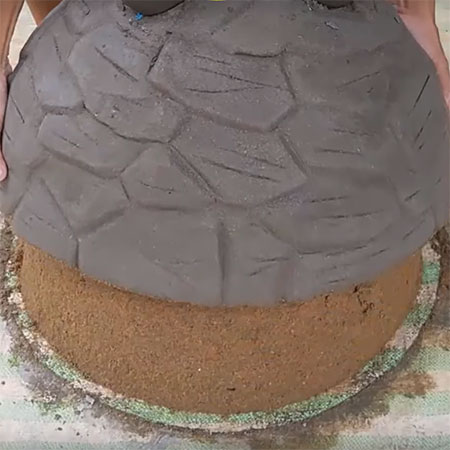
Step 4 - Covering the sand form
Cover the entirety of the form by adding only scoops of cement mix using the trowel. At this stage, you only want to ensure that the entire form is covered well and that the cement has a minimum thickness of 10mm.
GOOD TO KNOW
You can make the garden pot as thick as you want but not less than 10mm in thickness or it will be too fragile - thicker is better, especially for large pots!
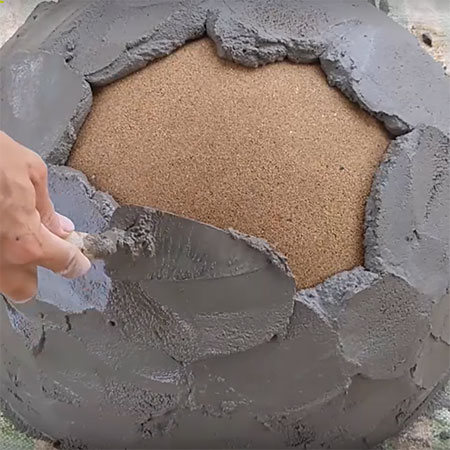
Step 5 - Shaping the cement
For this step, you want to work as quickly as possible before the cement starts to cure and harden. Dip the trowel in water continuously as you use the it to mould the shape. It can be smooth or have a design but if you want it smooth all around, do it so that it is consistent from every angle.
GOOD TO KNOW
Tap the cement with the trowel as you shape it so that this will remove any trapped air bubbles - unless you want air holes to be part of the finished look.
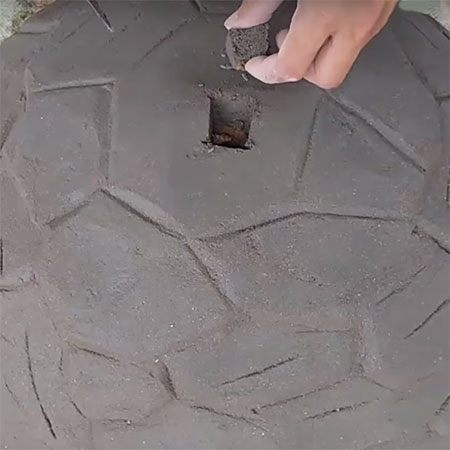
Step 6 - Allow for drainage
If you are using the cement pot for plants, drainage holes will be required at the bottom. You can use a trowel for this or a pipe can be poked through the cement and into the sand to leave holes.
Step 7 - Leave the pot to cure
Depending on the thickness of the concrete, curing could take anywhere from a day to several days. Cover the shape with a piece of plastic to slow down the drying-out process. If the weather is hot, lightly spray with water after the first day to prevent cracks. It is easy enough to check for curing by using a skewer through the base to see if the concrete is set hard.
Step 8 - Finishing the concrete garden pot
If you are sure the concrete has hardened, you can lift the shape off the sand mould. This will also allow you to see the inside of the cement, which will probably still be damp. Put this aside for a day or two to finish curing then brush away the remaining sand.
It is better not to do anything to the pot yet but rather let it sit for 10 to 14 days before you do any finishing. The concrete garden pot can be left unfinished in its natural state for an edgy look or you can paint the pot - it is up to you how you want the garden pot to look.
We have included several videos below where you can view how garden pots are made using a sand mould and they will also provide you with inspiration if you want to take your casting skill to the next level.