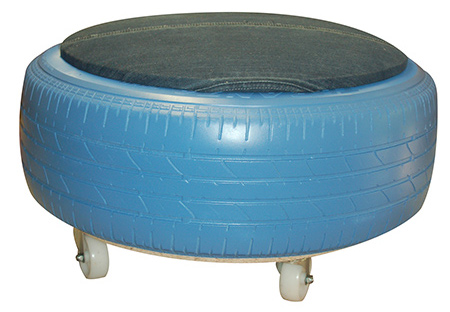
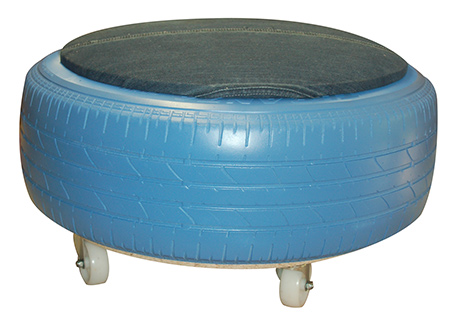
Tyre ottoman with jeans fabric seat
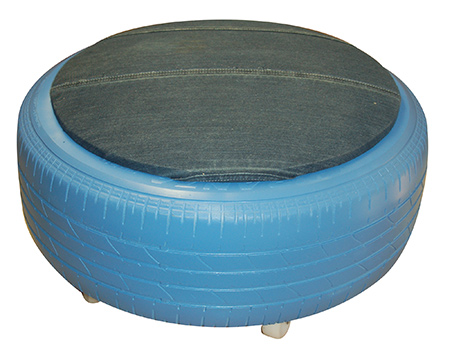
We will be making this tyre ottoman as part of our December DIY Kids workshop. Using an old tyre, and recycling a pair of jeans for the fabric, this fun ottoman offers the perfect seating for a kid's bedroom or playroom.
I know this idea has been around the block a few times, but we put a new twist on an old idea by adding casters and using an old pair of jeans to make a denim top for our tyre ottoman. We will be making this as part of our DIY Kids workshop. Visit www.DIY-Divas.co.za for details.
YOU WILL NEED:
Old tyre
Pair of jeans
Medium-weight batting
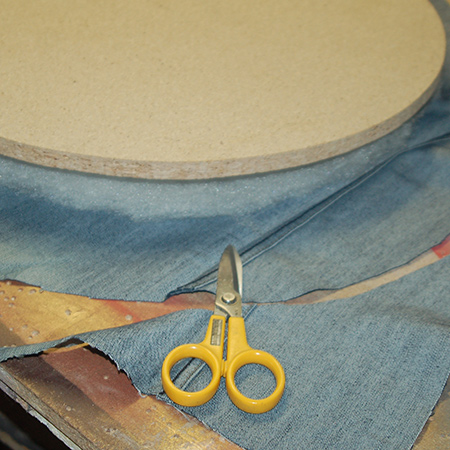
Scissors
Rust-Oleum 2X Primer and 2X UltraCover in your choice of colour
16mm BisonBord - [2] circular pieces cut to the diameter of the centre
Caster wheels [4] and 16mm screws (plus washers if the holes in the caster wheels require this)
No More Nails exterior and caulking gun
16mm and 30mm screws
TOOLS:
Drill / Driver plus assorted bits
Jigsaw to cut BisonBord to size
Bosch Tacker and staples
Sewing machine and accessories
Tape measure and pencil
HERE'S HOW:
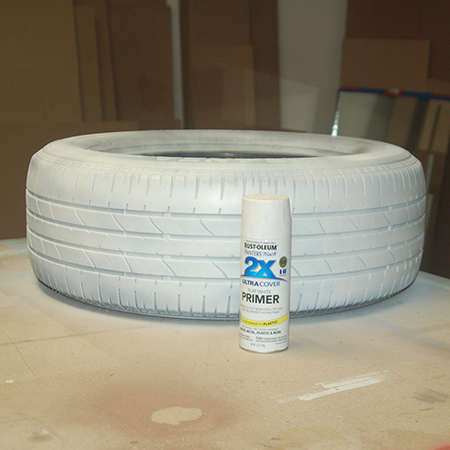
1. For best paint adhesion apply a primer coat over the tyre and let this dry. Shake the can well before use.
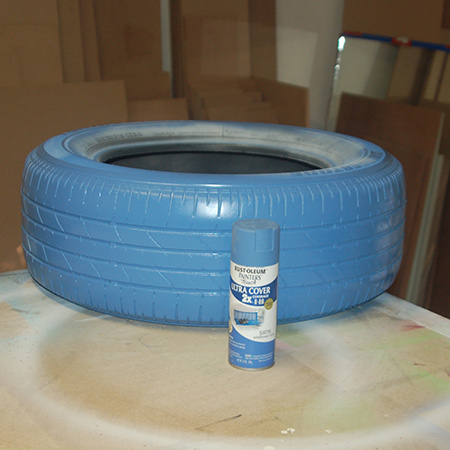
2. Lightly spray an even coat of spray paint over the tyre. You should not need to apply a second coat, but if you do, let the first coat dry first.
3. You need a top and bottom for the tyre, and you can use affordable 16mm BisonBord or plywood for this. Measure the diameter of your size of tyre, as this will differ from tyre to tyre. You want both the top and bottom to sit on the side of the tyre.
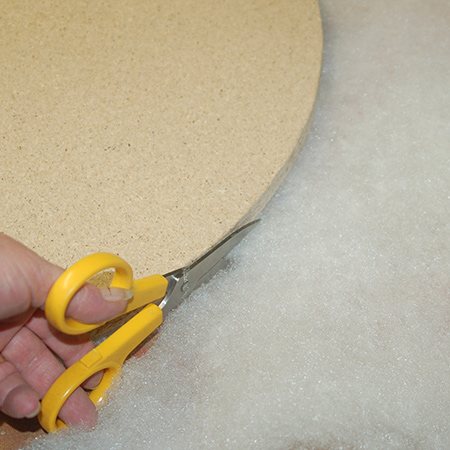
4. Cut [3] pieces of batting, using one cut circle as a template. Make the second and third circles of batting smaller to give the seat a nice domed shape.
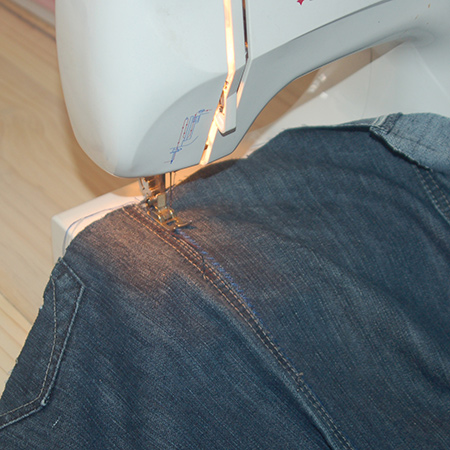
5. Cut apart the jeans, removing the top and bottom hem on each leg. You will be using the legs to make a solid piece for the fabric top. Cut each leg open and then use a sewing machine to join the two leg pieces together.

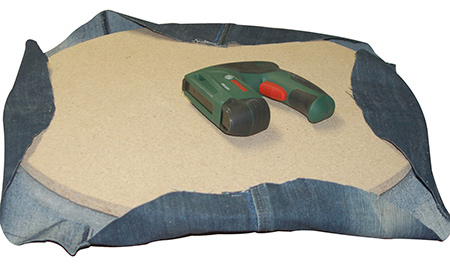
6. Place the jean fabric face down and layer the batting on this, working from large to small piece.
7. Top of the layered fabric and batting with a top.

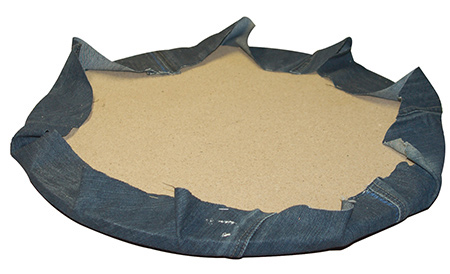
8. Cut away any excess fabric, leaving a 5cm border all around.
9. Pull four equidistant pieces of fabric over the back and staple in place.
10. Pull another four pieces over the back and secure with a staple.
11. Continue to pull the remaining pieces over the back and fastening with staples. Also staple down any loose areas.
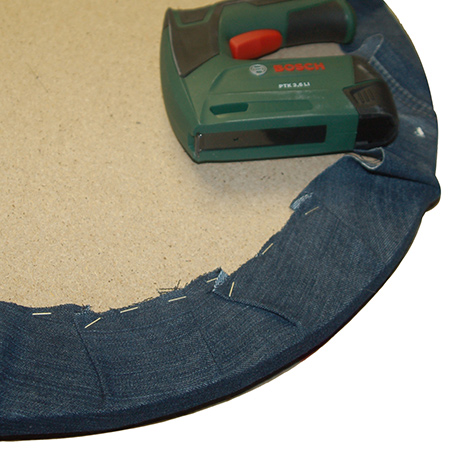
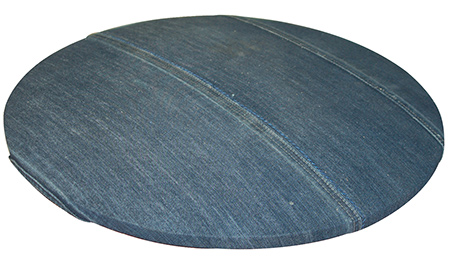
The completed top section.
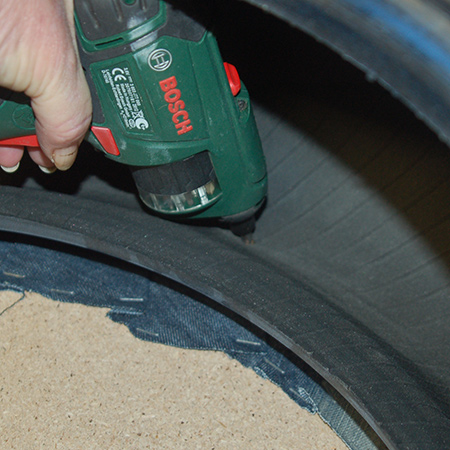
12. Place the top face down and position the tyre on top of this, making sure it is placed centrally. Drive 16mm screws through the tyre and into the top board.
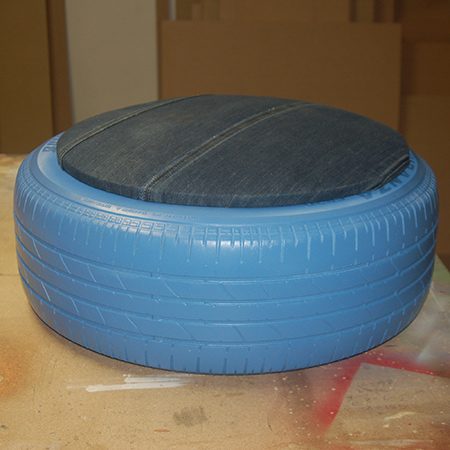
Tyre ottoman with jean fabric upholstered top
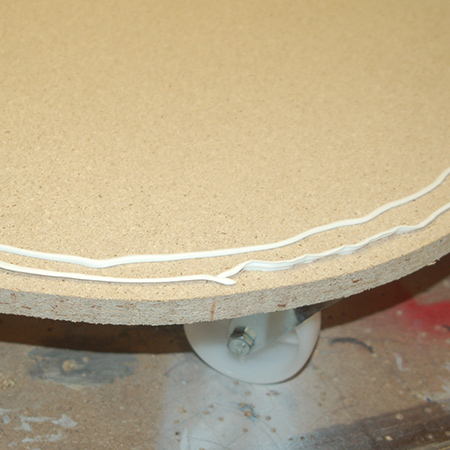
13. Use 16mm screws to attach the caster wheels to the base. Note: The holes in the caster wheels were too large for the screws so I added a washer to reduce the gap.

14. To mount the base, apply a thick bead of Pattex No More Nails exterior adhesive around the edge. Turn the tyre ottoman upside down and press down the base.
GOOD TO KNOW
For added stability I also drove 30mm screws through the base and into the tyre.