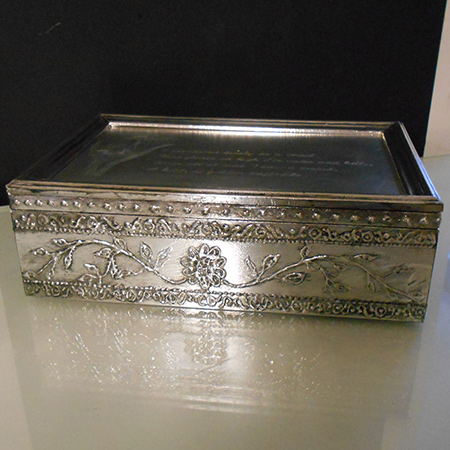
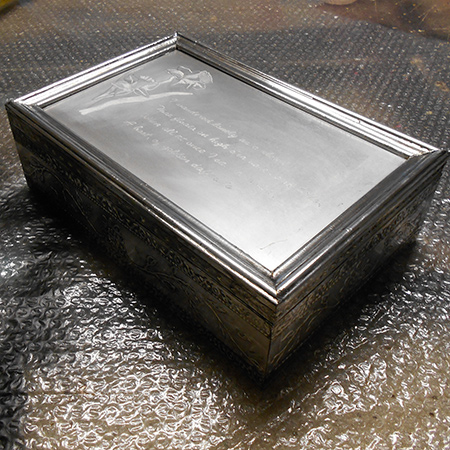
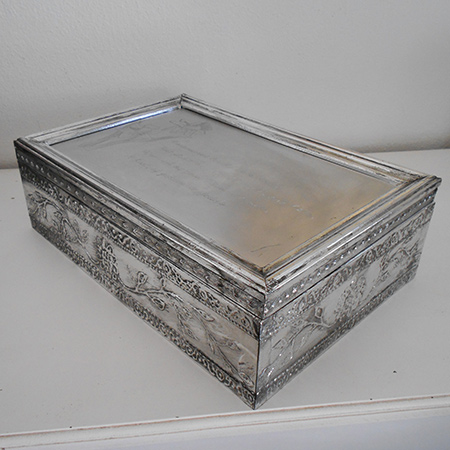
Make a faux pewter trinket box
This faux pewter trinket box is a gift for a loved one. As an alternative to pewter I used aluminium tape, which works out far more affordable and is easy to work with.
If you love the look of pewter, using aluminium tape as an alternative is easy and inexpensive and you can buy a roll at your local Builders. This trinket box is intended as a gift for a friend who loves pewter work, and I love working with aluminium tape.
HERE'S HOW:
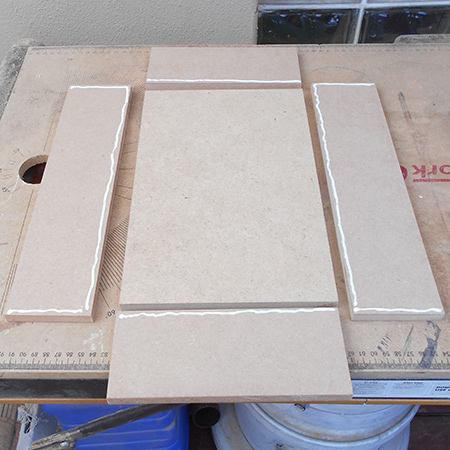
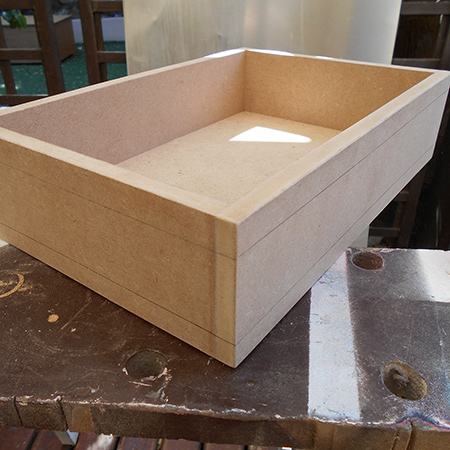
1. Assemble the box by gluing all the sections together. Clamp and leave overnight.

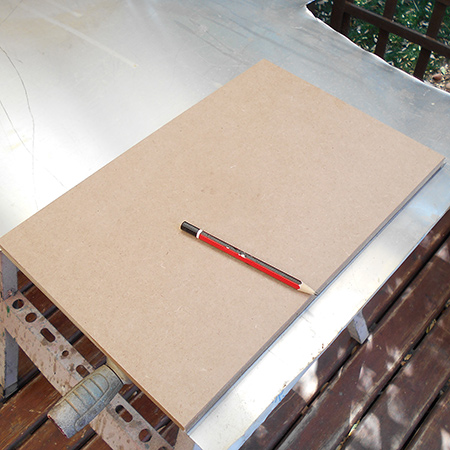
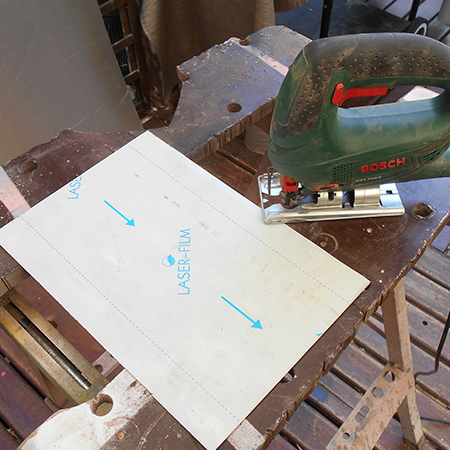
2. Use the lid of the box as a template for cutting thin, sheet aluminium to fit. Draw around the lid but cut the aluminium sheet slightly smaller than the size of the lid. You need to do this in order to attach the pine moulding around the edge later on.
GOOD TO KNOW:
You can use a jigsaw and blade for steel
to cut the aluminium sheet, or a Dremel
MultiTool and cutting wheel.
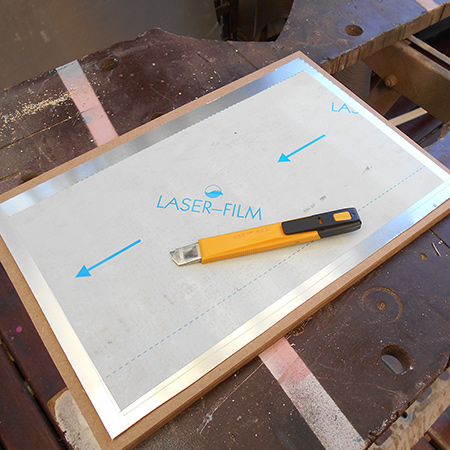
3. Use a craft knife to cut and peel away a width of film on the sheet (if there is any) that is as wide as the pine moulding you will be attaching later on. Don't remove all the protective film as this avoid the surface from being scratched.
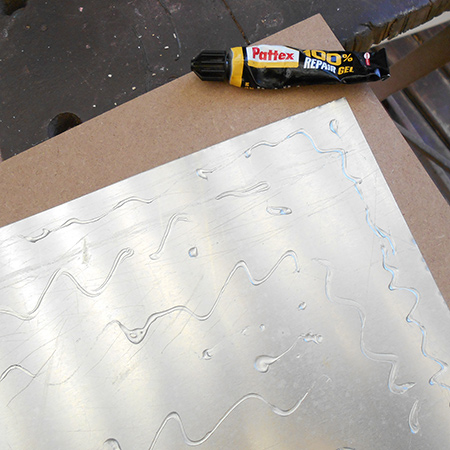
4. Use a strong glue or adhesive to attach the sheet to the top of the lid.
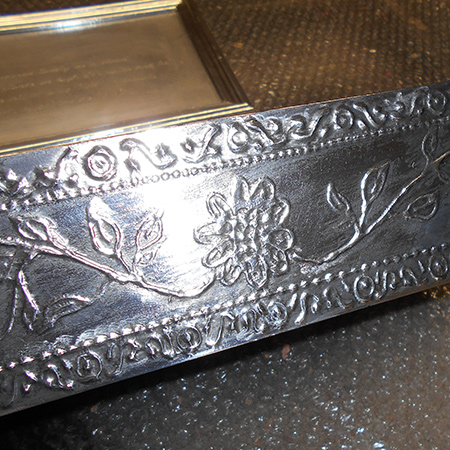
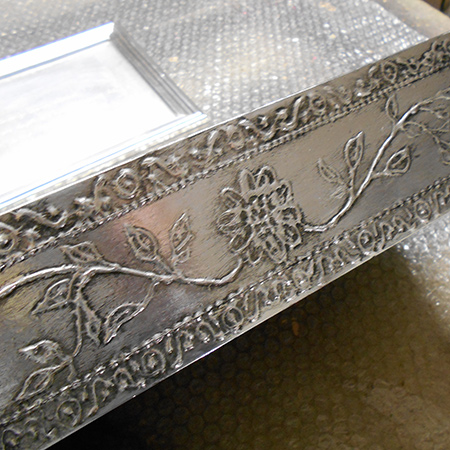
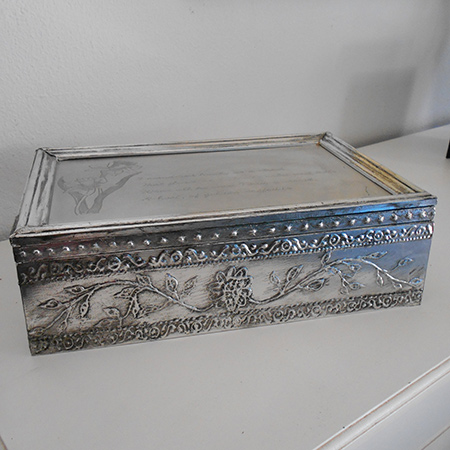
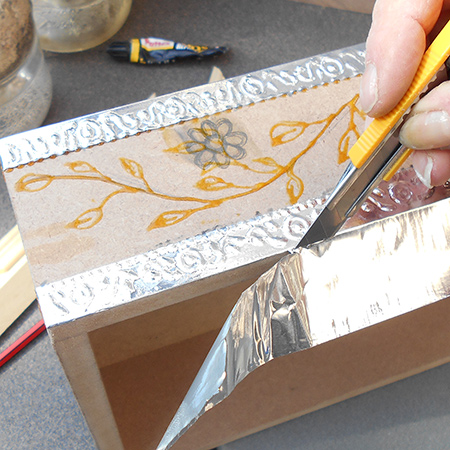
5. Aluminium tape only comes in one width, so to overcome any visible joins along the sides of the box I divided this into 3 sections. The middle section is as wide as the tape and then there is a small strip at the top and bottom.
6. Using a Bostik Glass Deco paint pen the design is also split into 3 sections and this will disguise the seam.
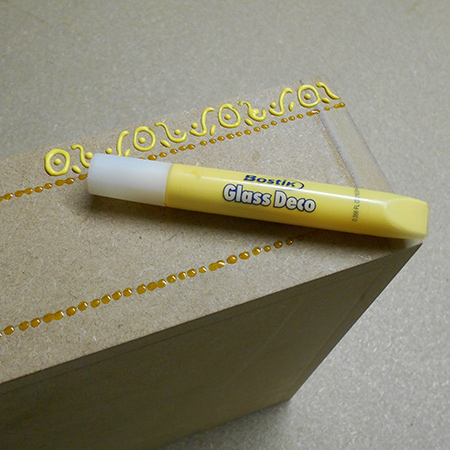
GOOD TO KNOW:
Use the deco pen to apply a
design over the sides of the box. I went with a
simple floral design, but you can apply your own
choice of design.
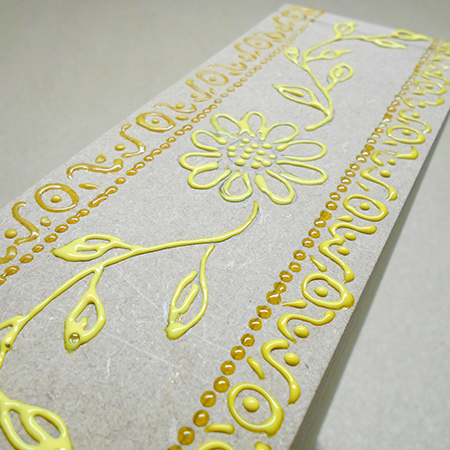
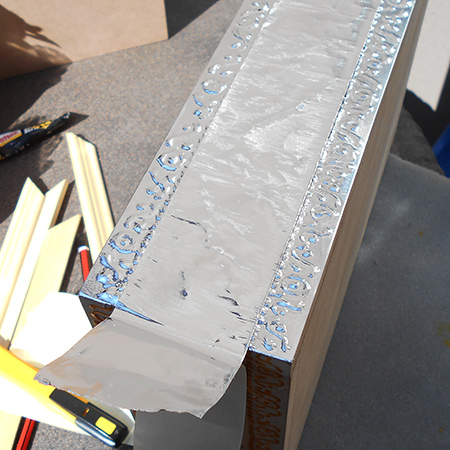
7. Let the paint harden before applying aluminium tape. Although I show that I started at the top - start with the centre strip and then apply the top and bottom edges.
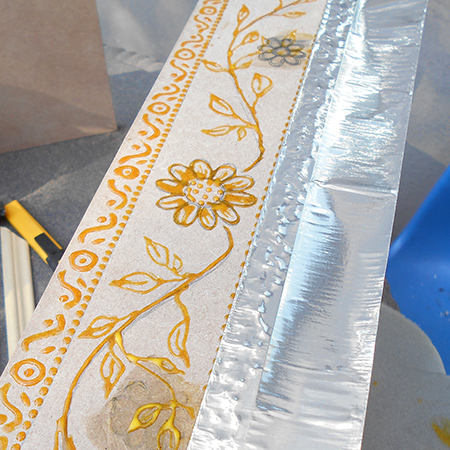
8. After applying each layer use your Dremel MultiTool and #422 polishing point, or use an ear bud, to ensure that the tape is flat around the detailing.
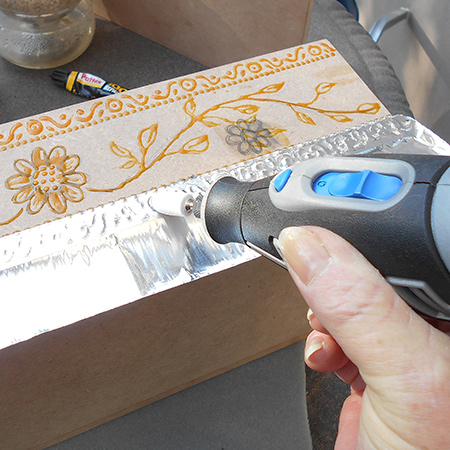
9. Use a sharp craft knife to cut away excess tape. The top edge was applied last.
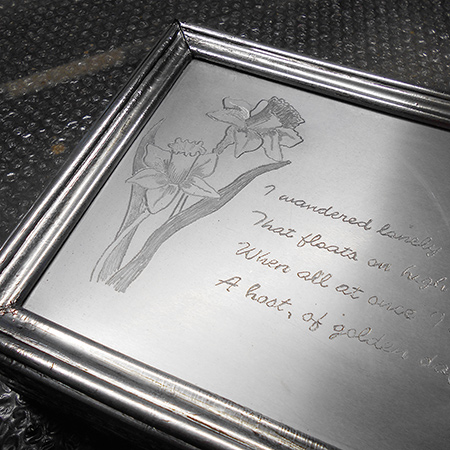
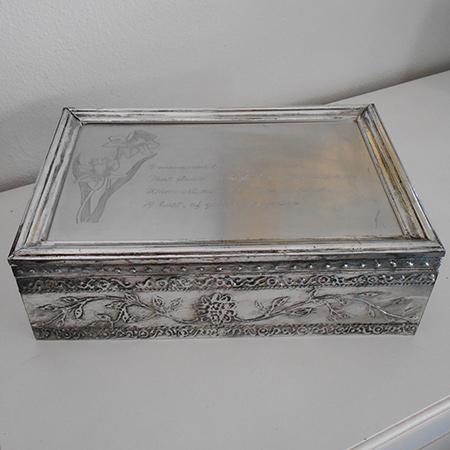
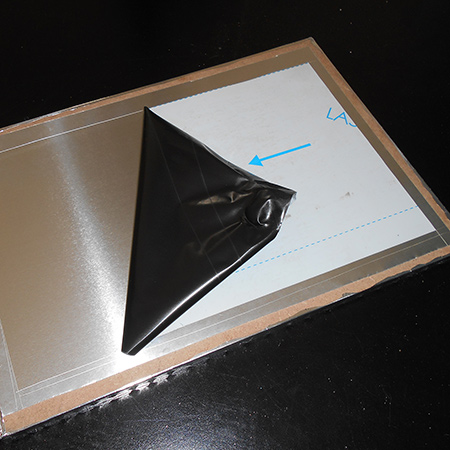
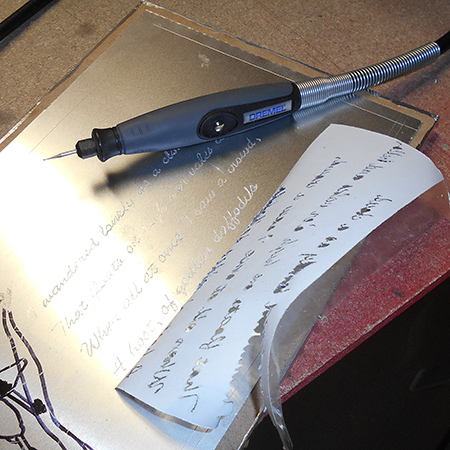
10. Now you can peel away the tape on the aluminium sheet on the lid to do your engraving.
GOOD TO KNOW:
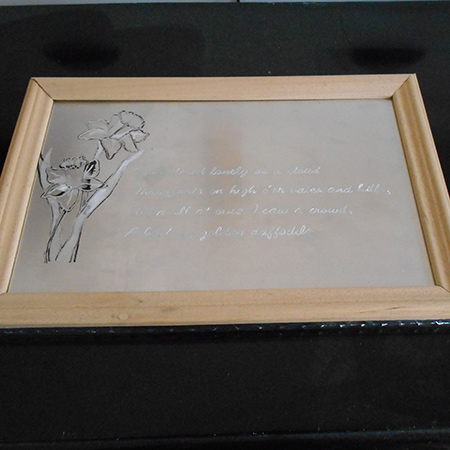
Print out designs and wording
from the Internet. Make any adjustments so that
it all fits on the aluminium sheet, after
allowing for the frame that will be glued around
the outside edge.
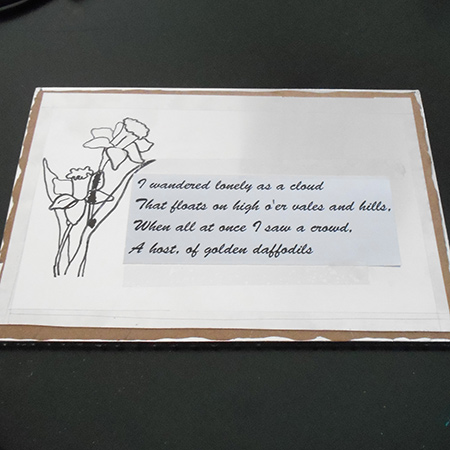
11. Using a #225 flexi shaft and #105 engraving cutter to make an initial outline through the template. Lift the securing sellotape from time to time so that you can check to see that the wording is clearly shown. Be patient and take your time with the individual letters.

12. After outlining the wording remove the template and repeat with a #106 engraving cutter.
GOOD TO KNOW:
The daffodils were outlined
with permanent marker before engraving with a
#106 engraving bit. Wipe clean with a soft cloth
and WD-40 or mineral turpentine.
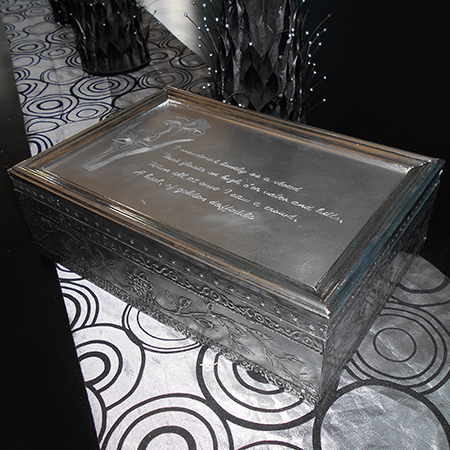
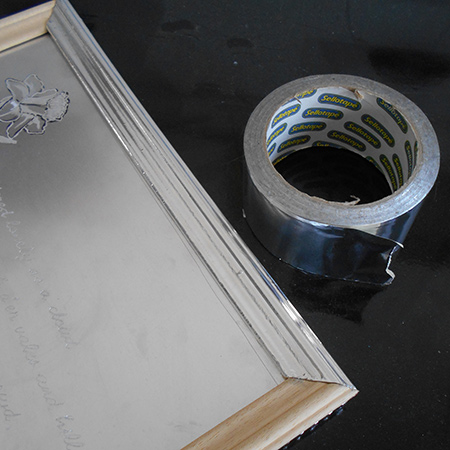
13. After cutting and gluing the frame onto the lid, this was covered with aluminium tape. You could apply the tape to the frame before gluing it down.
Finishing:
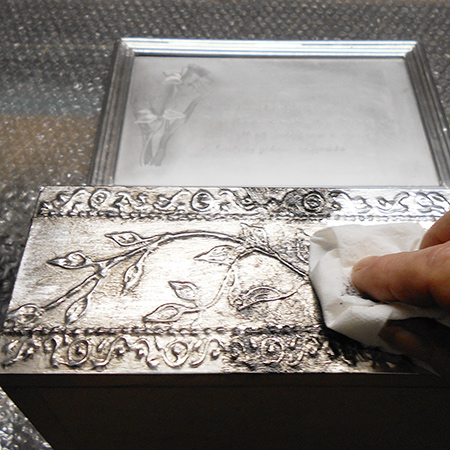
To give the aluminium tape a vintage or aged look apply black craft paint over the tape. Make sure to fill all the detailed areas.
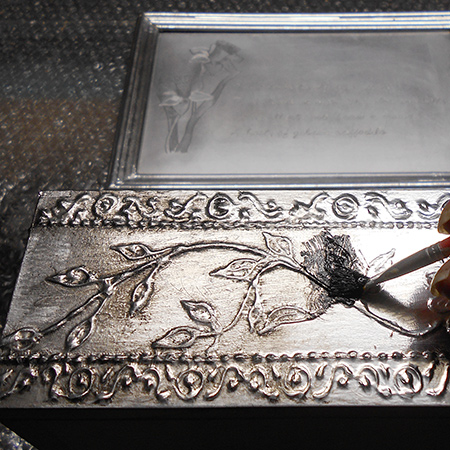
Before the paint has time to dry, use a paper towel to wipe away the paint, only leaving paint in the detailed areas. You can repeat this if you prefer a darker effect.