
Upcycle holiday tins
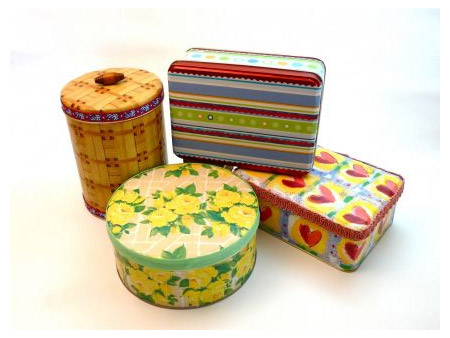
Many stores sell Christmas goods in tins, and here's a way to turn these into practical and pretty storage containers.
30/03/2018
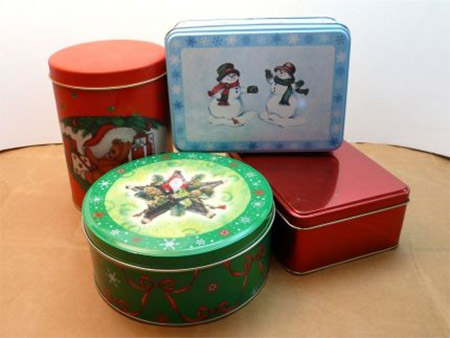
There are lots of stores that pack their Christmas goodies into tins, and we show you how to transform these tins with colourful wrapping and scrapbooking paper, to turn them into practical storage containers.
Large tins are perfect for storage and you can use decoupage to cover them with colourful, patterned papers that complement your room decor - wherever you plan to use them.
YOU WILL NEED:
Colourful wrapping or scrapbooking papers
ModPodge or Prominent Paints clear acrylic sealer
Masking tape
Scissors
Foam applicator
Craft knife and cutting mat
Pencil
Permanent marker
HERE'S HOW:
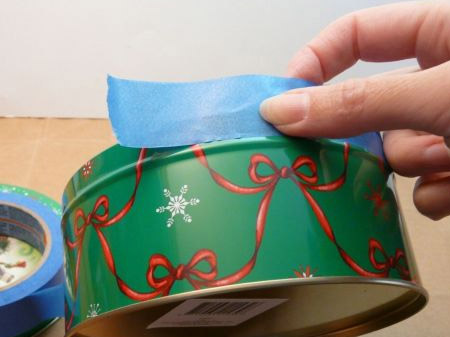
1. Place masking tape around the top rim of your tins. You won't cover this part, as it will making closing the tin difficult. You can always give this a coat of paint if you need to disguise it.
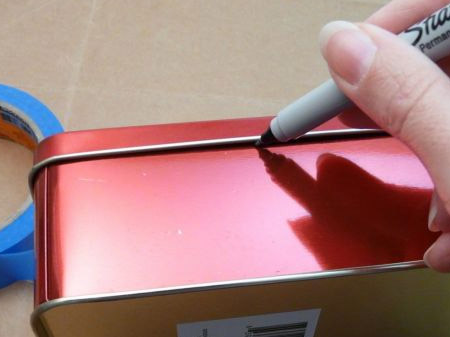
2. With the lid on, use a permanent marker to draw a line where the lids fits onto the bottom section.
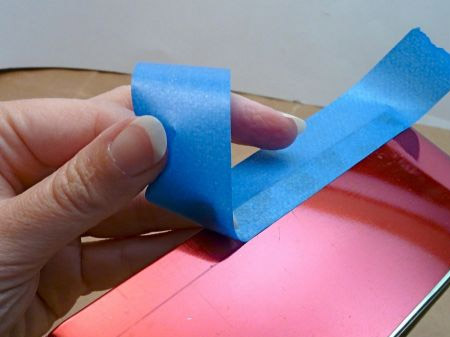
3. Place a strip of masking tape above this line. This is the line you will follow for covering the tin.
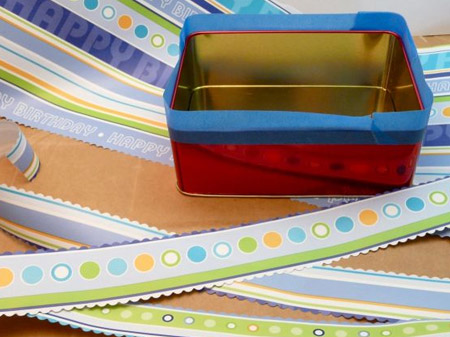
4. Cut strips of paper to cover the bottom section of the tin. If you are covering the base in a solid colour, use strips of paper to add interest and detail.
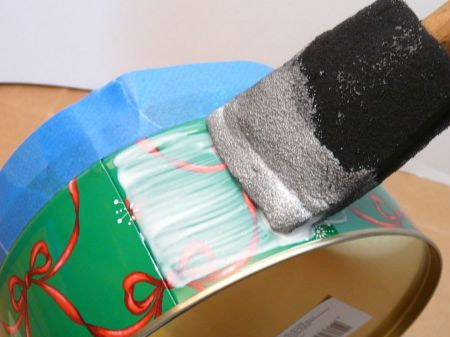
5. Apply a liberal layer of ModPodge or clear acrylic sealer to the tin. You may find it easier to work in sections, rather than cover the entire base in on go.
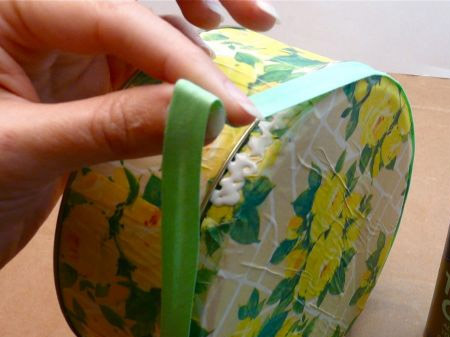
6. Wrap the strips of paper around the tin, applying extra ModPodge or sealer to close the paper at the end.
7. Cover the wrapping paper with a liberal amount of ModPodge or clear acrylic sealer. It's better to use your fingertips to smooth out any wrinkles and air bubbles. Work from the centre out to the edges. It won't be possible to have a completely smooth finish but you will be able to remove most of the wrinkles or fold them flat.
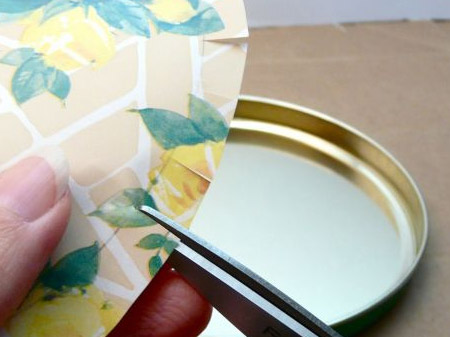
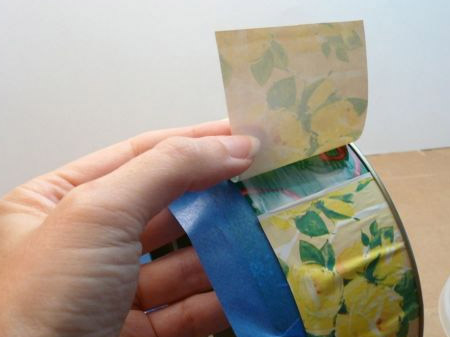
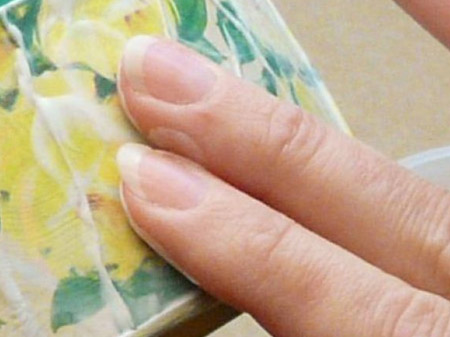
8. Cut a piece of paper to cover the lid, with extra to be able to fold over the sides of the lid. Trace the shape of the lid on the paper so that you can cut flaps for around the edge of the lid.
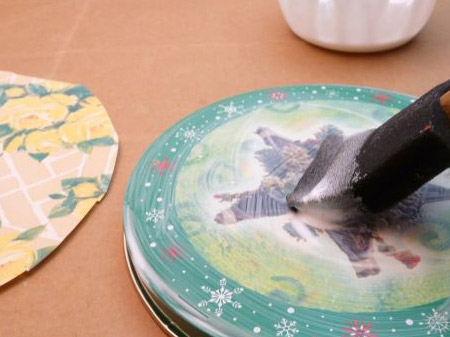
9. Apply ModPodge or clear acrylic sealer to the lid and edges.
10. Put on the paper, apply more ModPodge or clear acrylic sealer and smooth, before working around the edges of the lid and trimming off any excess.

11. Remove the masking tape around the rim of the tin and put aside to dry thoroughly overnight.

12. Add your choice of embellishments with craft glue.
The sealer will offer a decent amount of protection, but you won't be able to immerse the tins in water.
craftstylish.com