
How to make a unique Wooden Fruit Holder
Make this unique wooden fruit holder to add the perfect finishing touch to your dining table or kitchen countertop.
15/06/2019

Feeling a bit crafty this weekend and want to make something for your home? This wooden fruit holder is the perfect finishing touch for your dining table or kitchen countertop. But more than that, you can also use the wooden fruit holder as a handy chopping board.
YOU WILL NEED:
6 of 12 x 12 x 1800mm pine, cut to 240mm lengths
Fishing line or nylon line
TOOLS:
Drill / Driver plus assorted bits
Jigsaw and cutting blade
Sanding sponge, medium or 120-grit sandpaper
Scissors
Clamps
Tape measure and pencil
HERE'S HOW:
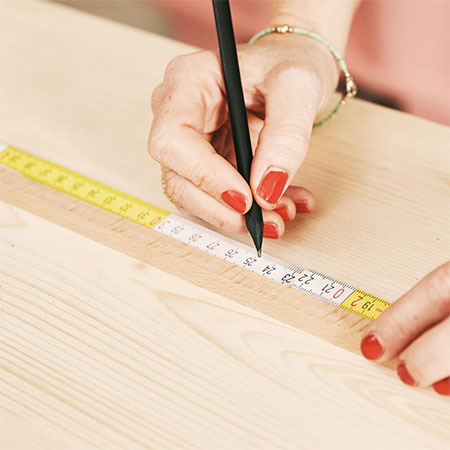
1. Cut the wooden slats to the same size of 240mm in length. You need a total of 40 slats for the fruit holder.
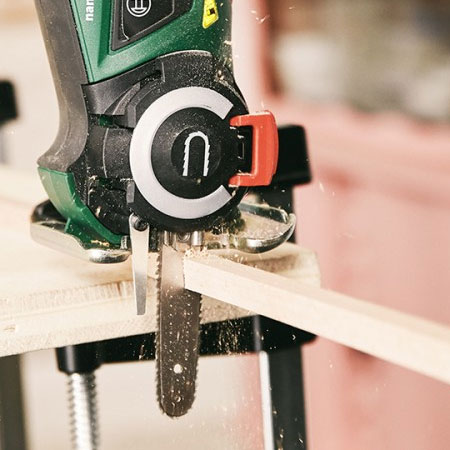
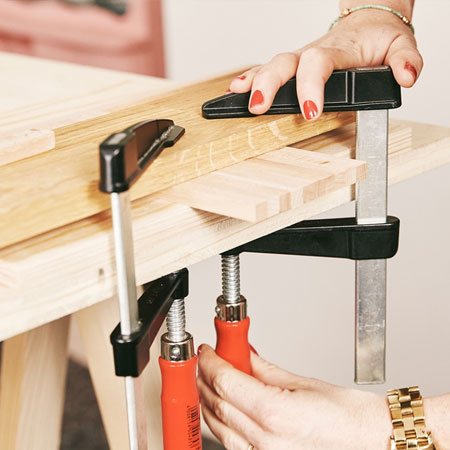
2. If you are cutting down to size yourself, make sure to firmly clamp the slats to your workbench.
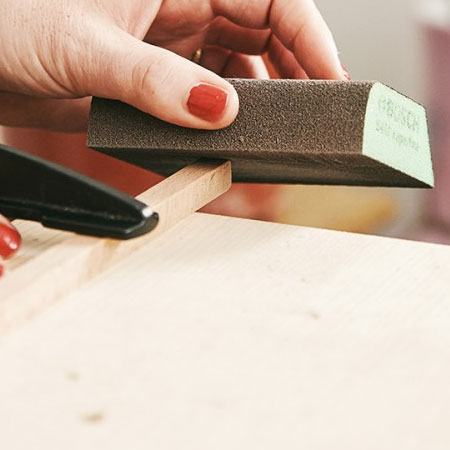
3. Sand all the slats nice and smooth with a sanding sponge.
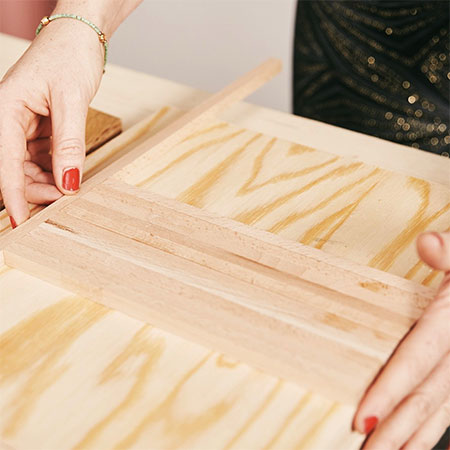
4. Place [10] of the slats on a flat surface, aligning them all flush.
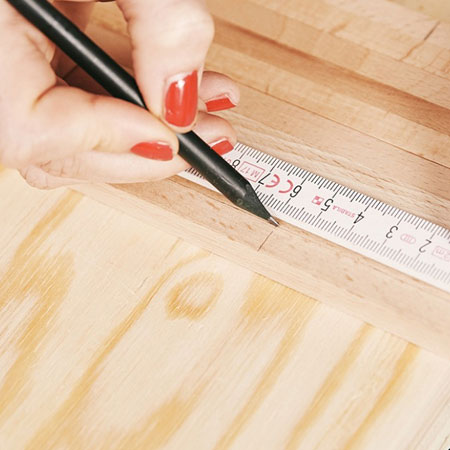
5. You need to drill a 2mm hole in each slat. Measure and mark each slat 60mm in from the edge to show where the holes must be drilled.
6. Have a piece of scrap placed along the 60mm mark and use this to clamp the slats in place.
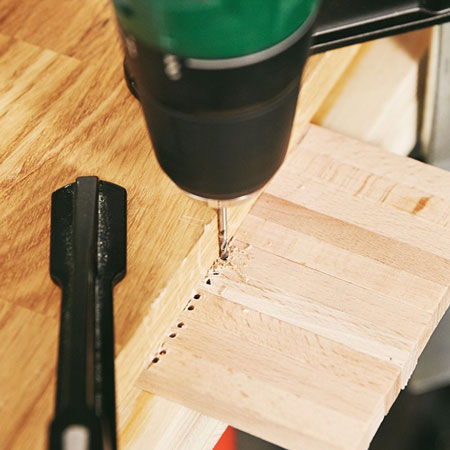
7. Drill [2] small holes in each slat. Repeat the above until all [40] slats are drilled.
GOOD TO KNOW: Try to avoid drilling the holes too close to the edge of the slats.
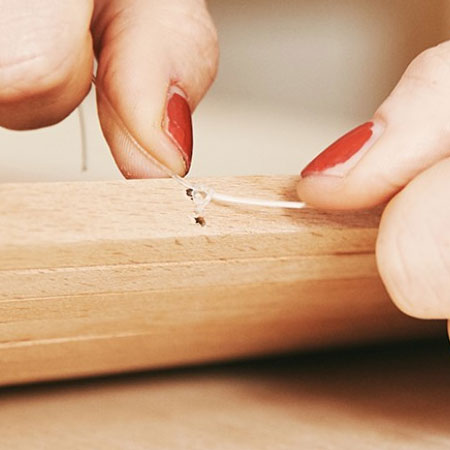
8. Now you can thread the nylon line through all 40 wooden slats. First, thread through the upper hole of all slats and then the lower hole on the way back. Tie a knot at both ends of the line when you're finished.

9. To assemble the fruit holder correctly, use a thin dowel. Only work with every second alternating slat on the dowel. The fruit holder will be stable and ready to use when all slats have been arranged in the correct position.
GOOD TO KNOW: Transform the fruit bowl into a chopping board that you can use it to slice bread and other food by folding it up.

all about diy