
How to Build and Assemble Child's Beds
It is becoming increasingly expensive to purchase beds for children so why not make your own children's beds - a bed that you can make to any size and design?
28/06/2023
Buying furniture for children's bedrooms is difficult enough but wanting custom furniture to fit into a bedroom is even more of a stretch, especially if you do not know the reputation of the company you are dealing with. Anyone wanting custom furniture of any kind will discover that, in most instances, the best thing to do is to make it yourself.
Building and assembling a bed for a child is a fairly simple project and you can choose the best materials and how you want to finish off the bed.
Believe it or not, making a bed is one of the easiest DIY projects you can do. As long as you pay attention to the strength of the frame and keep the kids from jumping on the bed once it has been made, a custom children's bed is an easy project if you follow the steps below:
Step 1 - Measure the space
Before you go ahead and make the bed, ensure that you have the correct measurements. You should measure the available space (length & height) where the headboard will be positioned. You also need to determine the length of the bed. This last one is great if you are making the bed yourself because you can opt to make the bed shorter to fit into a compact bedroom, or longer if you know your kids are going to grow up to be tall. Additionally, take cognisance of light fittings, power outlets and any obstacles that could interfere with the room, such as a door and the direction it opens or cupboard doors. You may even want to ensure that there is space next to the bed for a side table. Take all these factors into consideration when determining the overall dimensions of the bed.
Step 2 - Where to find a mattress
Before you start making the bed frame to a specific size, make sure that you can get a mattress in the size required. Standard mattresses come in the following sizes in South Africa:
- Single 910mm x 1880mm
- ¾ 1070mm x 1880mm
- Double 1370mm x 1880mm
- Queen 1520mm x 1880mm1
- King 1830mm x 1880mm
- Super-King 2000mm x 2000mm
If you are making a custom bed, you are also going to need a custom mattress. Find a supplier that offers different types of mattresses that are available in custom sizes so that it is ready and waiting once the bed is complete. For a children's bed, a quality foam mattress is sufficient for their bodies until they reach puberty at which time you can then look at buying a spring mattress for additional support and a grown-up bed.
3. Be careful of overseas plans
There are hundreds if not thousands of tutorials on the web that offer bed designs and plans that look great and plenty are easy DIY projects. The only problem with most of them is that they are usually Imperial measurements and built using materials that are not available locally which means that you will have to modify the plans and build the bed yourself. The easiest way to build and assemble a children's bed is to know what materials are available and where they can be bought.
Did you know that a Kreg Pocket Hole Jig can be used on a variety of wood and board thicknesses? This innovative tools has changed how we make with wood and boad products and made DIY projects easier - even for beginners!
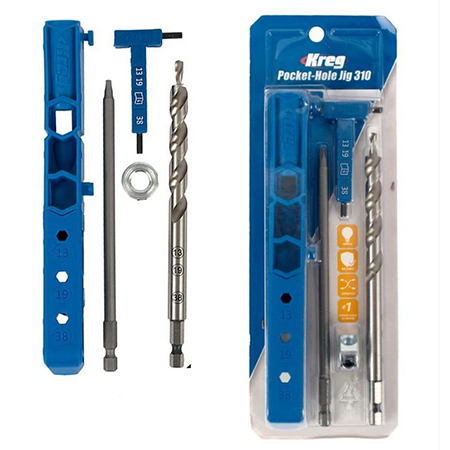
Kreg make it easy for everyone to invest in a pocket hole system. If you don't want to spend a lot on a Kreg system, you can start off with the Kreg Pocket-Hole Jig 310 that retails at R729 from Builders and build up your collection as and when you can afford it.
4. Components for child's bed
When it comes down to building and assembling any type of bed there are the same components for all:
- Headboard
- This needs to be the same width as the mattress plus an extra 20mm on either side for tucking in plus the additional width of any support on the sides of the headboard.
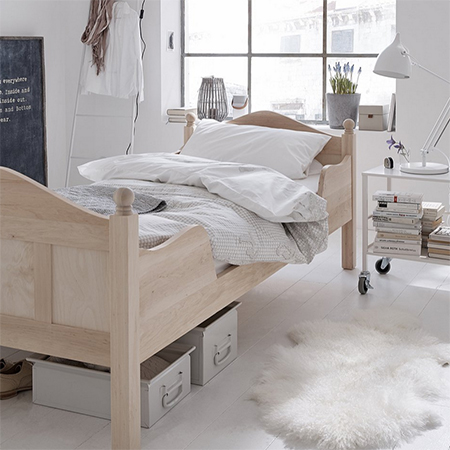
This bed is built is 21mm PAR pine for the frame and 12mm pine plywood for the panels in the headboard and footboard. Assembly is done using a Kreg Pocket Hole jig but you can use your preferred method.
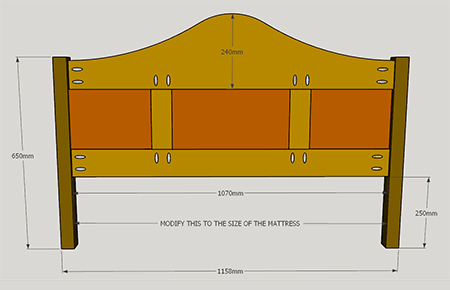
You can use this headboard design for any size of bed simply by modifying the width [1070mm] according to the size of the mattress. The height shown above is correct for a 150-200mm thick mattress or modify the height for a thicker mattress
- Bed sides
- The length of the bed sides is determined by the length of the mattress plus any additional length you want to add or minus if you are having a custom mattress. If any space is required for tucking in, be sure to add this to the length for the side sections.
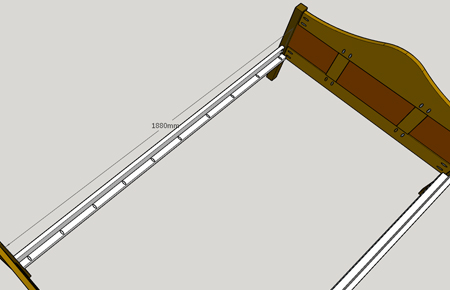
The standard mattress length is 1880mm and this is the measurement you will use for the sides of the bed.
- Base
- The base can be a solid piece of board (chipboard, particle board, plywood, etc., or it can be several pine planks. The base sits on top of a ledge that is secured to the sides close to the bottom edge of the side sections,
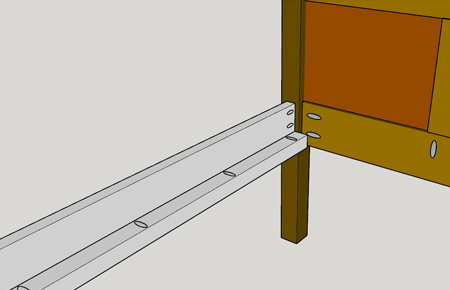
The sides are connected to the headboard and footboard and a ledge of PAR pine provides the support for whatever base you decide upon.
- Footboard | Frame End
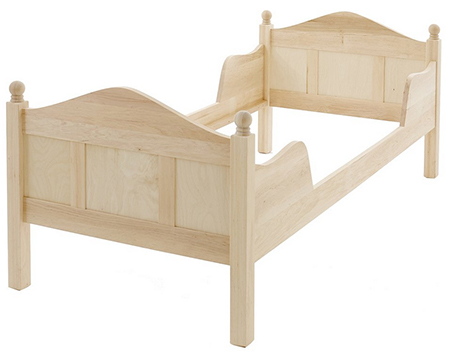
- The footboard will have the same width dimensions as the headboard but the height may differ depending on how high or low you require the footboard. The frame end is not usually visible and is simply support for the bed frame.
You can use the headboard design for the footboard since the measurements are the same. If you prefer a lower headboard, one that sits under the bed cover, leave off the centre panels and top section and reduce the height of the legs.
5. Finishing of Child's bed
Something to consider when building and assembling any bed for a child is the material you will use to build it. You can opt for PAR pine as shown above or you can 16mm SupaWood [MDF] with a painted finish as shown below.
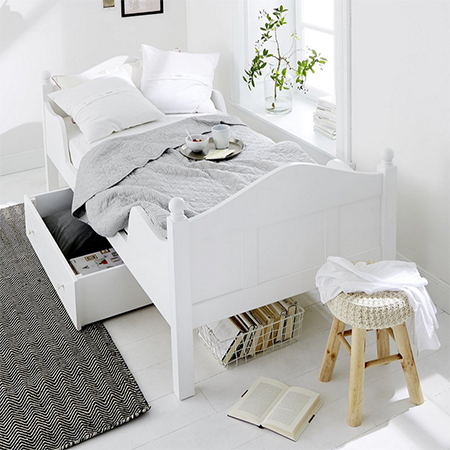
Whatever your choices, know that building and assembling a bed is not as difficult as it appears and worth the time and effort.