Dated guest bedroom / home office gets a modern makeover
All it takes is some time and a bit of creative imagination to turn a dated guest bedroom / home office into a modern dual purpose space that is refreshing and colourful.
This project revolves around a guest bedroom that also doubles as a home office, but you can easily use the same processes involved here to decorate any room in a home. The idea behind this transformation is that you can use a few tips and tricks, some paint and a few affordable materials to give this dual purpose room a modern makeover.
If this is a project you have been putting off for lack of creativity, take inspiration from the project shown here by Tam at Sew Dang Cute (no longer blogging). Using materials and supplies that you will find on the shelf at your local Builders, giving any room a makeover doesn't need to be difficult.
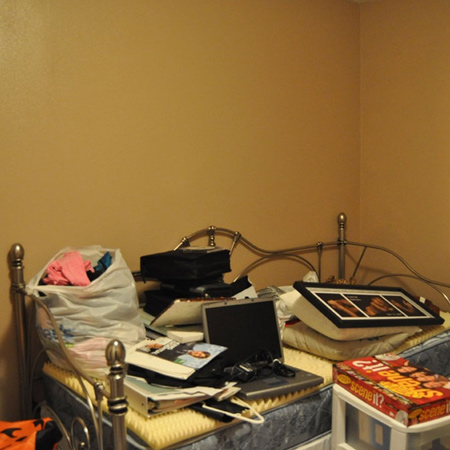
1. Sort and clean out
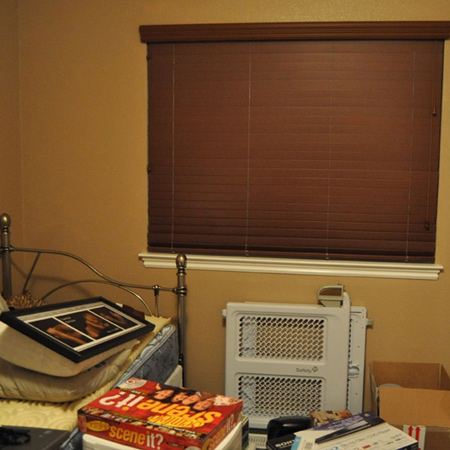
If you already have an idea in mind, move out as much clutter and furniture as possible. If you don't have space to move furniture to other rooms, cover everything with plastic or cloth drop cloths to protect from paint spatter.
Cleaning out the room will also make it easier to visualise your plan better and decide on a starting point. Painting ceiling and walls would be the first step in most decorating projects, and with larger furniture removed you will be able to move around the space easier.
2. Prepping the room
Before any painting takes place you need to clean walls and any trim that is being painted. You can use Sugar Soap to wash down walls, but in this case the walls were previously painted with an oil-based paint and required sanding down with 180-grit sandpaper or fine sanding sponge before being painted. Wipe clean to remove all traces of dust.
3. Choosing colour
Visit your local Prominent Paint store to first, select your choice of paint and two, to choose your colour for painting the room. Take home a variety of colour swatches that you can try out at home - in the room and under different lighting conditions. Colour looks different under artificial and natural light and you will want to make certain the colour you select will work in the space.
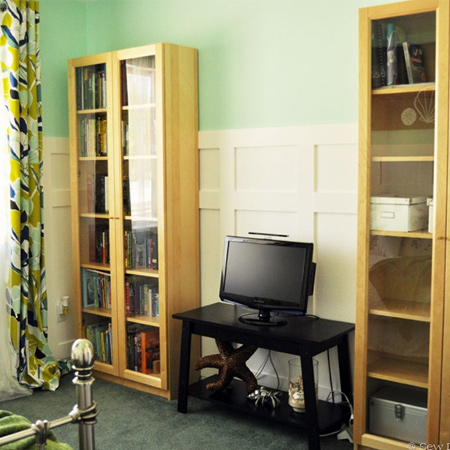
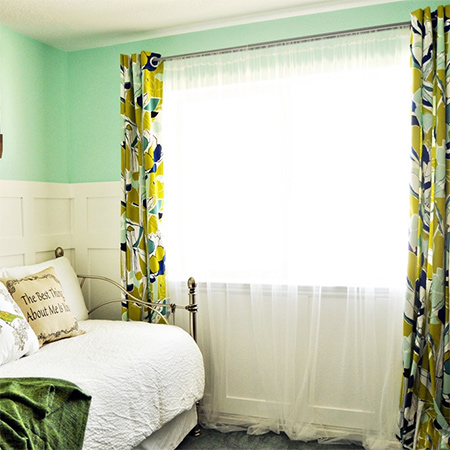
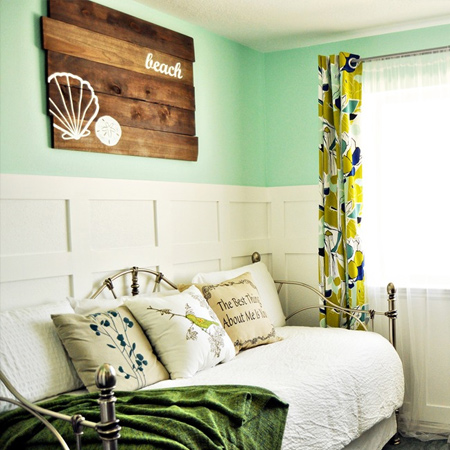
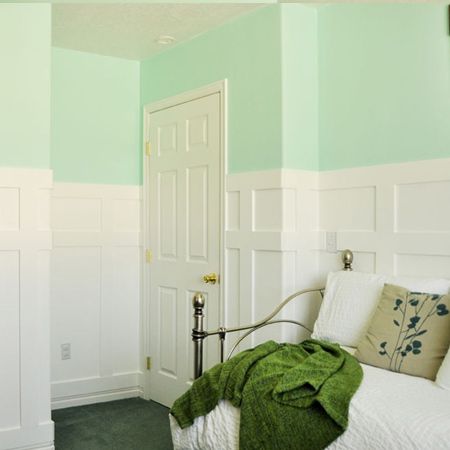
For this guest bedroom makeover a light aqua-hued blue was applied to the walls to contrast with the crisp white painted trim and new detailing on the walls.
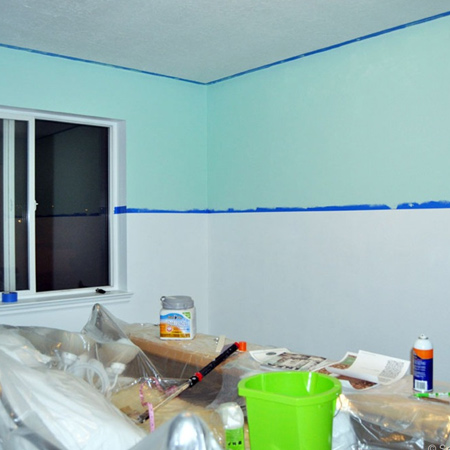
4. Getting started
Use masking tape to mark off areas like the ceiling, trim and fittings, and also to mask off when you are using two colours on a wall.
GOOD TO KNOW:
When applying two colours to a
bumpy or textured wall, apply the first colour and allow to dry.
Tape off and press down the edge of the masking
tape with your finger and then apply a coat of the first colour
over the edge of the tape using a foam
applicator. Let this dry and then apply the
second colour over the top of this.
Click here for tips.
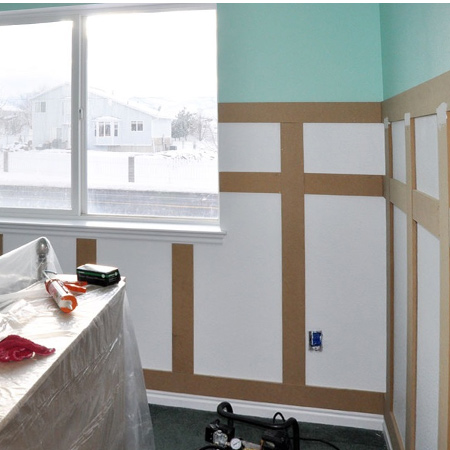
To add architectural interest in this bedroom makeover 12mm MDF frames were glued over the painted base section of the wall. Use a construction adhesive or No More Nails to stick the boards down. Let the adhesive dry according to the manufacturer's recommendations and then paint.
GOOD TO KNOW:
Sand the cut
edges of the board with 120-grit sandpaper
before installing on the wall.
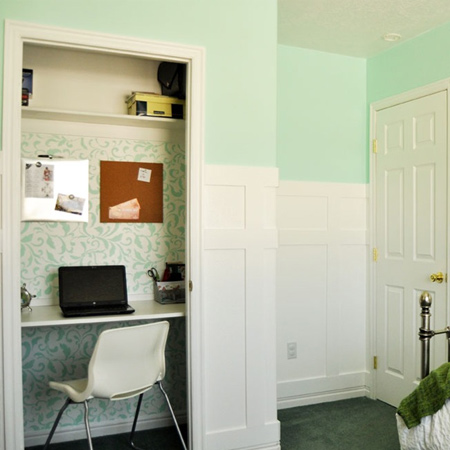
As part of the bedroom makeover a small closet was revamped into a study area to free up space in the room. Since the space also doubles as a home office, the previously unused closet is ideal as an office space.
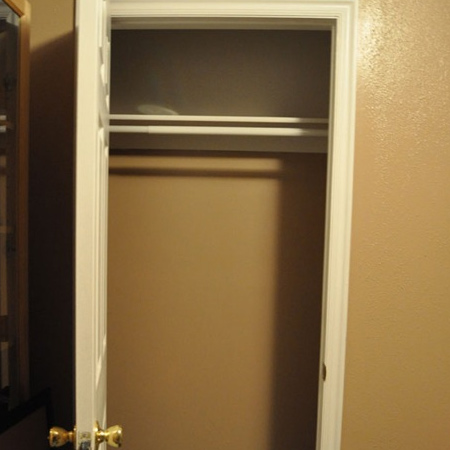
The door was removed for easy access and a 16mm MDF board fitted to serve as a desktop. The entire interior was painted in the same crisp white that was used in the room.
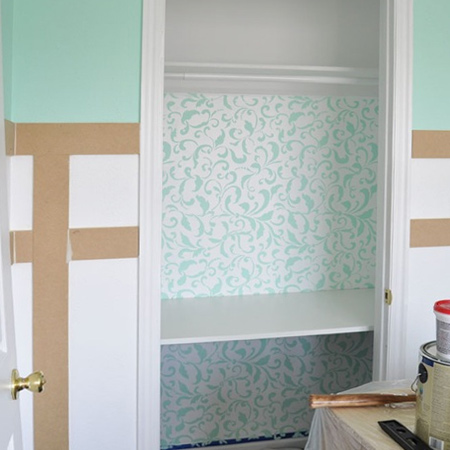
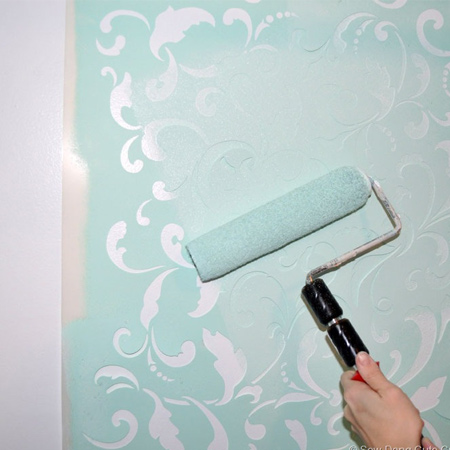
To tie the new office cubicle and bedroom together a stencil design was applied to the back wall using the same blue for the walls in the bedroom. Nowadays you can buy a huge variety of stencils online if unable to find designs locally, or make your own stencil using acetate or plastic sheet. Find advice here for stencilling on walls.
There is still some work to be done to finish off the guest bedroom. Tie the entire look together by painting furniture to match the decor. Pine or painted furniture can easily be sanded and given a coat of two of paint.