Pallet wood or pine headboard
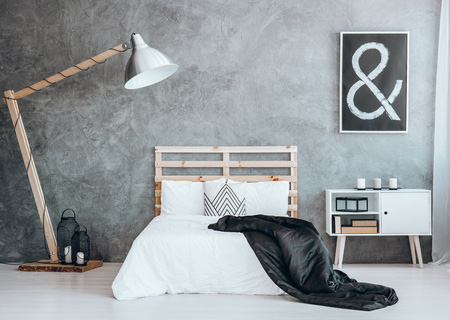
Make a simple, stylish headboard with pallet wood or pine. Modify the length to make a headboard to fit any size bed.
22/10/2017
This pallet wood or pine headboard is so easy to make, you can easy make your own headboard in a day. We used pine PAR for this project, but you can easily substitute with pallet wood.
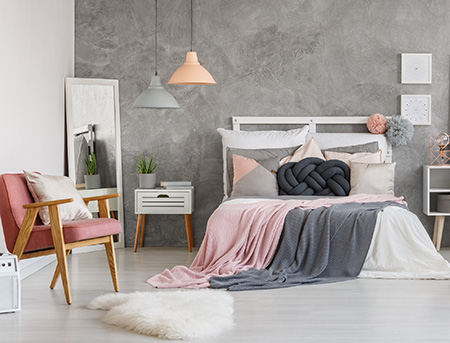
Once you have assembled the headboard, choose a finishing option that complements the decor in your bedroom. You can paint it or leave it natural and apply a sealer. We offer various finishing options below.
YOU WILL NEED:
Planks for the vertical and horizontal slats
- We used 22 x 44mm pine for our headboard
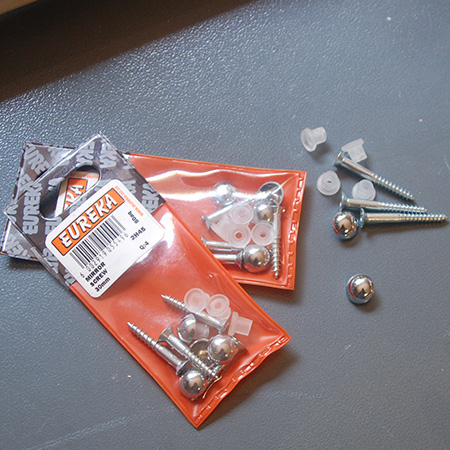
Eureka Mirror Screws with dome caps
- Buy enough to cover all visible screws
240-grit sandpaper
TOOLS:
Drill / Driver plus assorted bits
Countersink bit
Router (preferably table mounted)
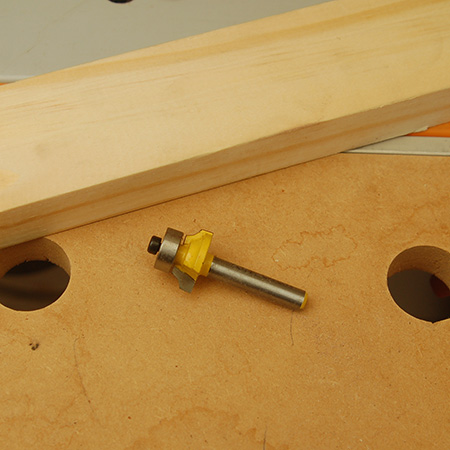
Roundover bit
OR Orbital Sander plus 120- and 240-grit sanding pads
Tape measure and pencil
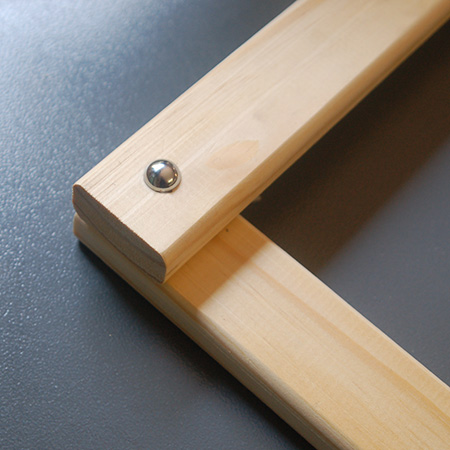
What elevates this simple headboard and adds a stylish touch, is the addition of Eureka screw dome caps. You can buy these at Builders Warehouse and they come in a pack of four.
HERE'S HOW:
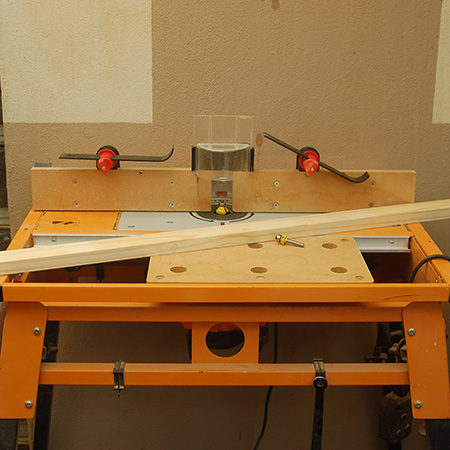
Click here for more information on using a Triton Table Router
1. Cut all the pine PAR to length for the required size for your headboard.
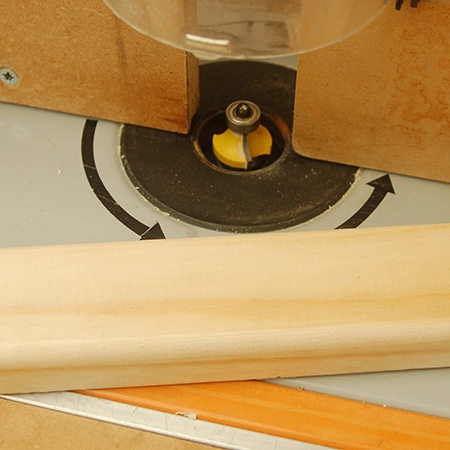
2. To round off the corners on all the pine PAR, we used our Triton Table and Router and roundover bit. Sand all the pieces with 240-grit sandpaper until silky smooth.
GOOD TO KNOW: Using a roundover bit makes it easy to give sharp edges a nice smooth, rounded profile. However, if you don't over a table router, use an orbital sander to round off the edges.
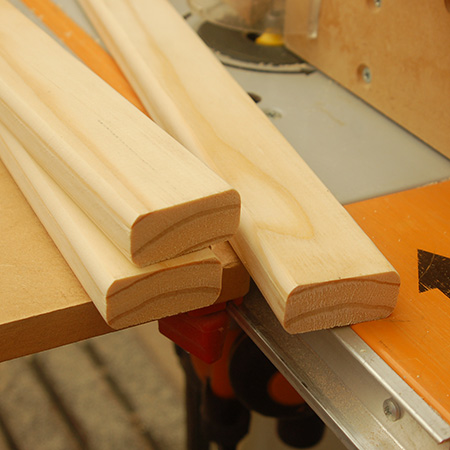
BELOW: All pine PAR after rounding off the sharp edges.
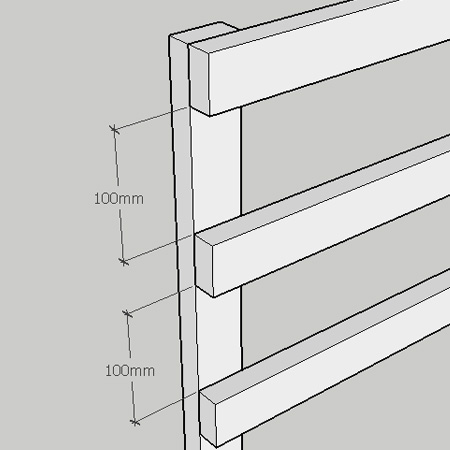
3. To assemble the headboard, line up all the slats flush at the sides and top. Leave a 100mm gap between the horizontal slats.
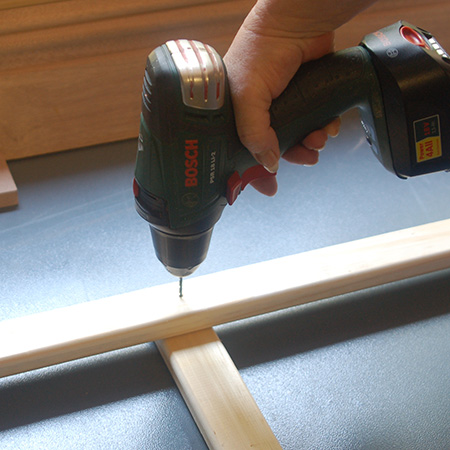
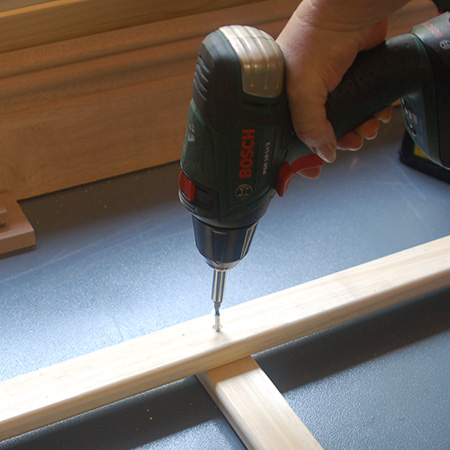
4. Use a 2.5mm drill bit to drill a pilot hole through the horizontal and vertical slats, where they will be joined with a screw. This will prevent the wood from splitting.
GOOD TO KNOW: Since the screws used are not wood screws, a pilot hole also makes it easier to drive in the screw.
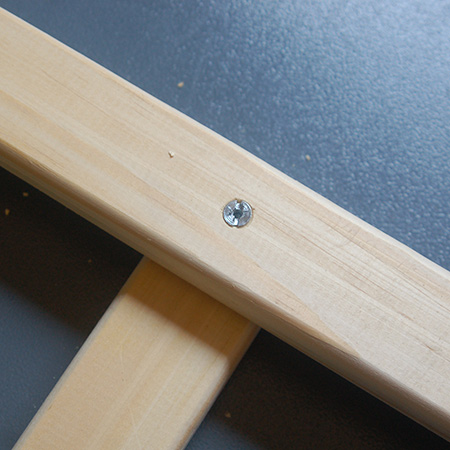
5. Countersink all the pilot holes.
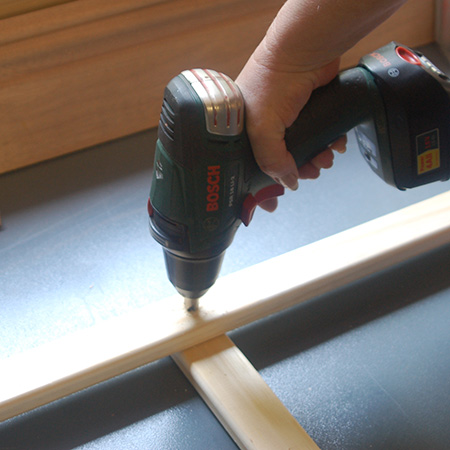
GOOD TO KNOW: In order that the screw head is just below the surface, check the depth of the countersink hole using one of the screws. You need the screw head almost flush with the top of the wood in order to fit the dome head.
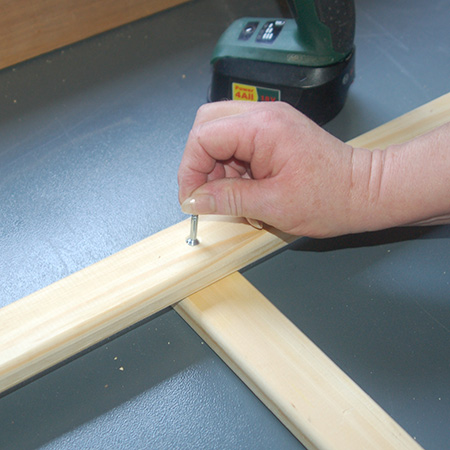
6. Join all the sections with screws.
GOOD TO KNOW: The mirror screws have a slot, so you will need to use a slot drill bit. Set the drill / driver on a slow speed to make it easy to drive in the screws and prevent the screwdriver bit from slipping off the screw head.
GOOD TO KNOW: If you are using pallet wood that is less than 20mm thick, you will need to use a shorter / different screw. If this is the case, you may have to glue the dome on top to secure in place.
7. Screw the dome heads on top of all the screws.
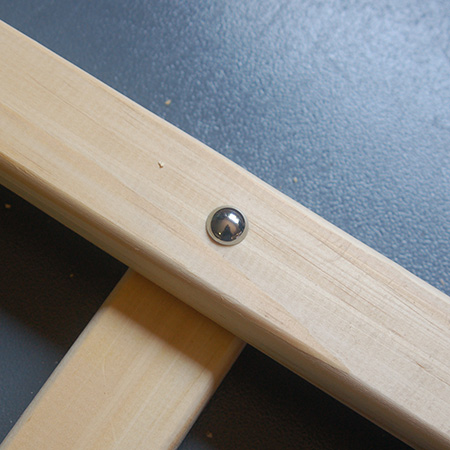
GOOD TO KNOW: The slats should be flush at the top and along the sides.
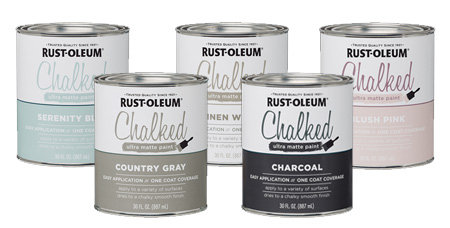
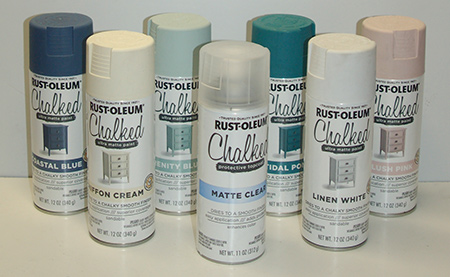
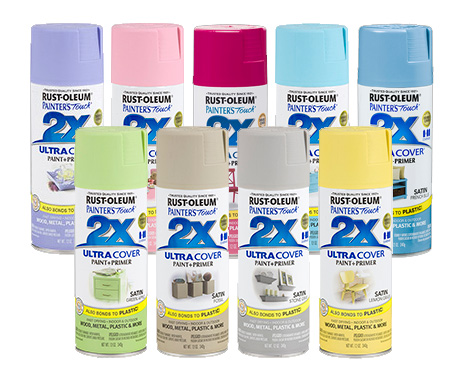
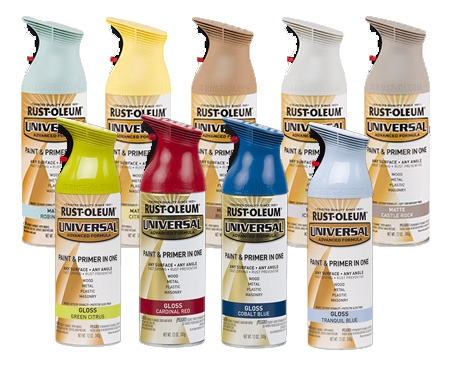
FINISHING
Rust-Oleum have a wide selection of finishing options for your new headboard - all of which you'll find at your nearest Builders. Choose Rust-Oleum Chalked - in a tin or spray paint - for a luxurious matt finish that is super easy to apply. Or use Rust-Oleum 2X, Painter's Touch in a satin or gloss, or Rust-Oleum Universal in a range of colours and metallic finishes.