
From trashy to classy!
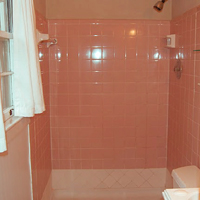
Buying a new home sometimes means that you inherit someone else's taste. While the previous owner may have loved her pink shower, you don't have to live with it!
Pop into your local Builders Warehouse and get all the supplies you need to give your bathroom a trendy makeover - in the colour and styles that you prefer.

Removing old tiles
Getting rid of those ugly pink tiles is a fairly easy project that does require a bit of elbow grease but well worth it. If you don't feel up to doing it yourself, hire a handyman to do the work for you. If you have basic knowledge of the processes involved, you can keep an eye on the project to make sure it is being doing right.
The old tiles need to be chipped off so that the wall is smooth and free of any traces of old tile adhesive. Use a chisel and hammer to get most of the bigger tiles off the wall and use a metal paint scraper for smaller more difficult pieces.
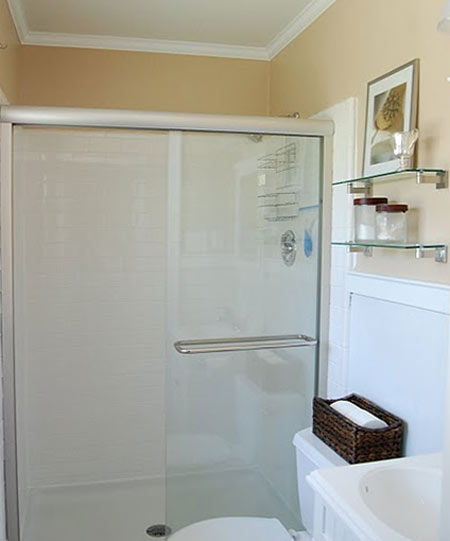
The new rectangular tiles make the shower look much larger than it actually is.
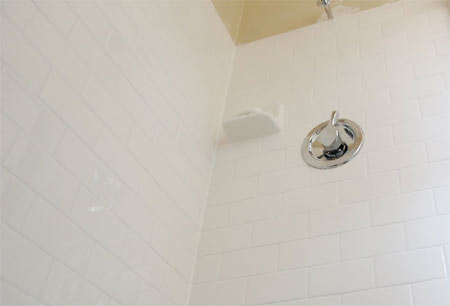
Tile the wall
To cut out shapes in tiles you can use a Tile Nipper, or an Angle Grinder for larger cut outs. DO wear gloves - ceramic tiles have very sharp edges. If you need to drill holes in tiles for new fittings, use one of the Tork Craft diamond-tipped hole saws.
Before applying tiles to the wall, check that the walls are level and straight with a spirit level. You don't want skew tiles in your new shower!
Install the shower door
There are various shower door options; from pivoting to folding, to sliding. Choose the best door for the space. If you want to keep costs as low as possible, look for a door that will easily fit the space without too much alteration. You will need to drill into the wall the mount the door, so have a drill and assorted bits handy.
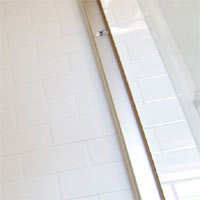
Dry fit the shower door to mark where to drill the holes - some suppliers give you a template to work with - and drill into the tile and wall with an HSS bit.
DO make sure that the drill is not set for 'hammer' function or you will crack your new tiles!
If the door is being fitted in a new position, use an Electronic Detector to check that there are no wires or pipes behind the tiles, or you may end up spending more than you planned for!
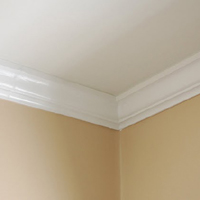
Install cornice
A polystyrene cornice is perfect for finishing off at the top of the wall. You will need a mitre box and saw to cut the corners, or use your jigsaw set to cut at a 45-degree angle. Use the right adhesive to attach the cornice to the wall. No More Nails exterior is easy to use as it 'grips' the cornice until the glue is set.
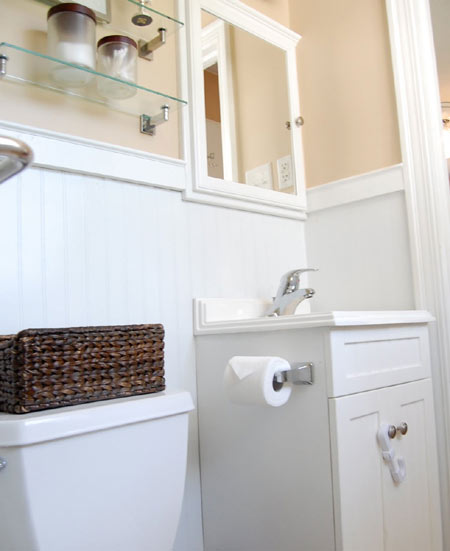
Finishing off
Accessorize your new bathroom with fixtures and fittings that complement the room. If you are unsure about the procedures involved, there are several step-by-step features on Home-Dzine that show you how. Find out how to install a pedestal sink, frame a bathroom mirror, tile a bathroom vanity and more.
Glass shelves are perfect for a small bathroom. When installing the shelf brackets, remember to use an electronic detector to check for wires and pipes in the wall.
tales and trials