
How to apply mosaic tile to vanity
Mosaic tile is a fairly simple and reasonably affordable way to add detail to a plain bathroom vanity, or update an old vanity.
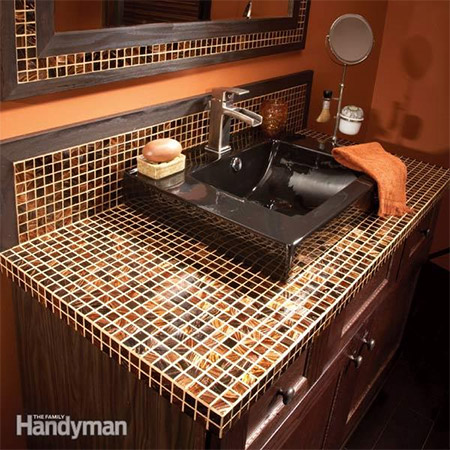
Although we used a fairly expensive glass tile for the vanity top, the end result was half the cost of granite, marble or solid-surface tops. Glass mosaic tile like we used is perfect for a project like this because you can adjust the size of the top to use only full tiles and avoid cutting. Plus, you can choose from hundreds of colours, textures and patterns to create a look that is perfect for your décor.
Glass tile is tricky to cut, but you can save yourself hassle and have better-looking results by sizing the base to fit the tile.
An easy method is to carefully lay out the sheets of mosaic with an equal grout space between the sheets. Make a paper pattern of your vanity cabinet including the thickness of the door or drawer fronts. Arrange the pattern over the sheets of tile and adjust the position until there’s an equal-width tile on each side.
Use the pattern to determine the overhangs, based on where full tiles occur. Aim for about a 2cm overhang all round. Cut the mesh backing so the sheets of tile are the size of the top and then carefully measure the width and length of the tiles. This will be the finished size of your countertop after it’s tiled.
The plywood base has to be smaller than the size of the finished top to accommodate the cement fibre board, tile and tile adhesive. To figure the size of the plywood, add the thickness of the tile, cement board (6mm) and the adhesive (3mm), and subtract this amount from the width (front to back). Deduct twice this amount from the length (side to side). It’s critical that you cut the plywood to exactly the right size, so double-check all your math.
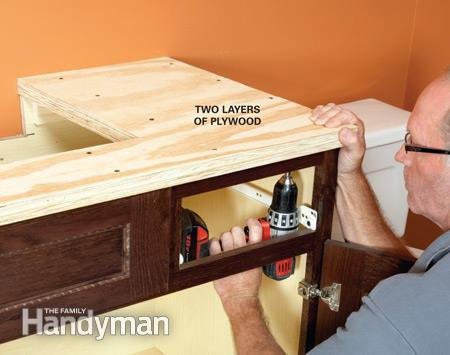
It is recommended that you have two layers of plywood make a stiff, strong base for the tile. Mark and cut the plywood carefully to make sure the top is perfectly square.
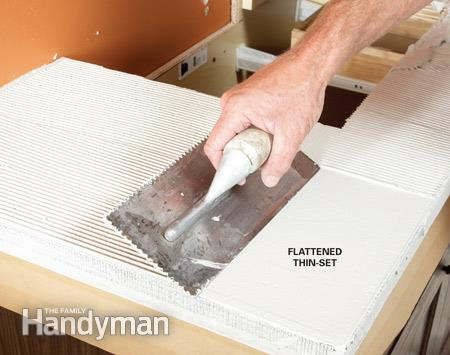
Cement fibre board forms a waterproof layer for a long-lasting countertop. The 6mm-thick cement fibre board is all you need over the strong plywood base. Use small panel pins to attach the cement fibre board to the top and surrounding edges. Use a V-notch trowel to spread a layer of tile adhesive over the cement board. Then flatten it with the straight side of the trowel.
GOOD TO KNOW
Flattening the mortar after you spread it with the notched trowel prevents adhesive from filling the grout spaces when you embed the tile. Any adhesive that gets into the grout spaces has to be cleaned out before you can grout the tile, so this tip will save you a lot of time and effort.
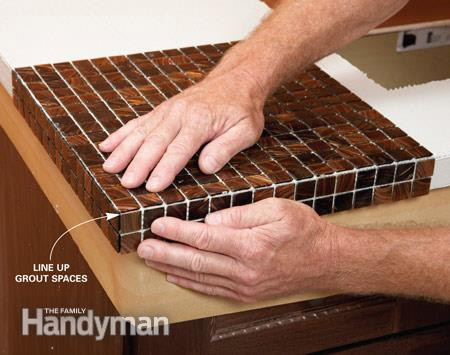
For perfectly aligned grout joints, start by setting a strip of tile on the front and side edges, and a full sheet of tile on top. Adjust the tile until the grout lines on the top line up with the grout lines on the front and sides.
Tap the top of the mosaic tile with a flat block of wood to level the surface and ensure a secure bond with the thin-set.

Work the grout back and forth in different directions to completely fill the joints and eliminate voids. Well-packed joints are the key to a lasting grout job.
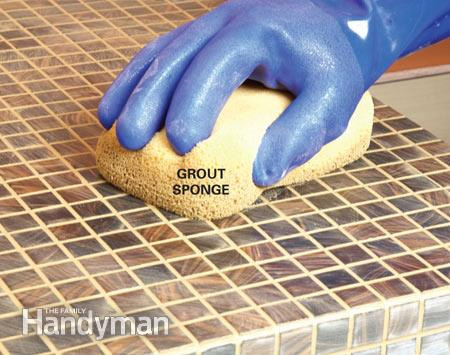
Wait until the grout starts to set up before tooling. Wring out the sponge until it's just damp and then rub it over the tile in a circular motion to smooth and shape the grout and fill tiny voids and pinholes. Once the grout is hard you can polish it with a microfibre cloth to remove the haze.