
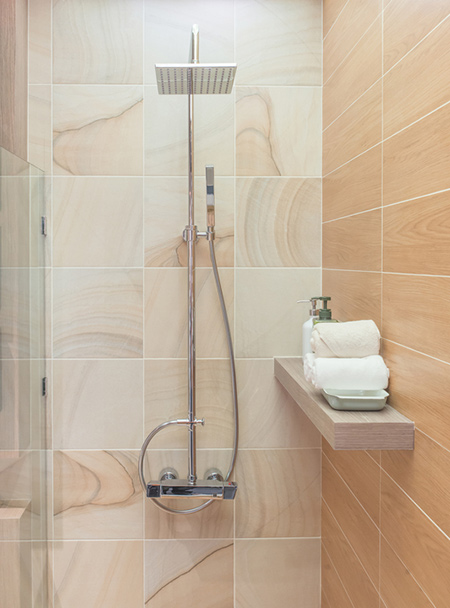
Waterproof a shower
Failed or poor waterproofing is often to blame for tiling failures, leaks and costly repairs. Bear in mind that tiling itself is not inherently waterproof, and therefore it is essential to have properly detailed and installed waterproofing behind tiled surfaces.
TAL shares practical advice on how to waterproof a shower with TAL’s Sureproof flexible and seamless rapid-setting two-component waterproofing system.
GOOD TO KNOW: Allow plenty of time to complete this project, as the waterproofing system requires about 24 hours to dry before tiling can commence.
Preparation
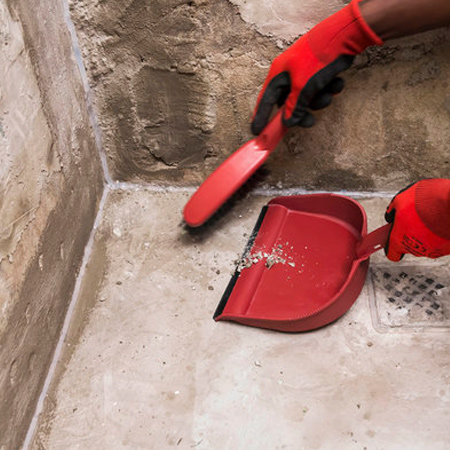
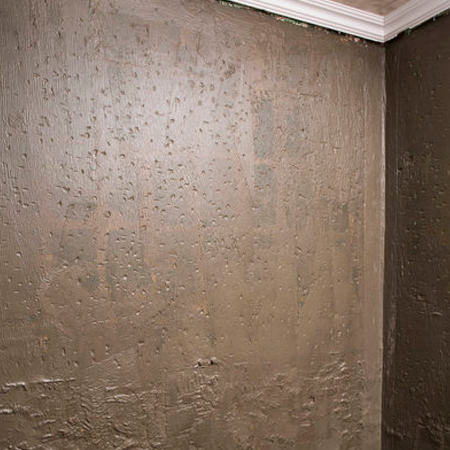
Start the process by priming the surface and ensure it is in good condition, clean and dry, and has a moisture content of less than 5%. If necessary, the shower surface can be shot-blasted to give the tile adhesive extra grip, before being sealed with a layer of TAL Floor Primer. If the existing surface is dense and smooth, apply a slurry comprising TAL Floorkey and TAL Rapidfix.
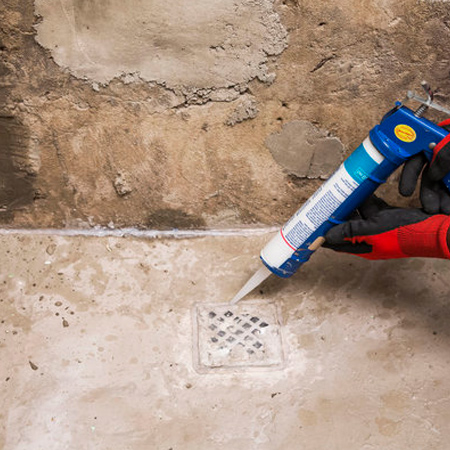
1. It is important to allow for any movement. Apply a 10mm bead of sanitary silicone to all internal corners and joints around the floor waste, taps and rose plumbing.
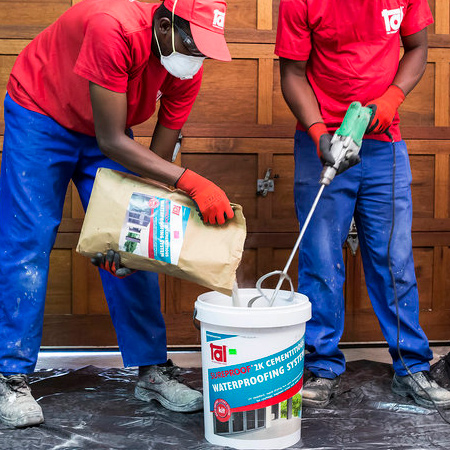
2. Combine the two ingredients of TAL Sureproof together. Use a mechanical mixer or attach a mixer to your drill. Add the powder to the liquid and mix until a creamy, lump-free consistency is obtained. Allow the mix to stand for three minutes and then stir again.
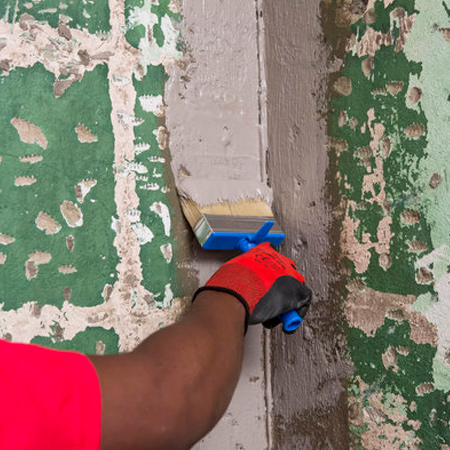
3. Apply the first coat of TAL Sureproof to the wall and floor corners. Immediately bed the TAL Sureproof Membrane (200mm wide) into the wet Sureproof [see below]. The Sureproof Membrane must be pushed into the corners, ensuring the entire interface is covered with the membrane. Ensure there are no wrinkles or air bubbles trapped beneath the membrane.
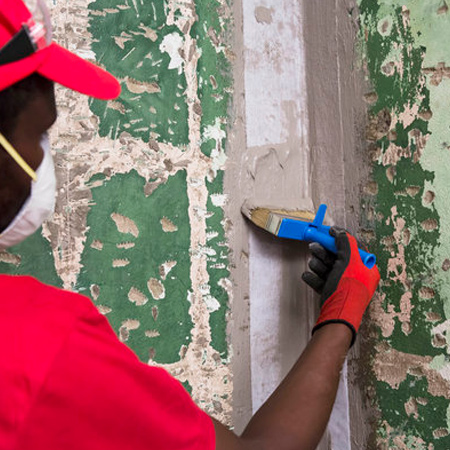
4. Apply a second coat of TAL Sureproof to saturate the membrane completely before the first coat dries.
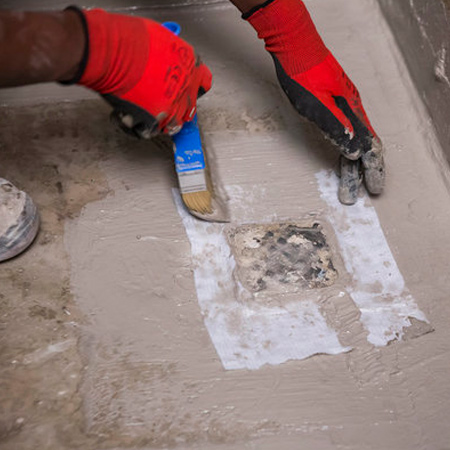
5. Where the waste is flush with the floor, place the membrane around and down into the waste.
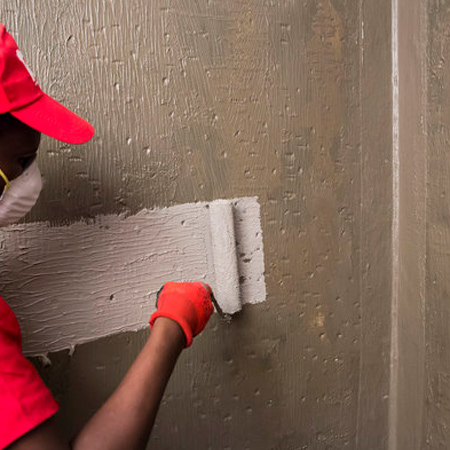
6. For the main shower wall and floor surfaces, apply the first coat of TAL Sureproof to the dry, primed surface with a short hair paint roller or brush, and allow approximately two hours to dry. Apply the second coat in a different direction to ensure complete coverage, avoiding air entrapment or pinholes. Allow the TAL Sureproof system to dry for 24 to 36 hours before fixing the tiles.
When tiling, modify the tile adhesive and grout with TAL Bond Powder or Bond Liquid to add flexibility and water resistance to the tiling installation, and apply a silicone sealer to all the perimeter joints.
GOOD TO KNOW: Use of the shower is not recommended for 72 hours after completion of the tiling to ensure that the installation has cured fully.
As a final touch, seal the grout joints with TAL Grout Sealer. This will ensure your newly-installed shower not only looks good, but is also easy to clean. If in any doubt visit www.tal.co.za.