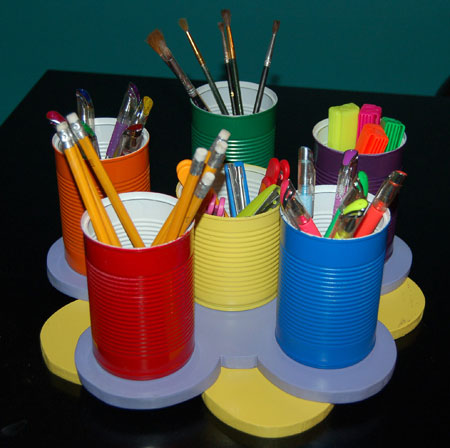
Recycled can stationery holder
I love designing projects out of empty tin cans. This is one of my favourites. Use tin cans to make a stationery holder for your bedroom. Paint it in colours that match your bedroom and then put in on your desk or a craft table.
This project is not recommended for children under the ages of 12, and should be done under adult supervision.
You will need:
Clean cans
Rust-Oleum 2X spray paint in bright colours
Some 12mm or 16mm SupaWood - let mom or dad cut out for you
220-grit sandpaper
18mm broom handle
18mm spade bit
No More Nails adhesive
Here's how:
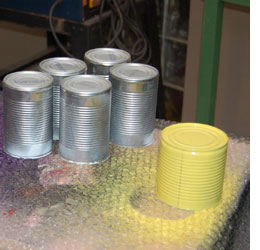
1. Paint the cans
Put the cans outside on newspaper or an old piece of board, turn them upside down and lightly spray then with Rust-Oleum 2X spray paint. Don't spray on too much paint - only a very light coat. Once this is dry you can spray on another coat.
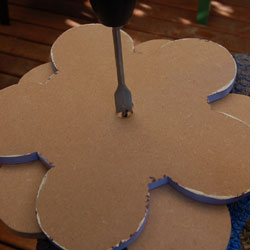
2. Cut out the bases
Let mom or dad cut out two bases for the bottom of the project. The bases are both the same size and you can use the cans to draw the outline for cutting out the shapes.
Use an 18mm spade bit to drill out in the top of one base and the bottom of the other - just enough to be able to pop in a small piece of the18mm broom handle.
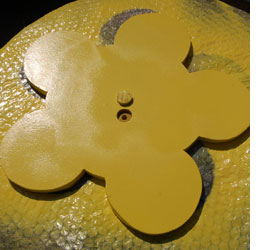
3. Paint and assemble bases
Spray the bases in different colours with your Rust-Oleum 2X spray paint. The small piece of broom handle is put in the holes that were drilled and acts as a bearing - allowing the bases to turn.
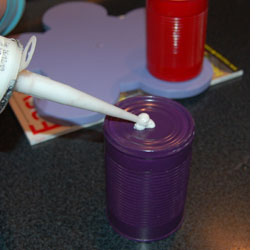
4. Glue cans to base
Put a blob of No More Nails adhesive onto the bottom of each case and secure to the top base. Let this dry overnight.
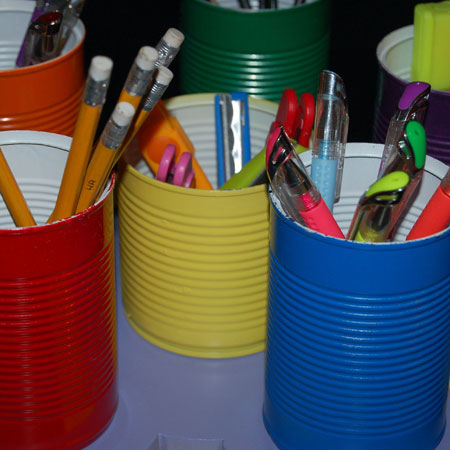
Now you can fill up the cans with your stationery or arts supplies!